Loop
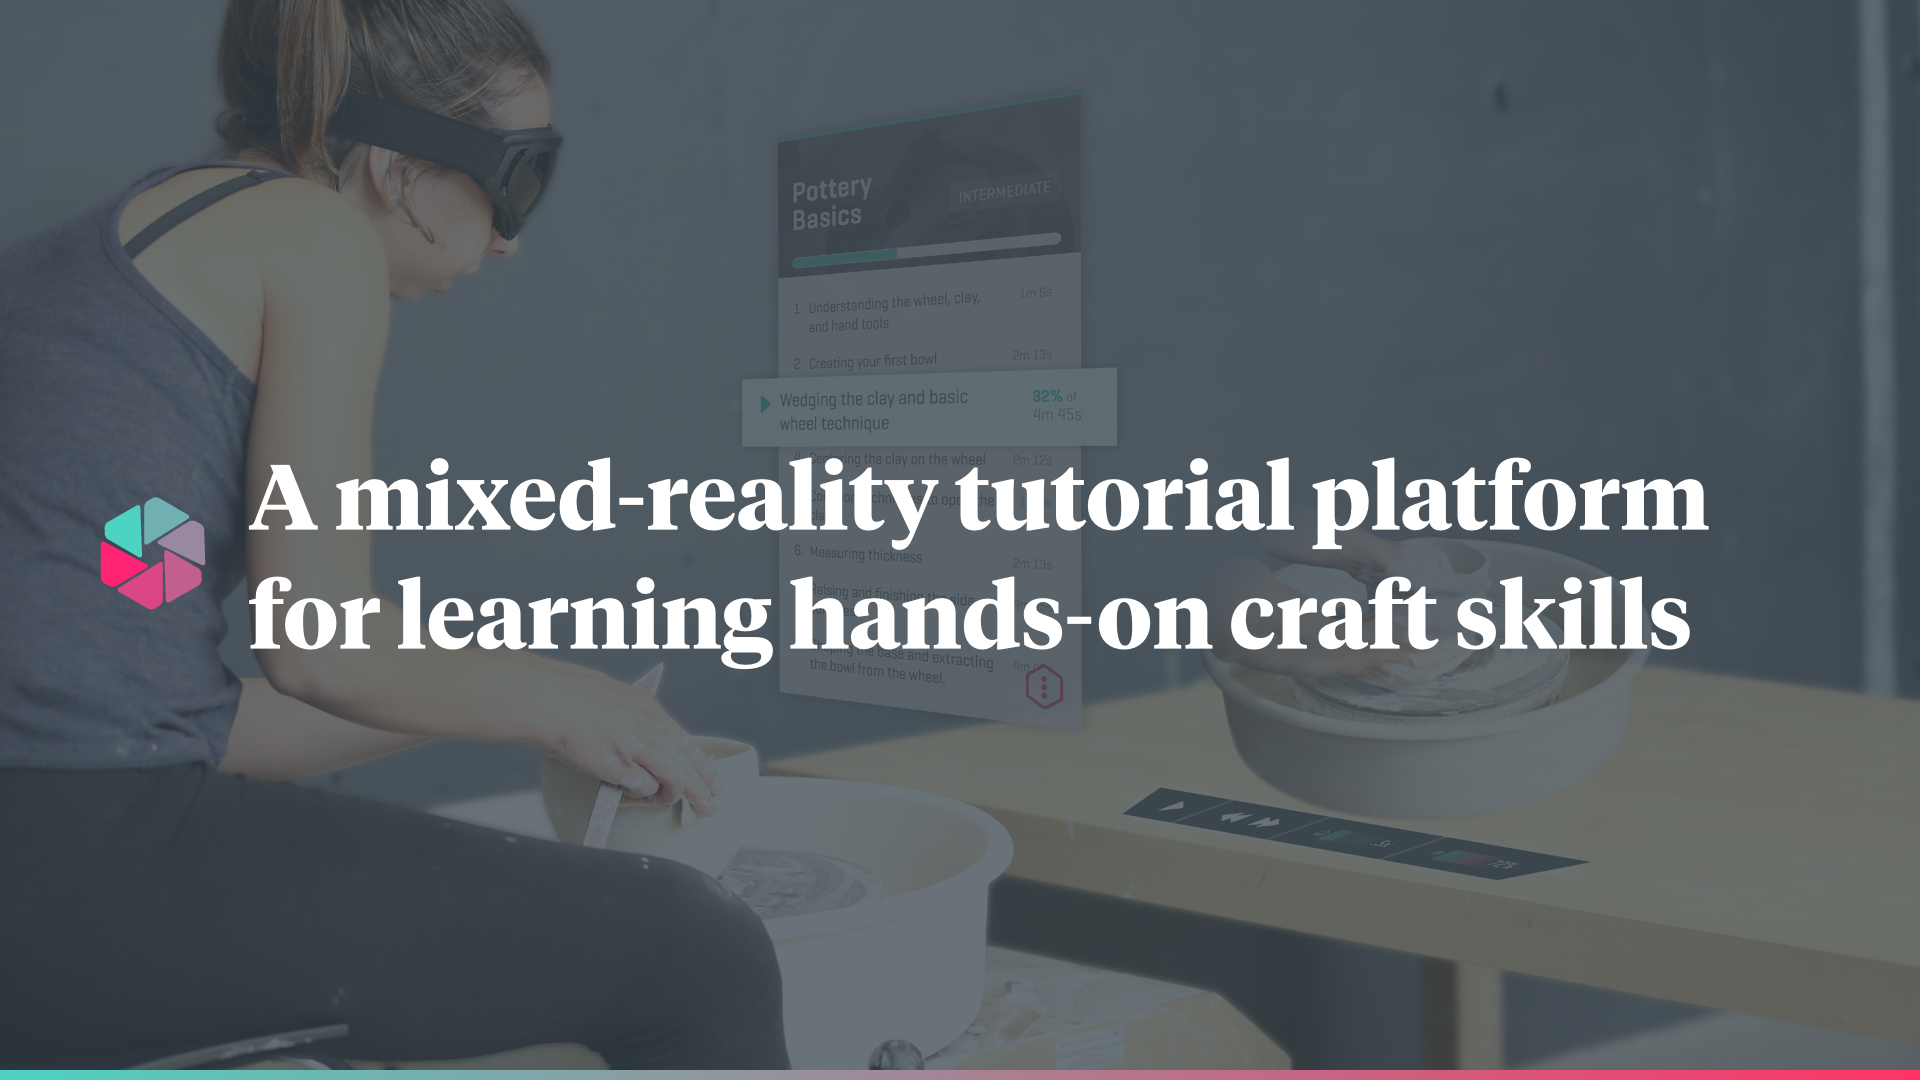
Crafting an interactive skill-learning experience
Capstone Project
Summer 2015
Project Scope
Research, Ideation, Prototyping,
Evaluation, & Design
Contributions
Design Research
Design Strategy
User Experience Design
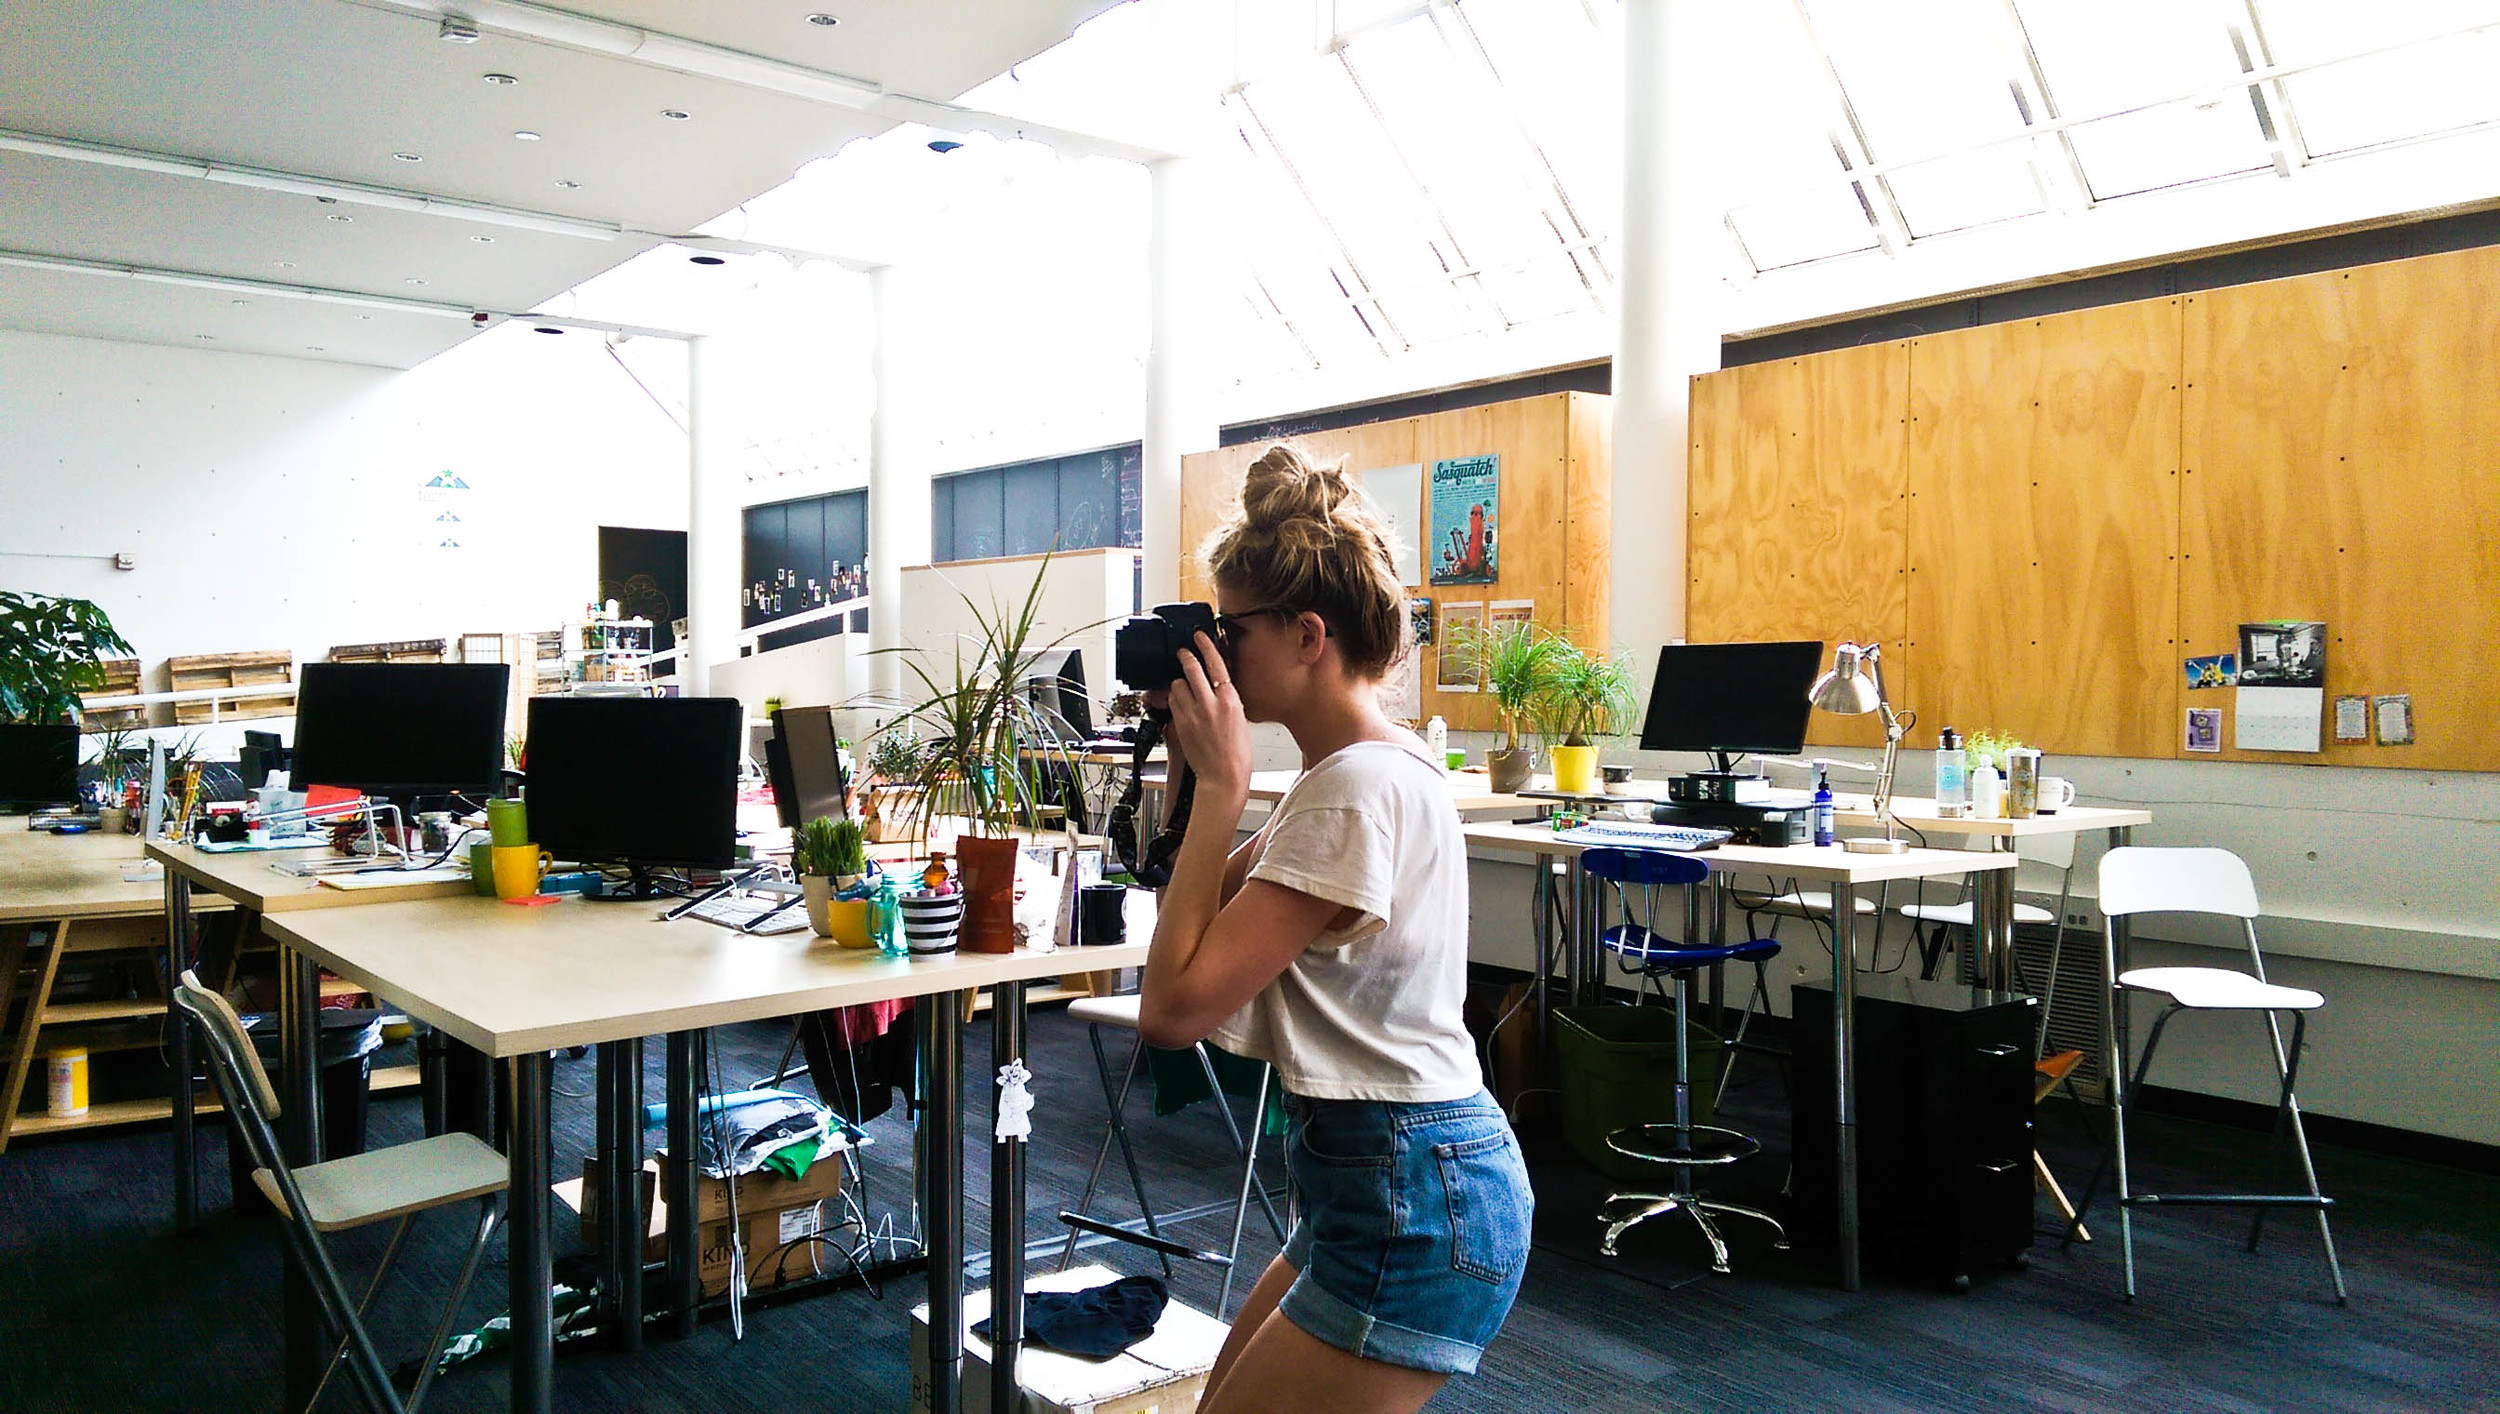
Product Video Lead
Principle Photographer
Knitting Expert & Teacher
Sponsor
Intentional Futures
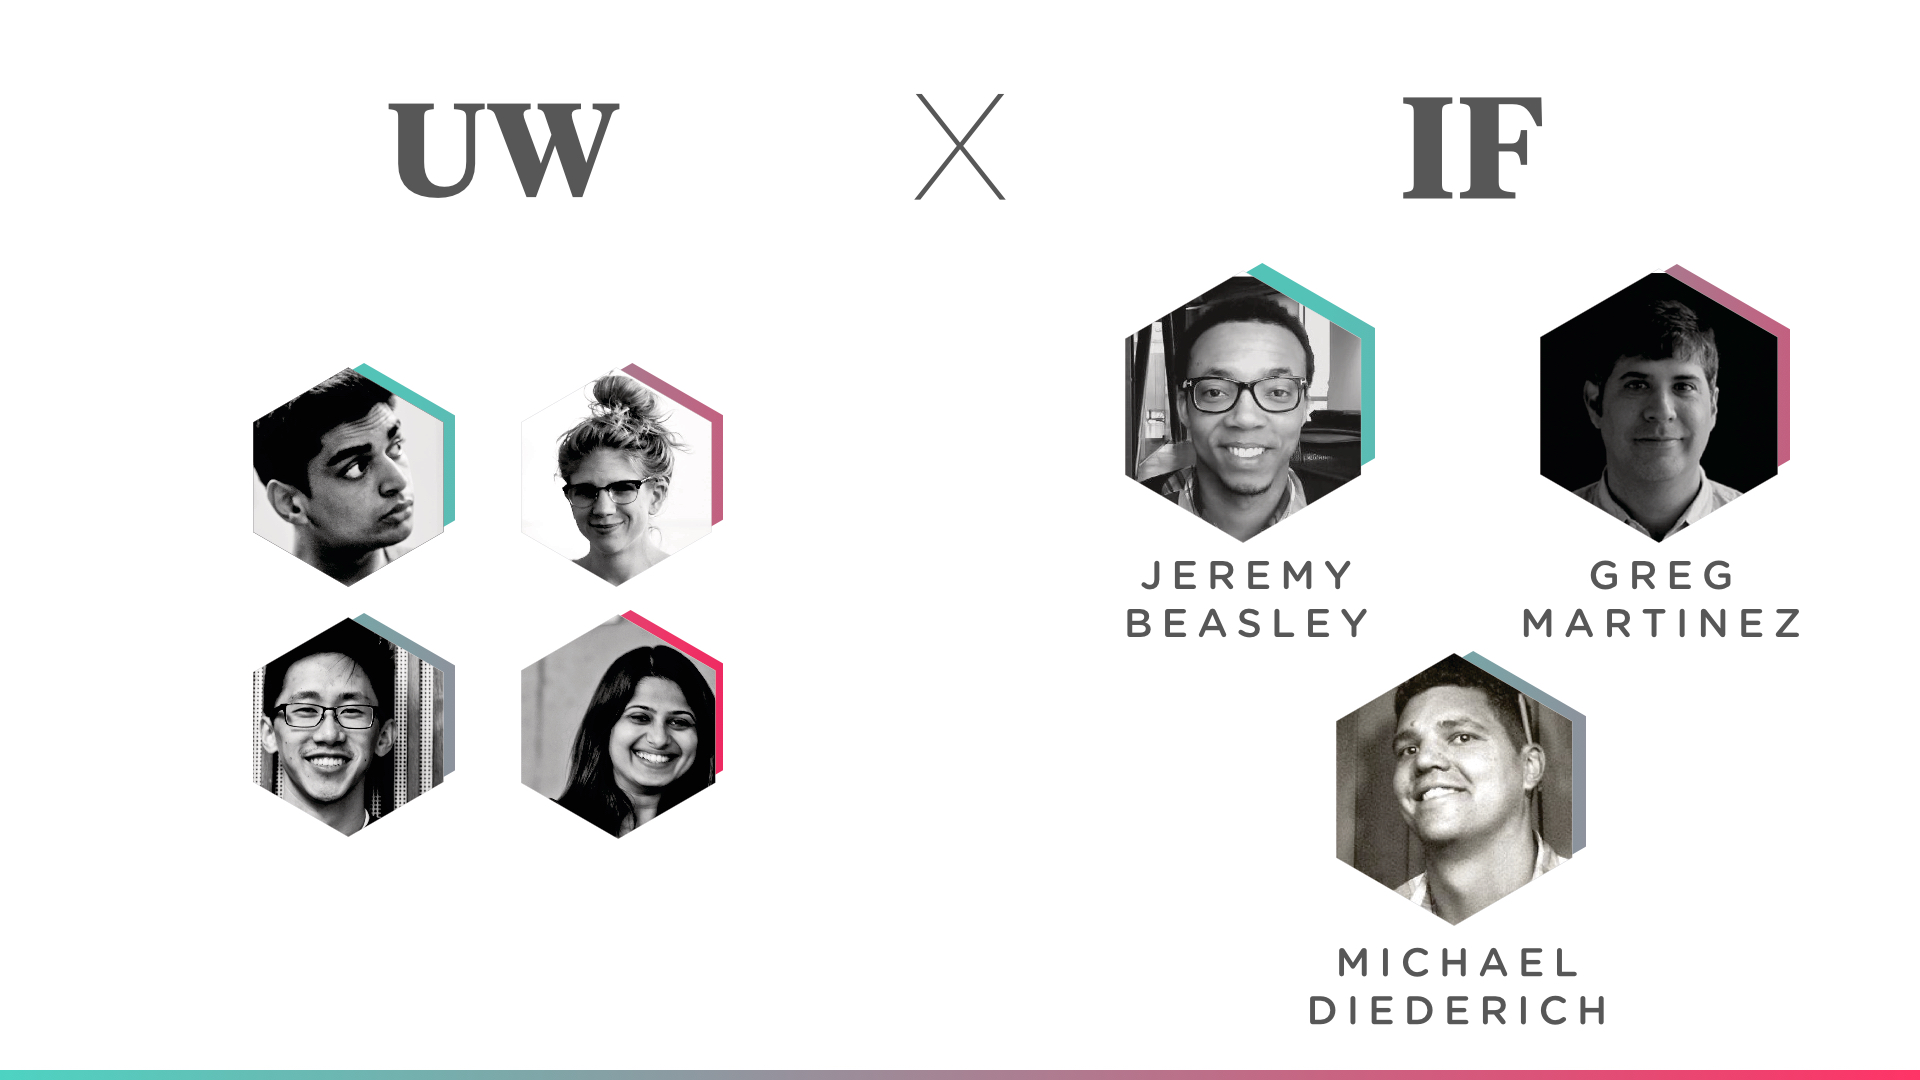
Collaborators
Aaron Brako
Garrick Li
Ranj Krishnan
Special Thanks
John Martin
Heath Green
Clare Lunceford
Linda Wagner
Justin Hamacher
Jared Bauer

OPPORTUNITY
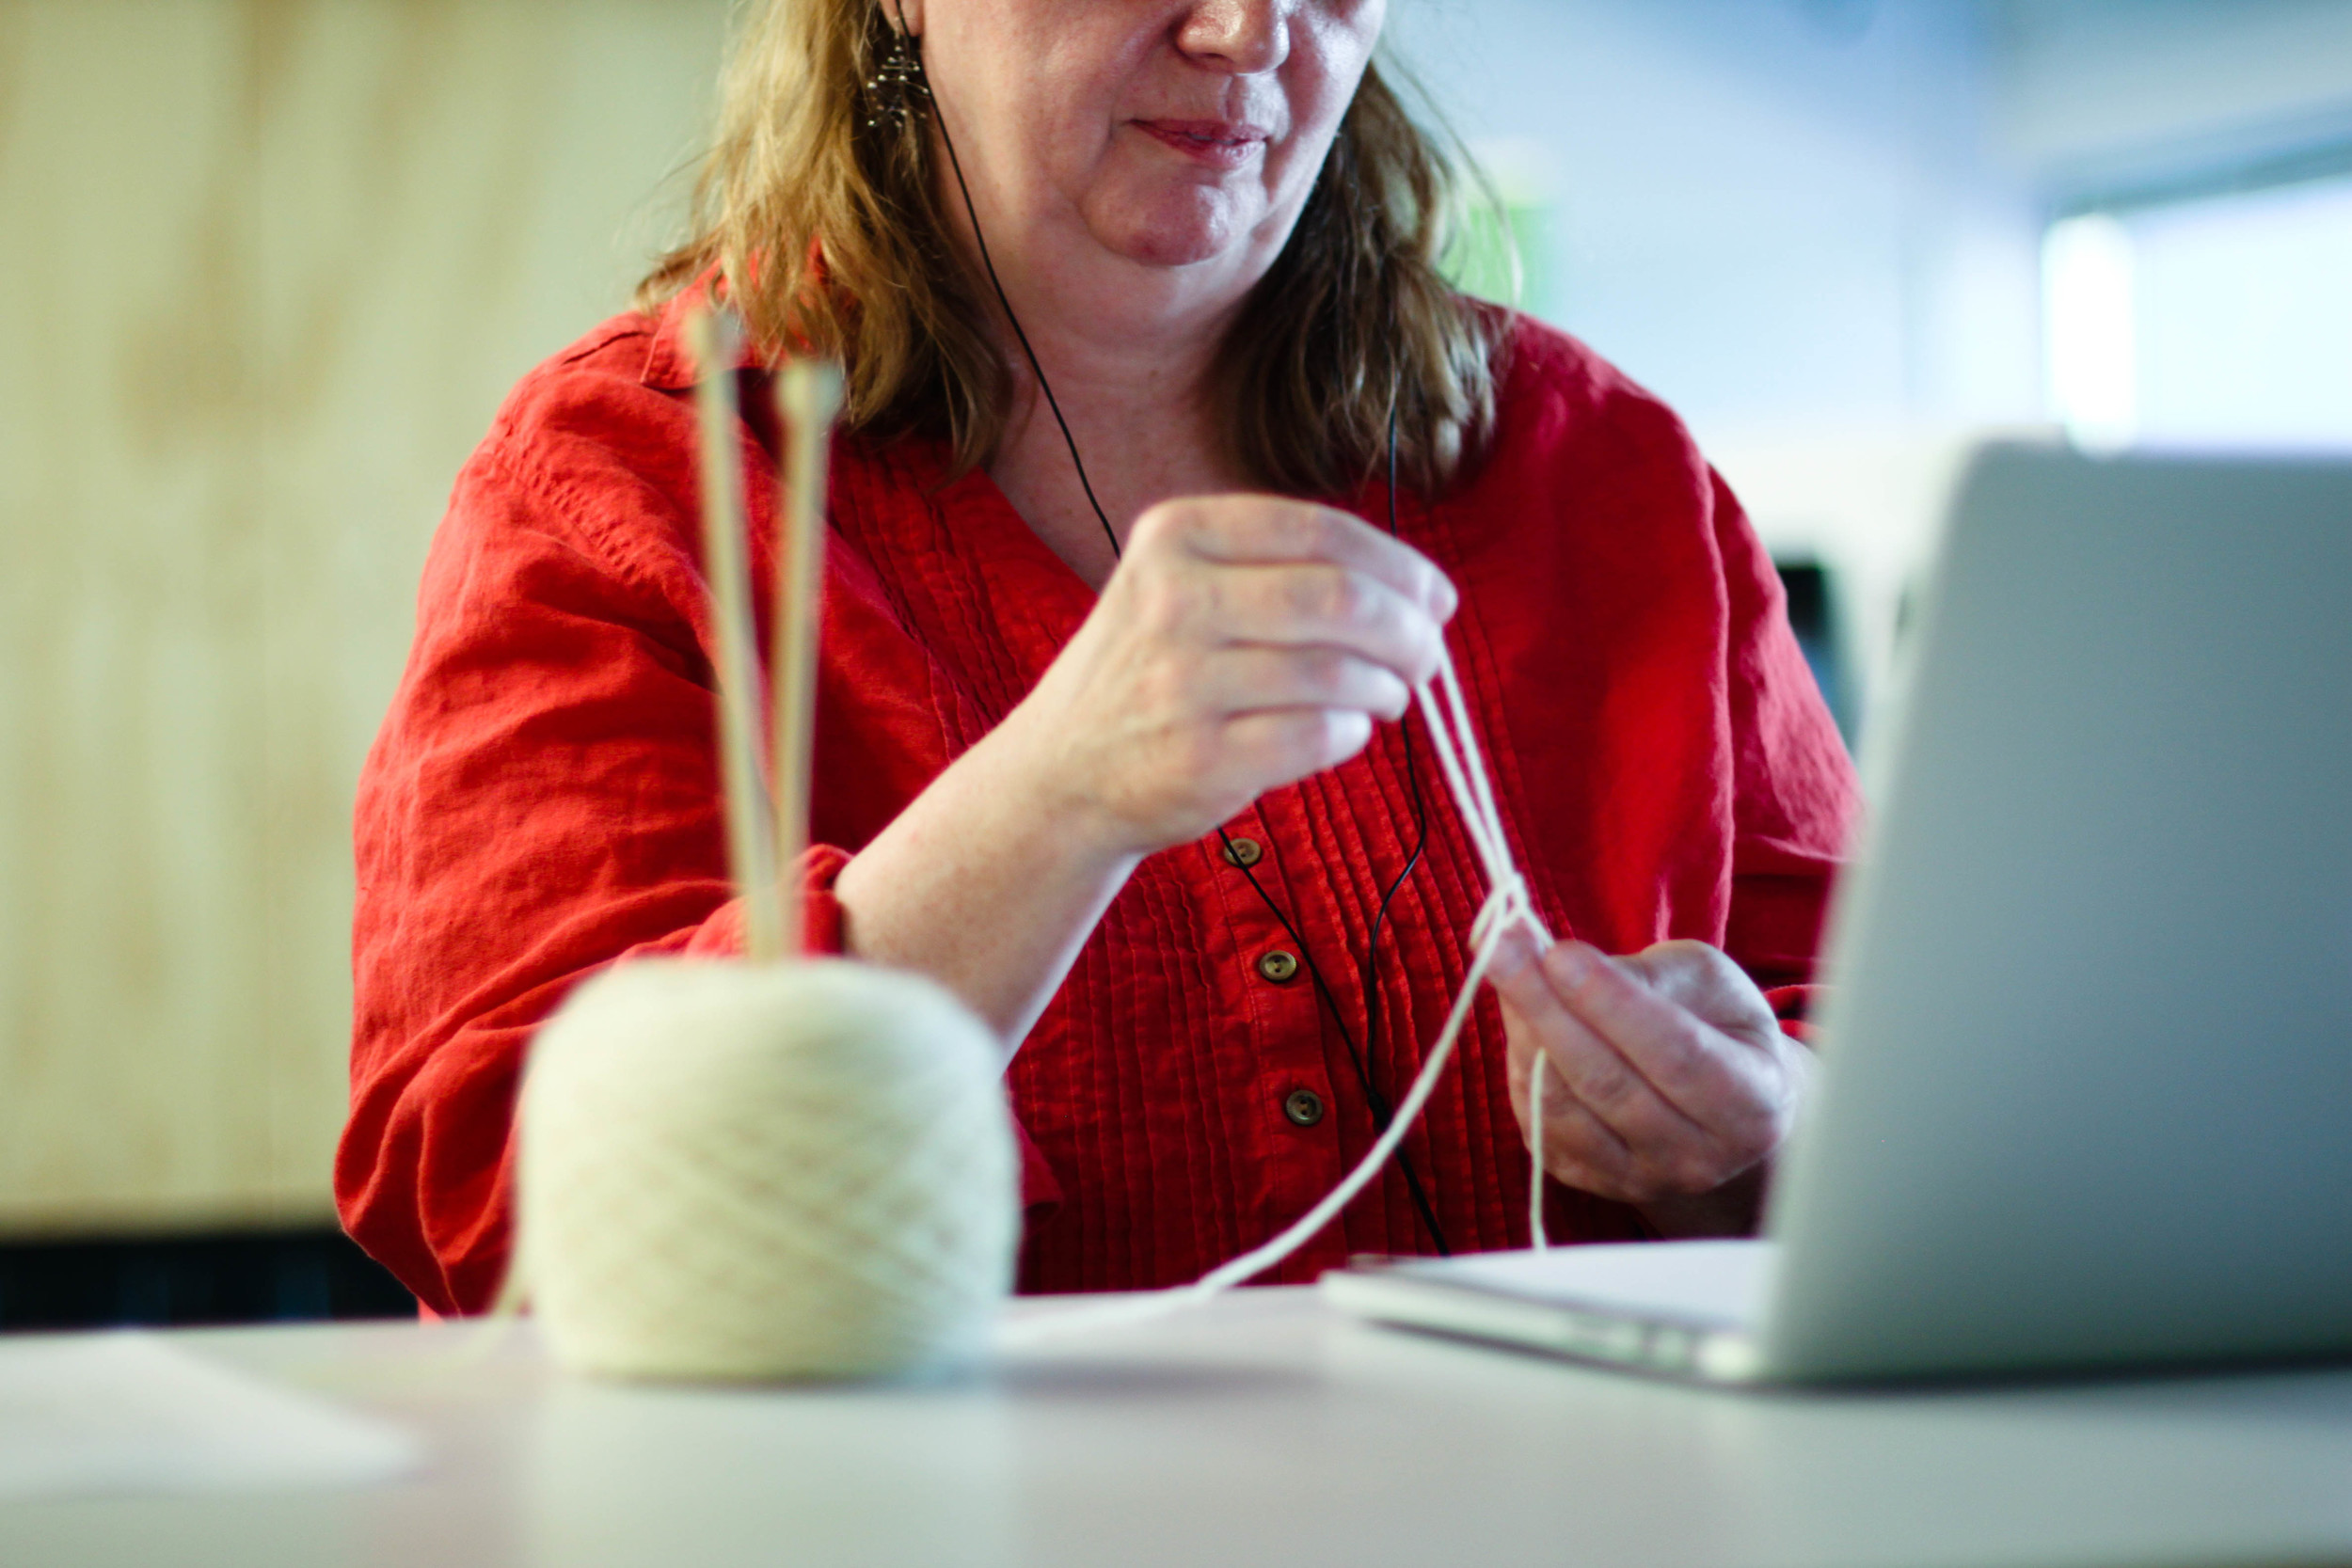
Watch the video on the right. Notice how complicated and confusing it is to learn a highly dextrous skill—like knitting—with current tools and tutorials?
It's hard to understand the layering relationship of materials in a 2D space, static tutorials move at a single, unadaptable pace that fails to adjust to the unique needs of a user, and current tools are hand-controlled, a frustrating experience when learning hands-on skills.
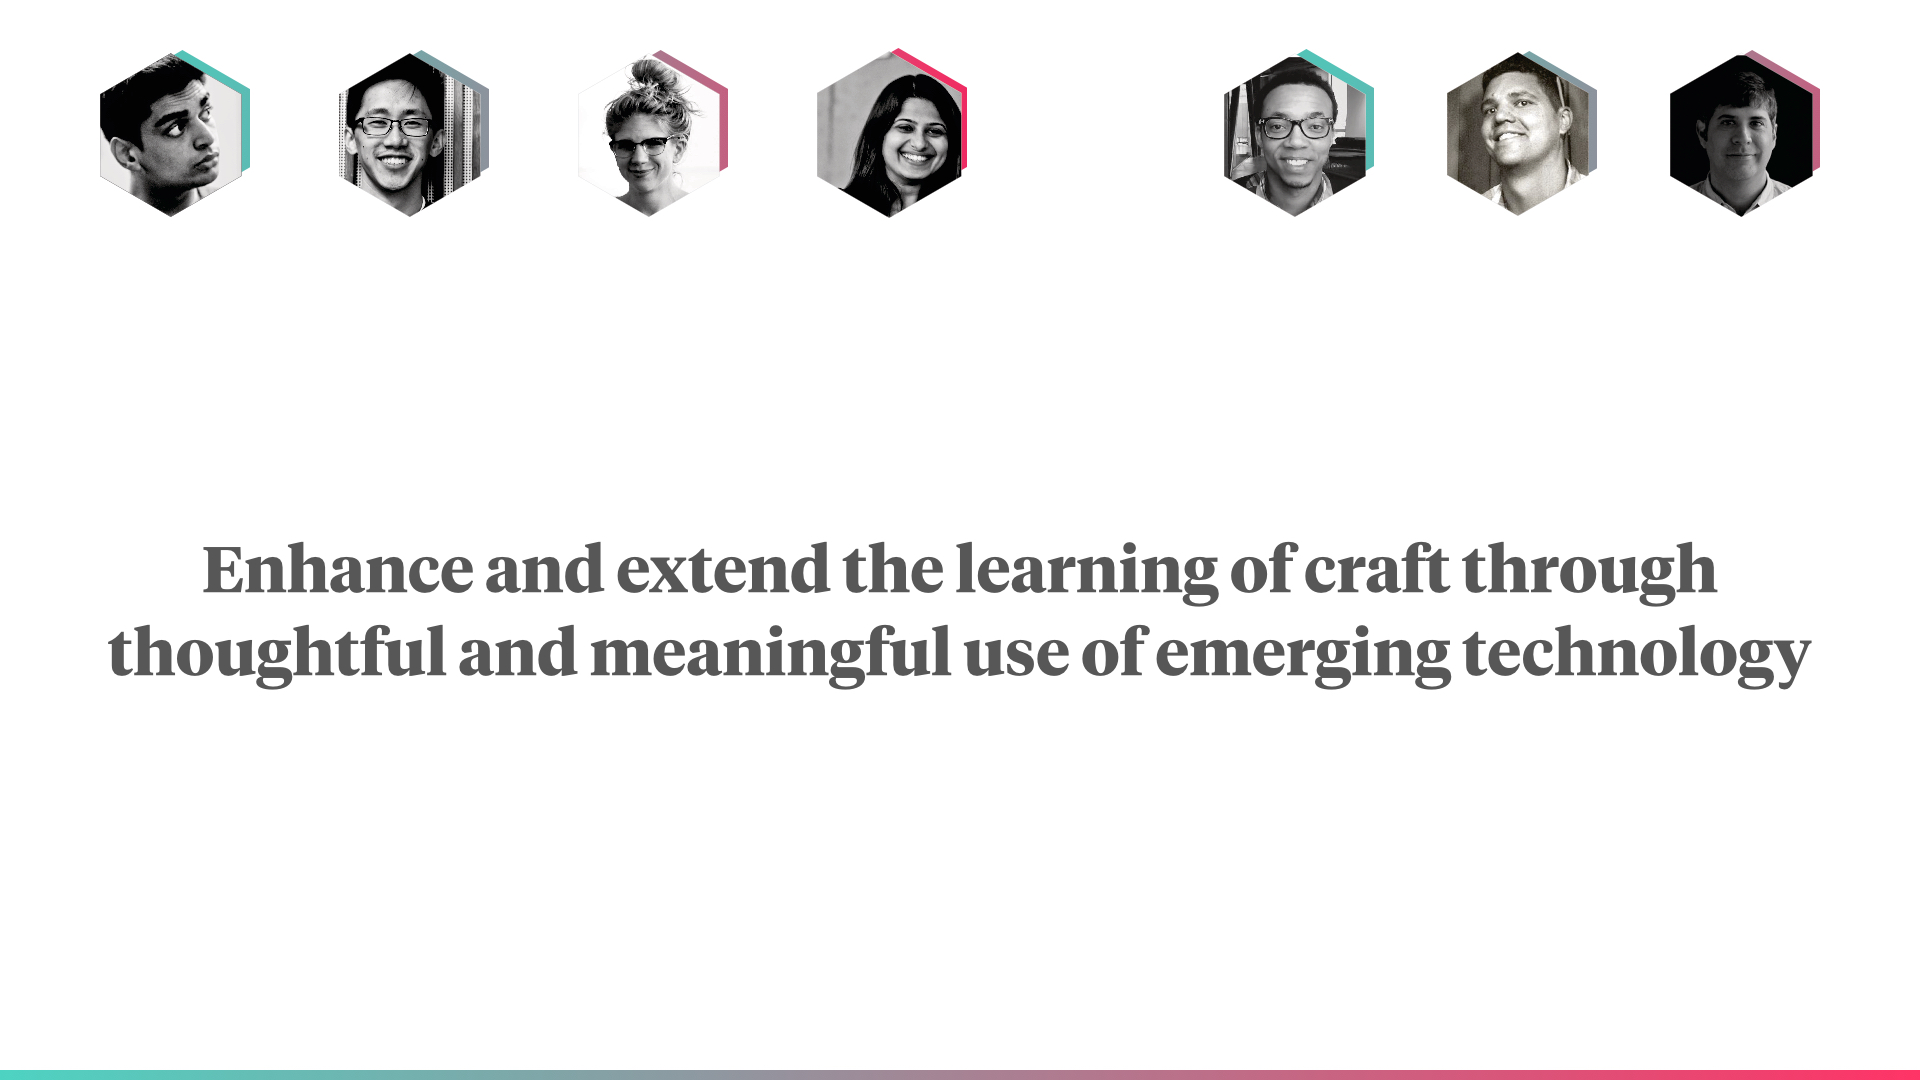
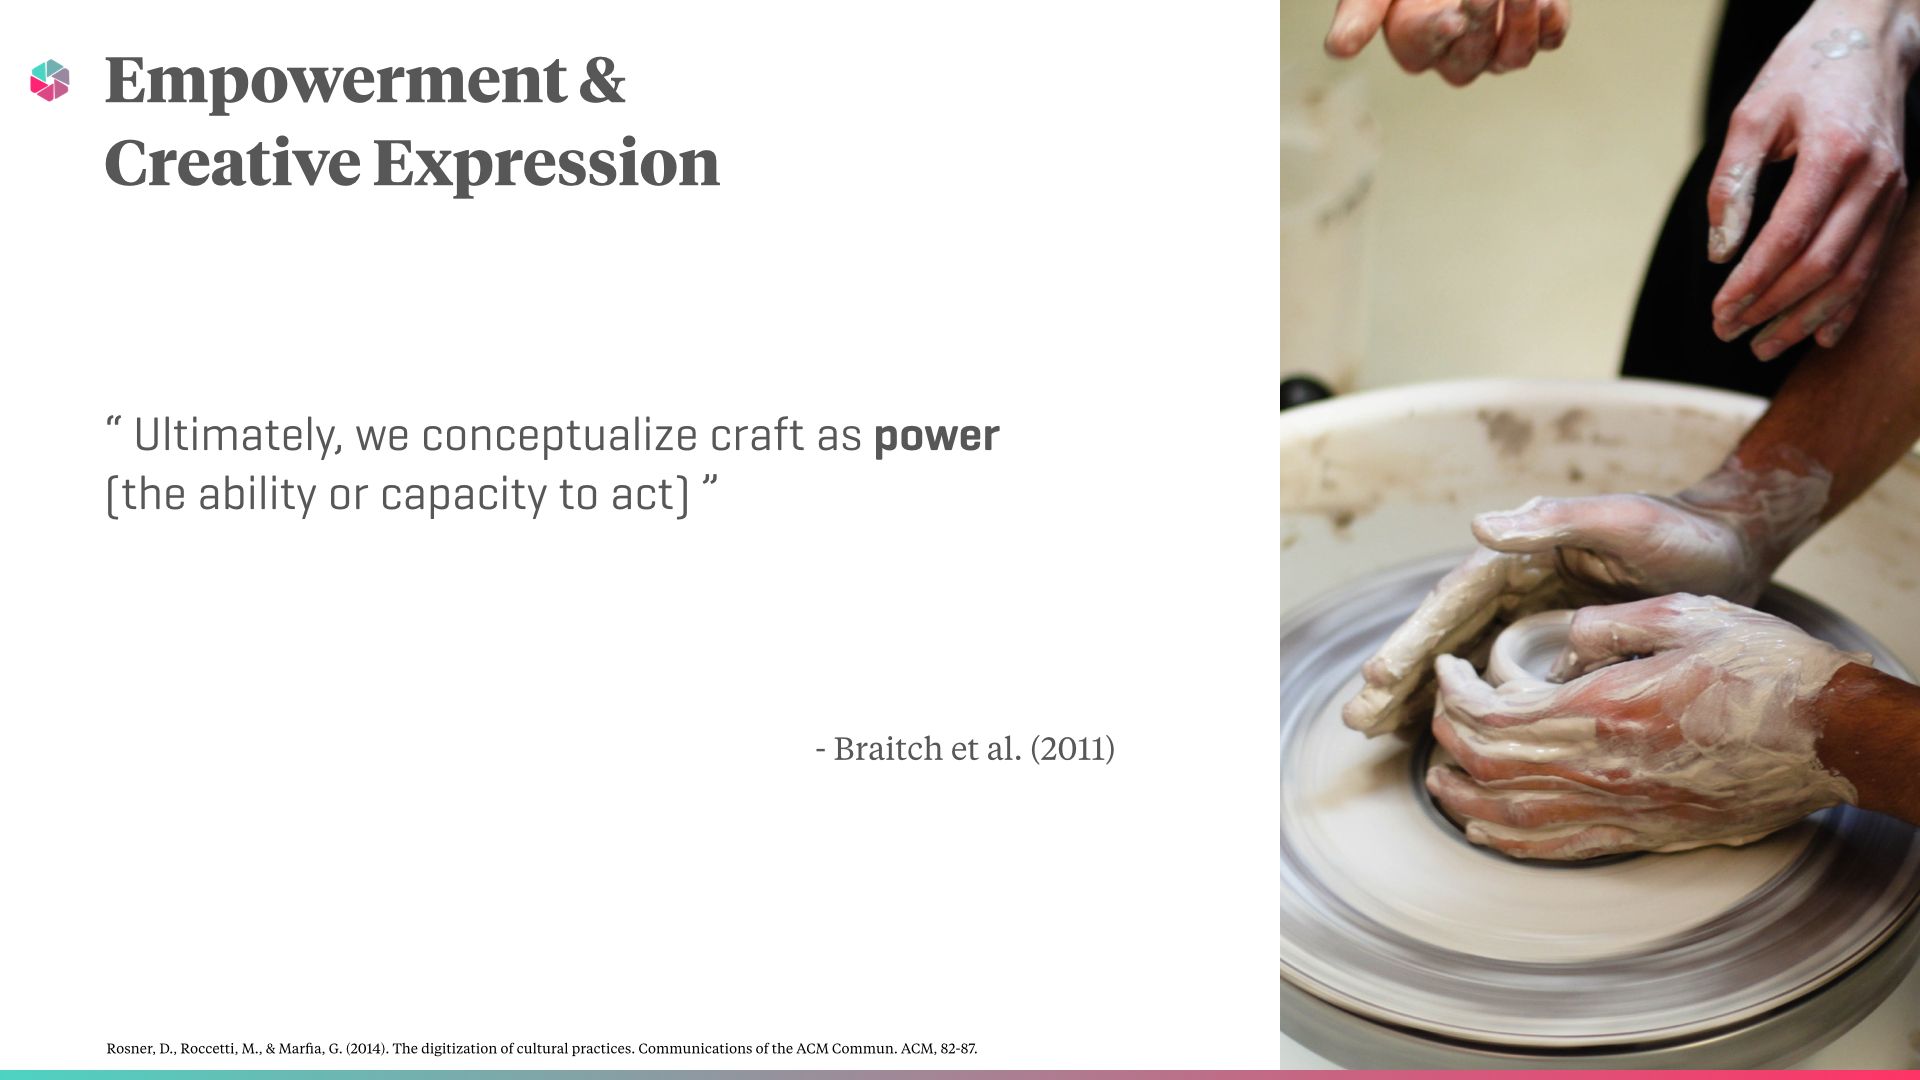
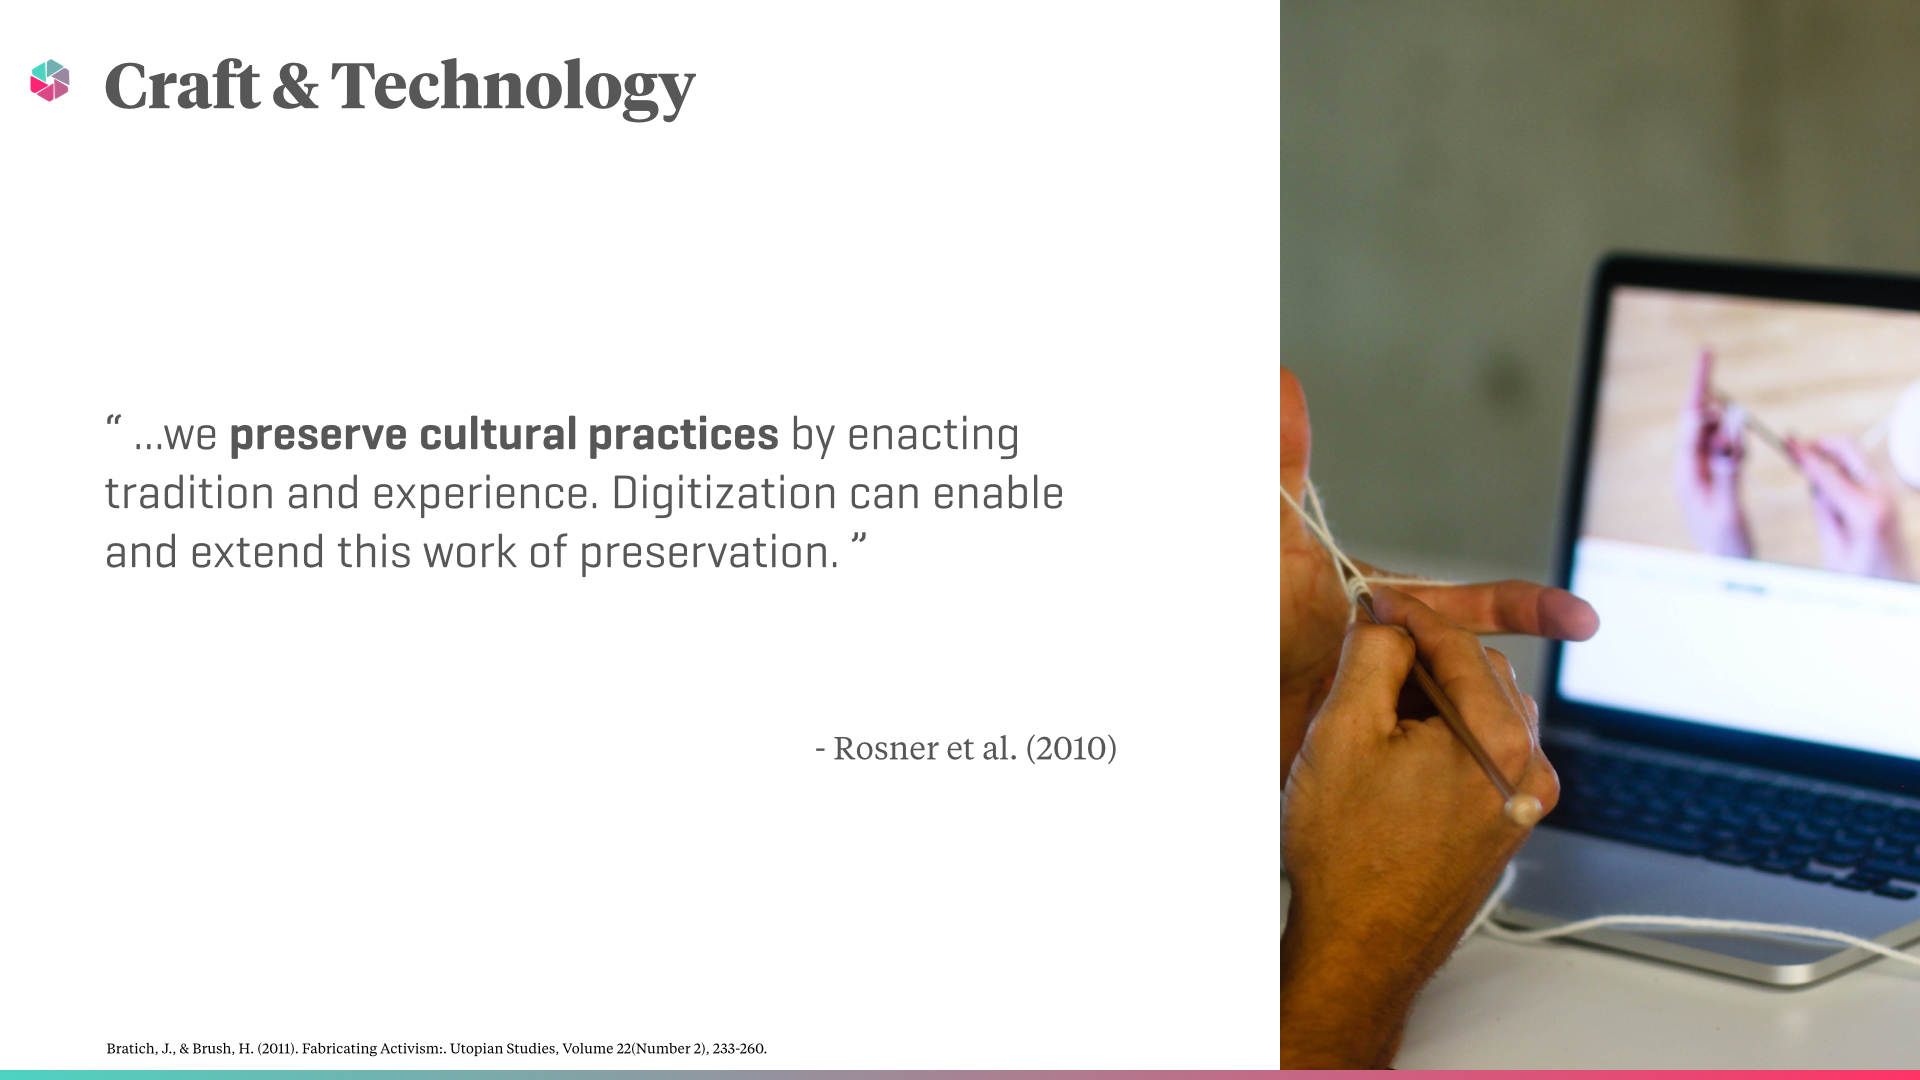
Frustrated by inadequacies of current tools, inspired by the idea of preserving artisanal craft, and motivated to make, build, and grow through creativity, our mission was clear: to enhance and extend the learning of hands-on skills through the use of emerging technology.
"There's value added in your experience of knowing that that happened because of my physical labor and design prowess. Yeah, empowerment is the right word.” — John Martin, University of Washington Art Building Wood Shop Studio Technician

TO Enhance and extend the learning of craft through
thoughtful and meaningful use of emerging technology


INVESTIGATION
Our research began by acquiring domain knowledge through expert interviews and a literature review, and understanding the as is scenario
for DIY learners with surveys, market research, and ethnographic field research. We sought answers to the following research questions:
- How do users currently learn craft skills?
- What are their biggest pain points?
- What is the content creation process for experts?
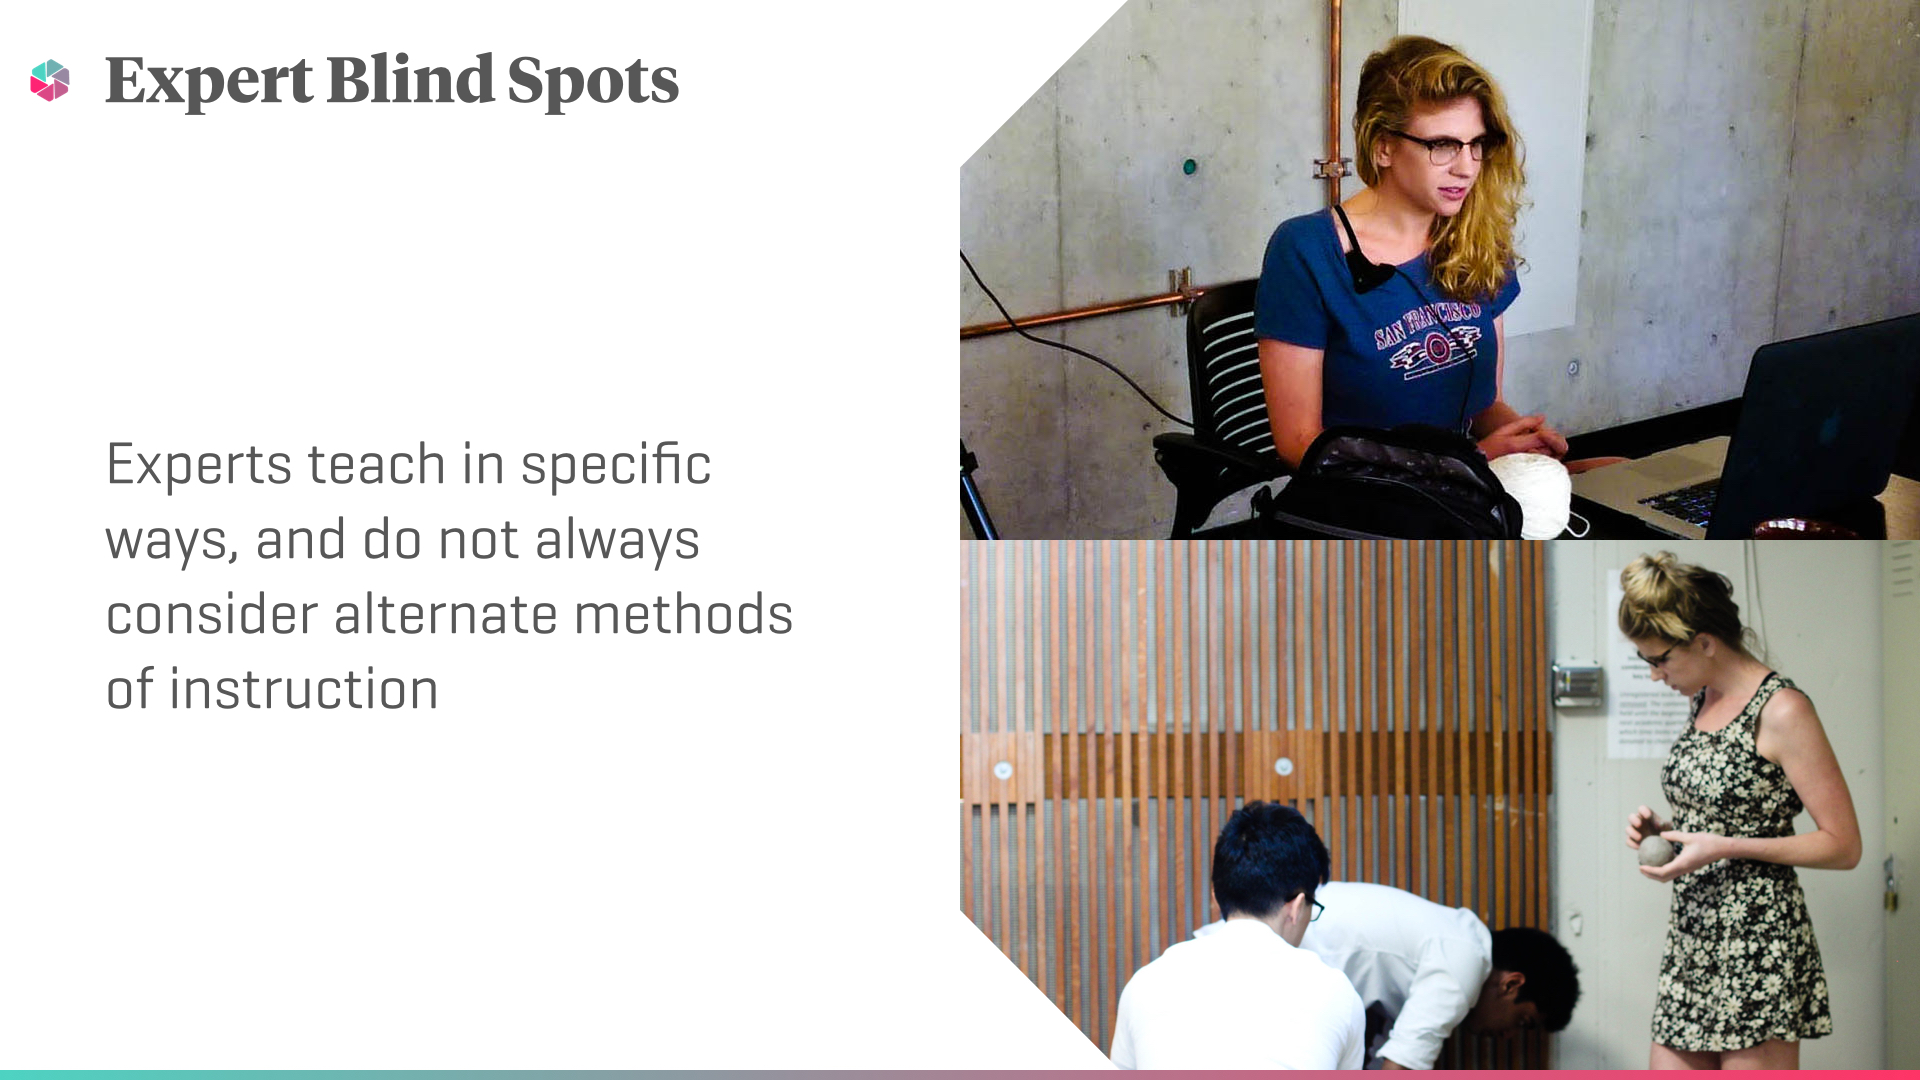
Expert Interview with john martin
I spoke with John about his experience teaching craft, and the biggest pain points students encounter when just beginning to learn.
“They’re starting at absolute zero, and that—for me—is the most exciting part of my job. Taking that person from would hold a screwdriver by the wrong end, and now they are operating an industrial machine perfectly. It changes people—it really does."
“It’s that visceral intimidation—getting over that hurdle is the biggest part of my job.”

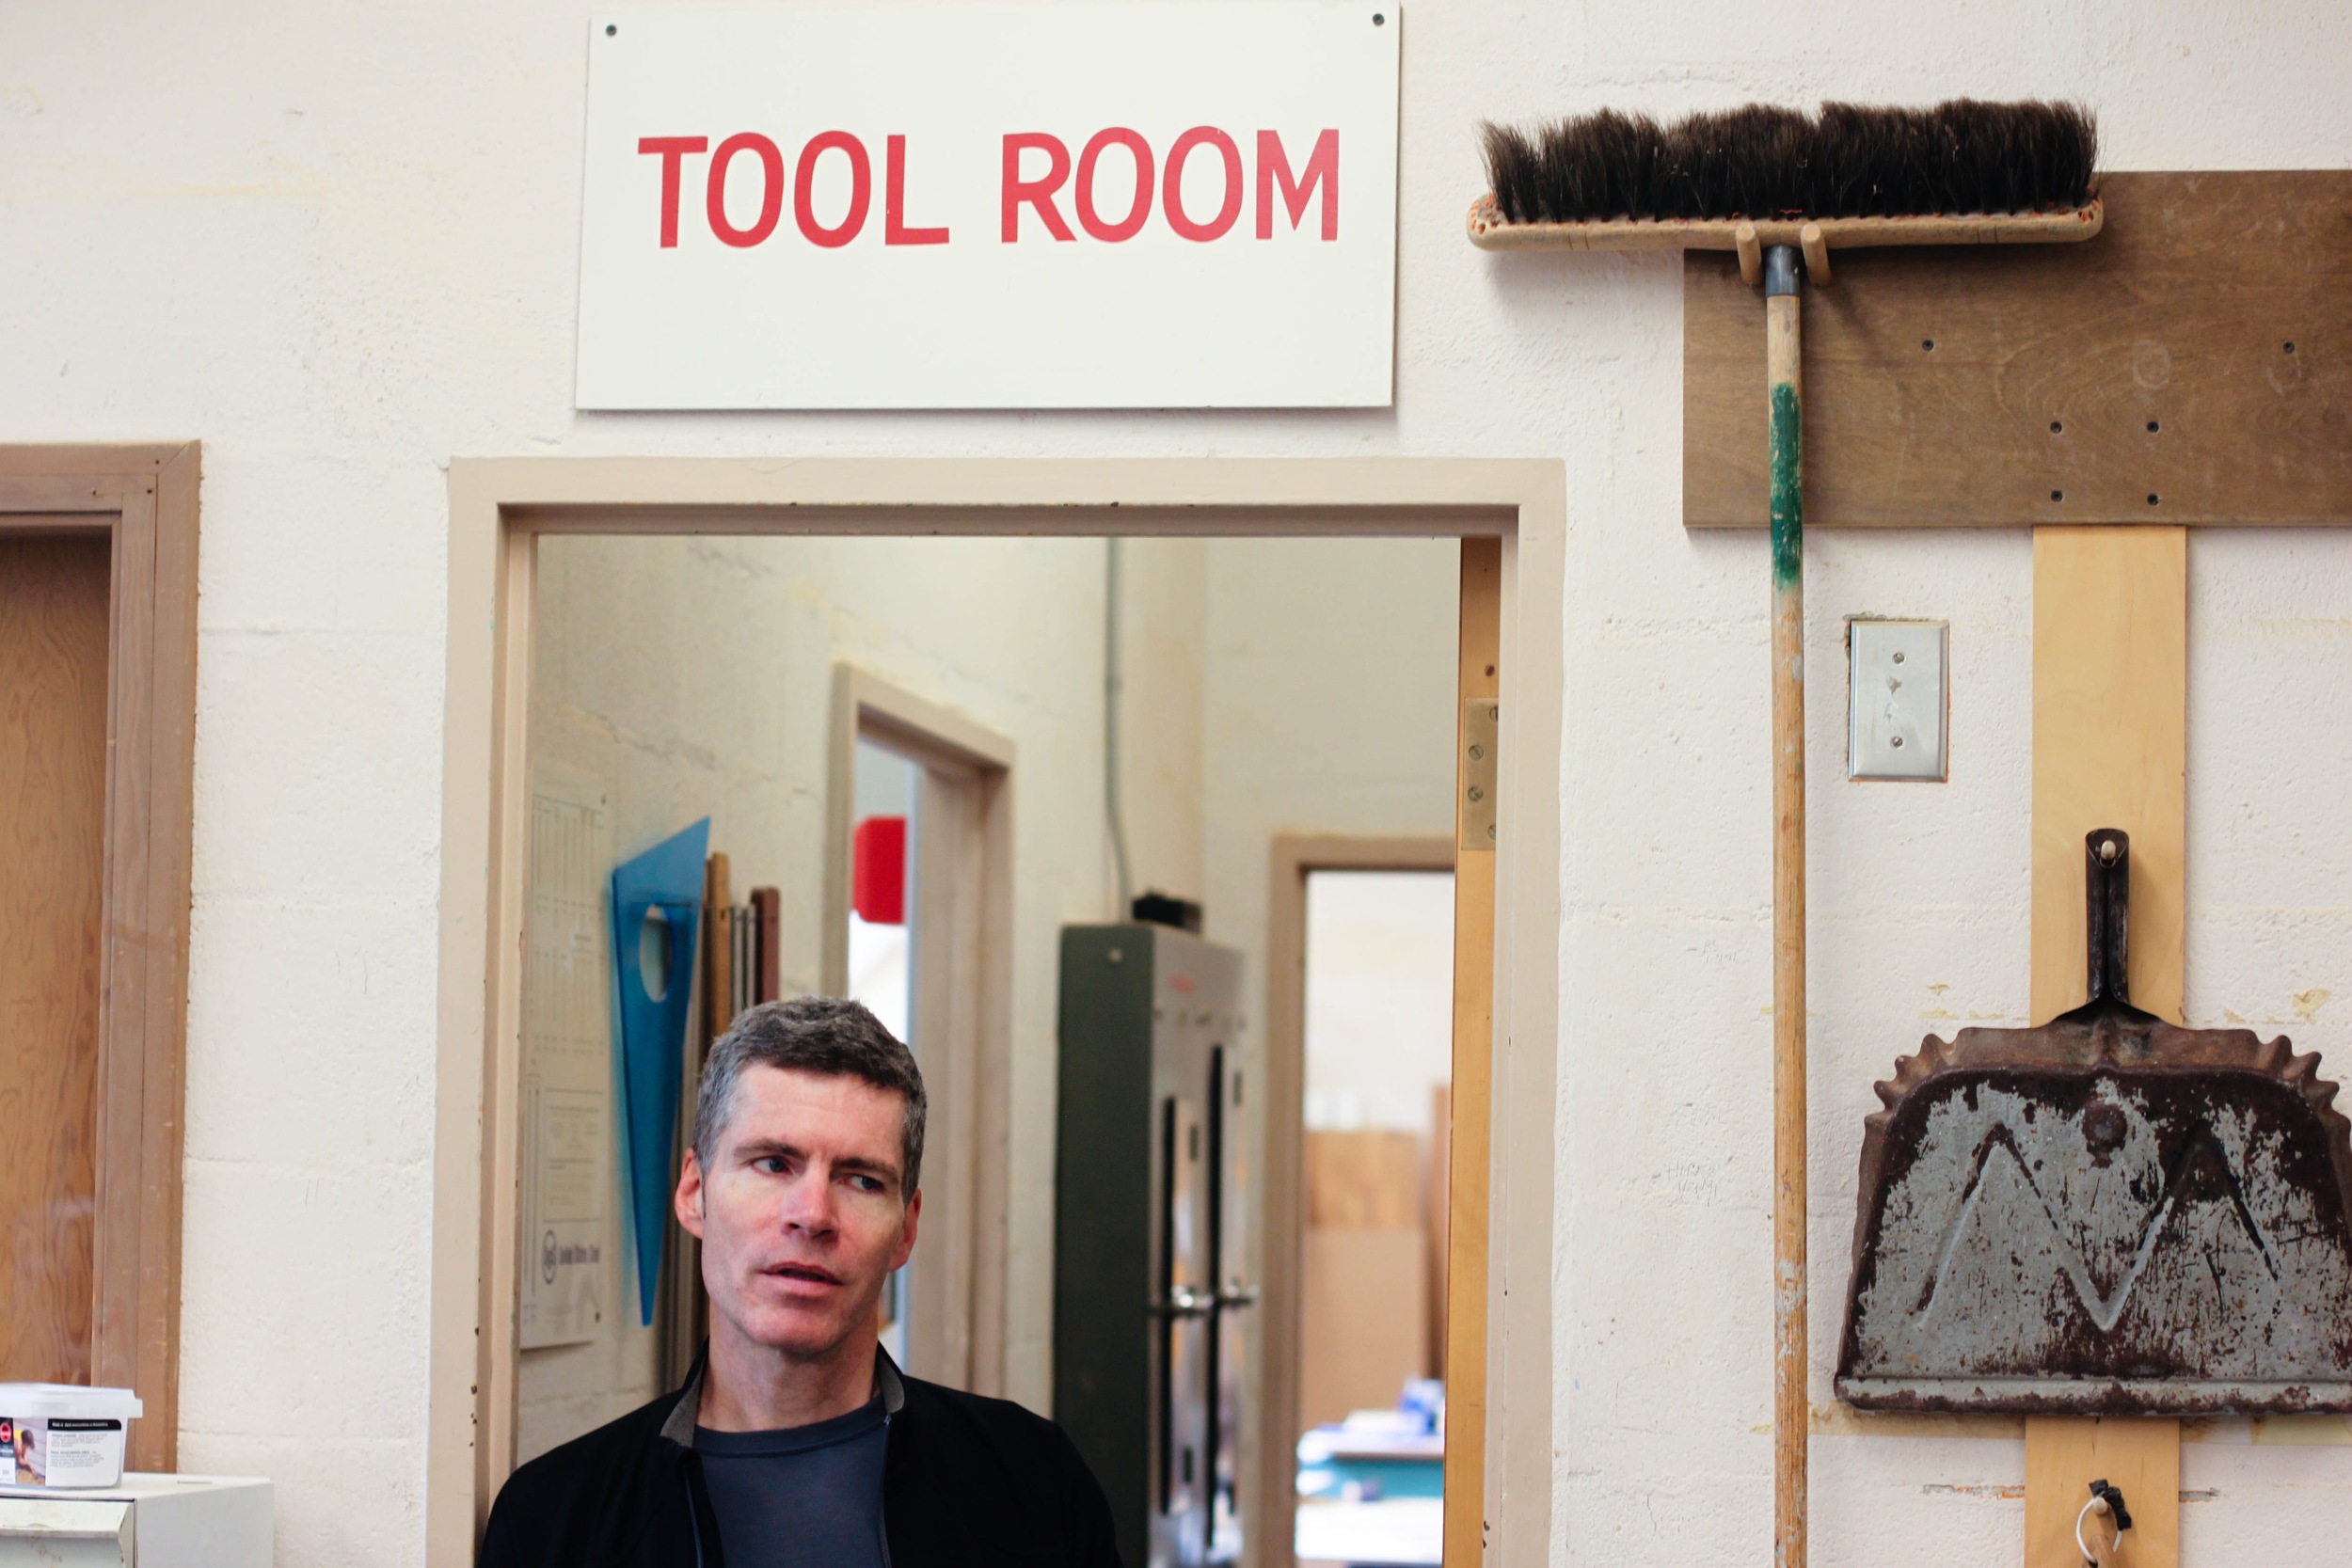
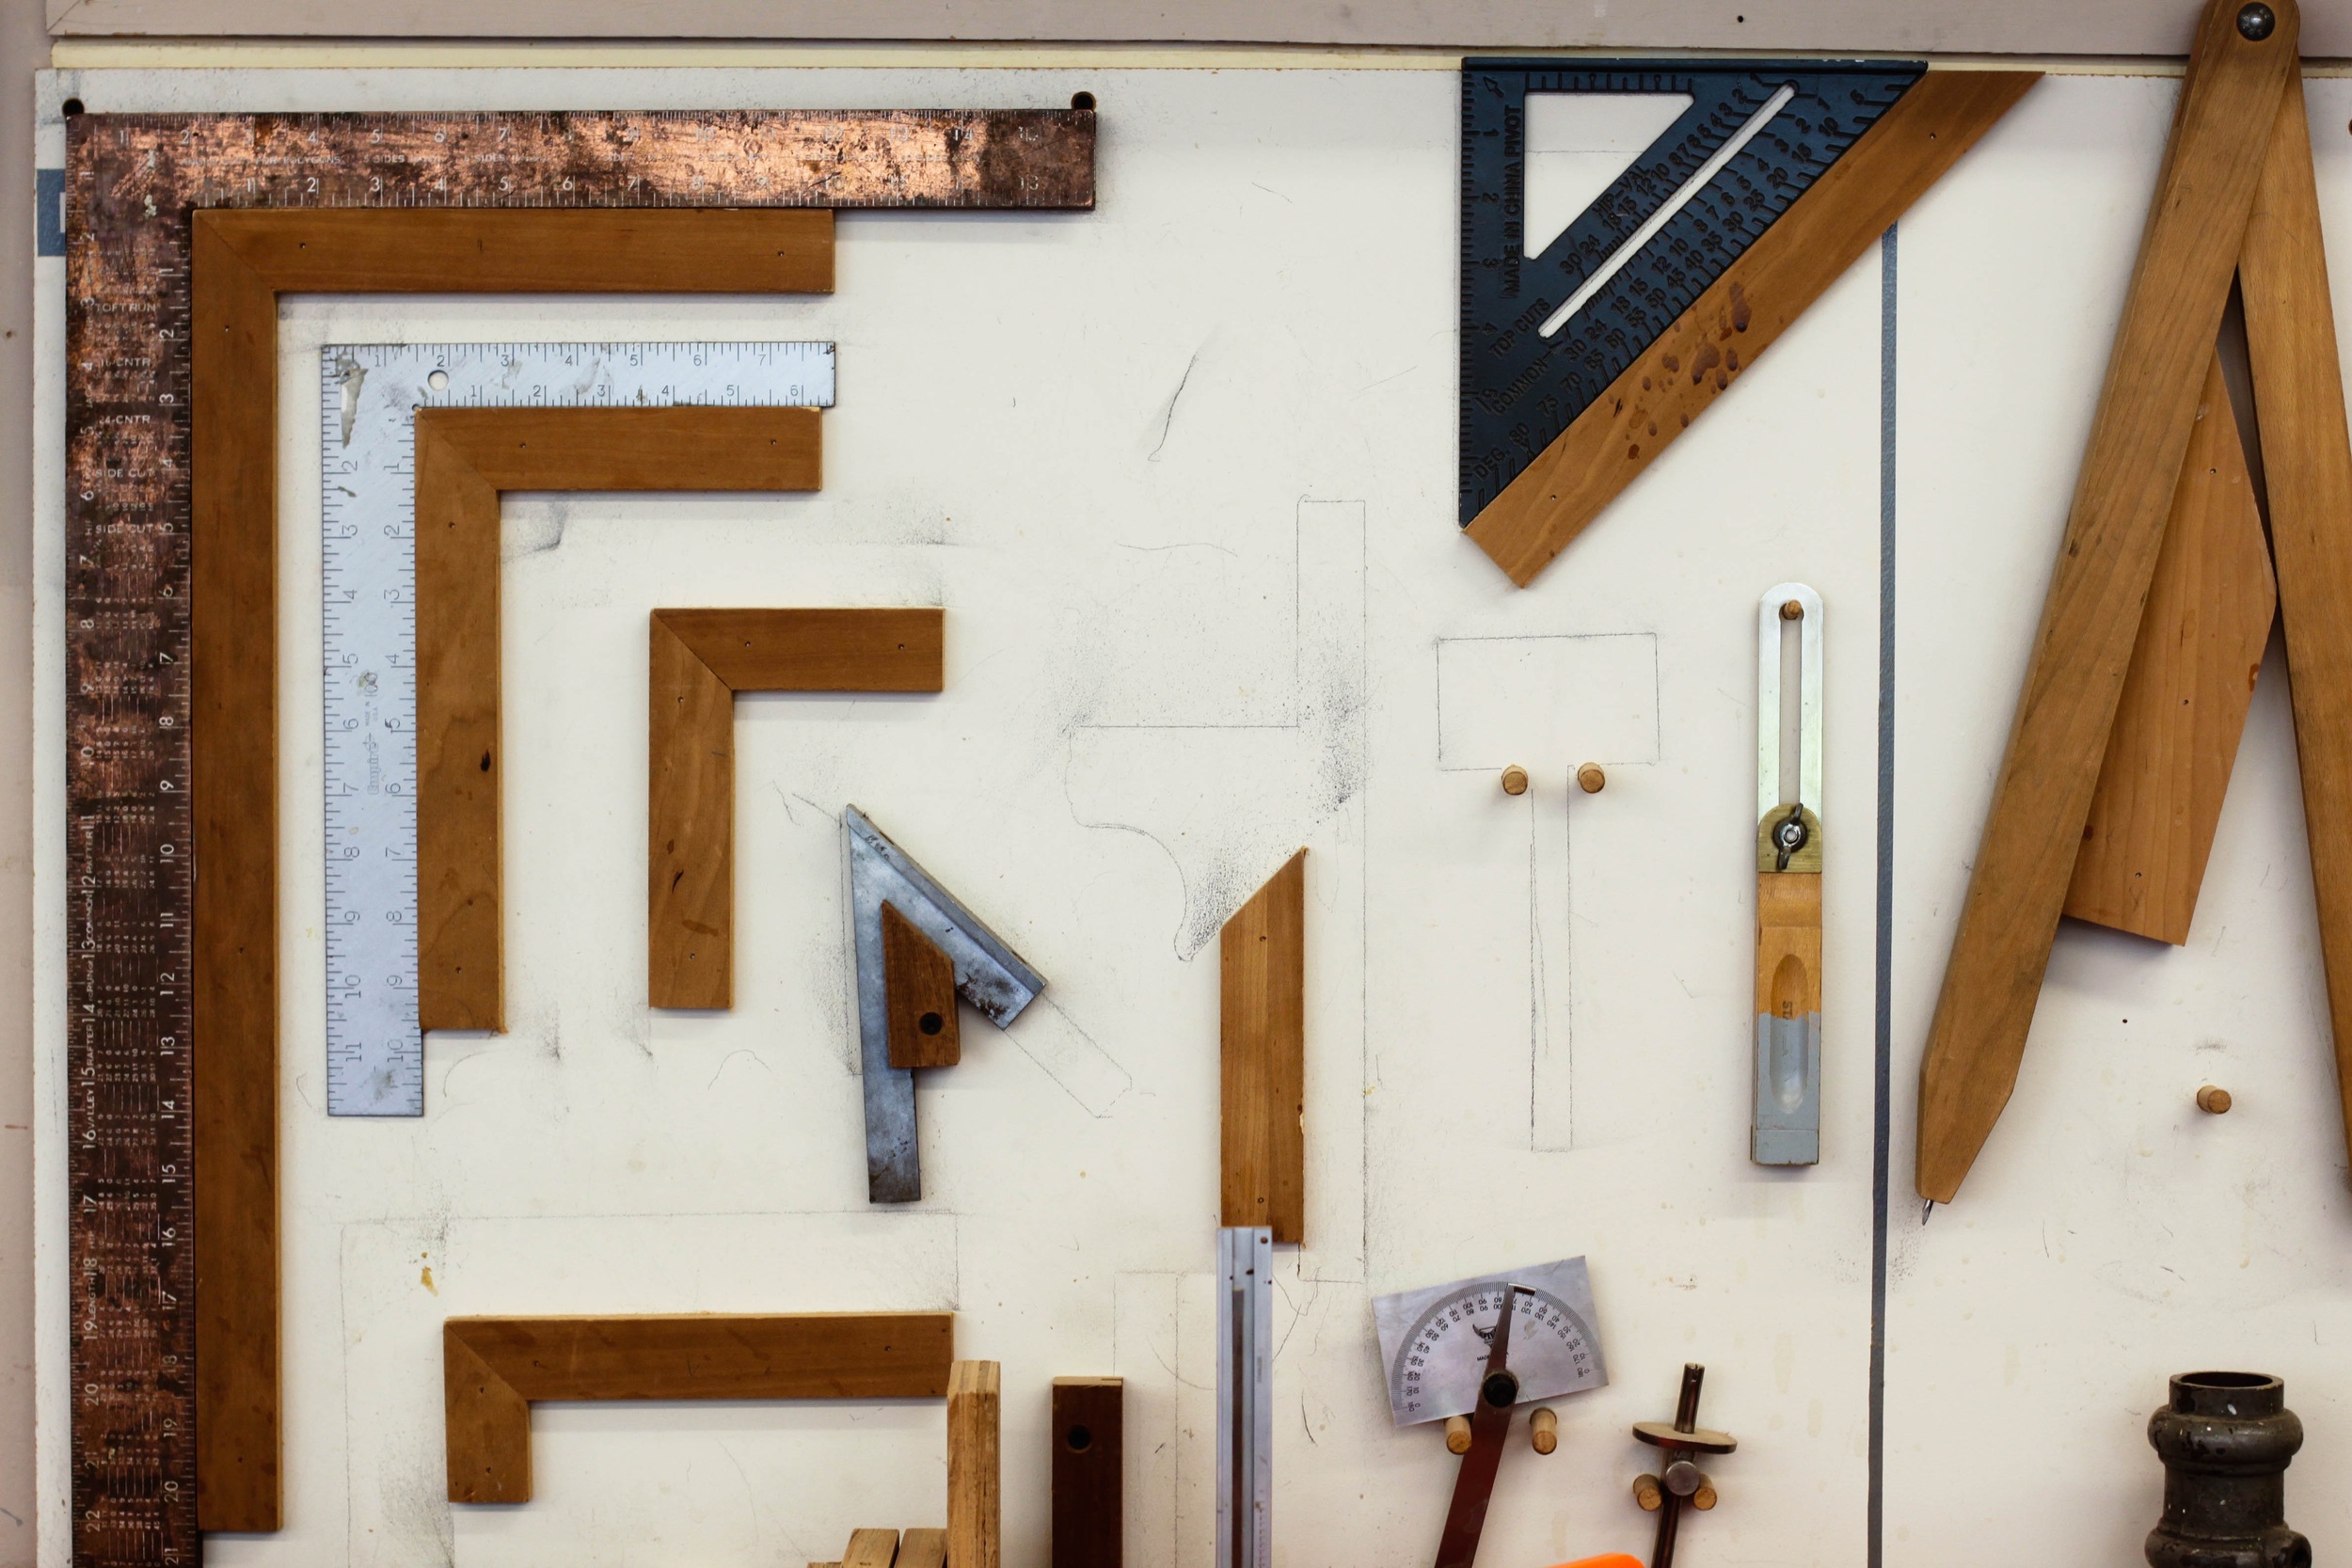
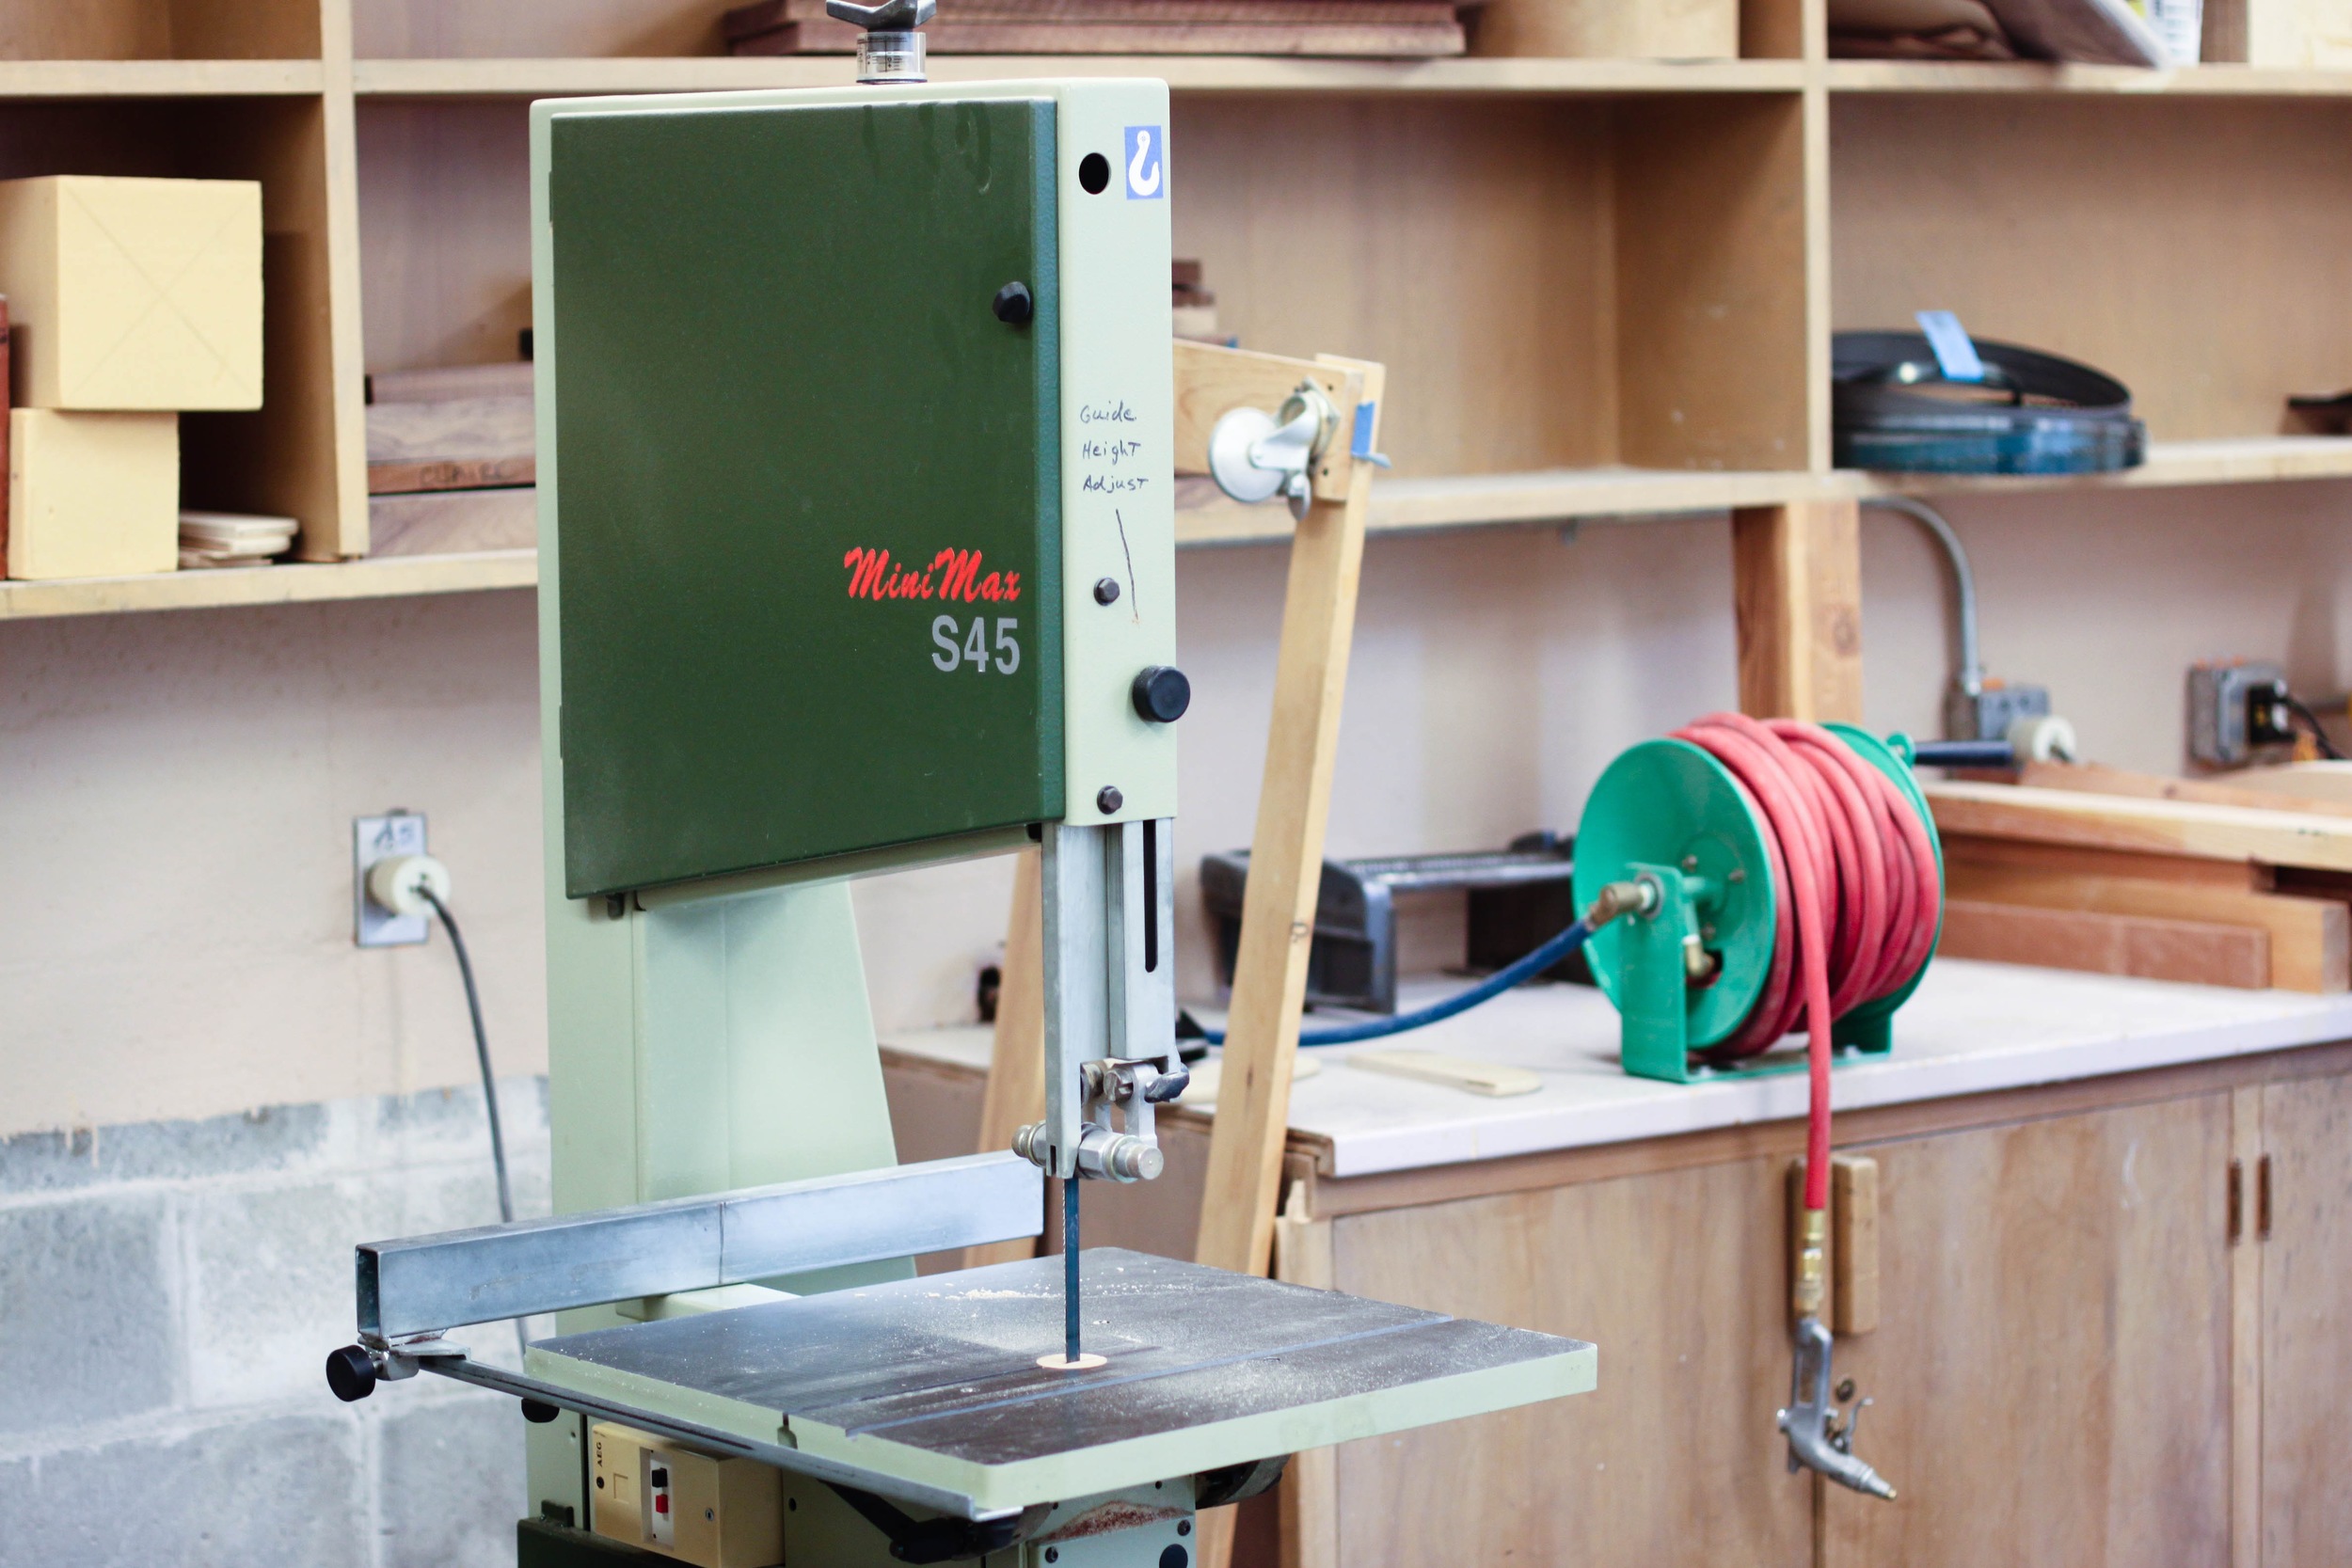
Photographs taken during expert interview with John Martin: University of Washington Art Building Wood Shop Studio Technician.


KNITTING AS A USE CASE
We evaluated potential use cases based on the following criteria:
- Feasibility: safe, inexpensive, relatively compact
- Complexity: complex layering relationship of materials
- 3-D: required understanding of three dimensional space
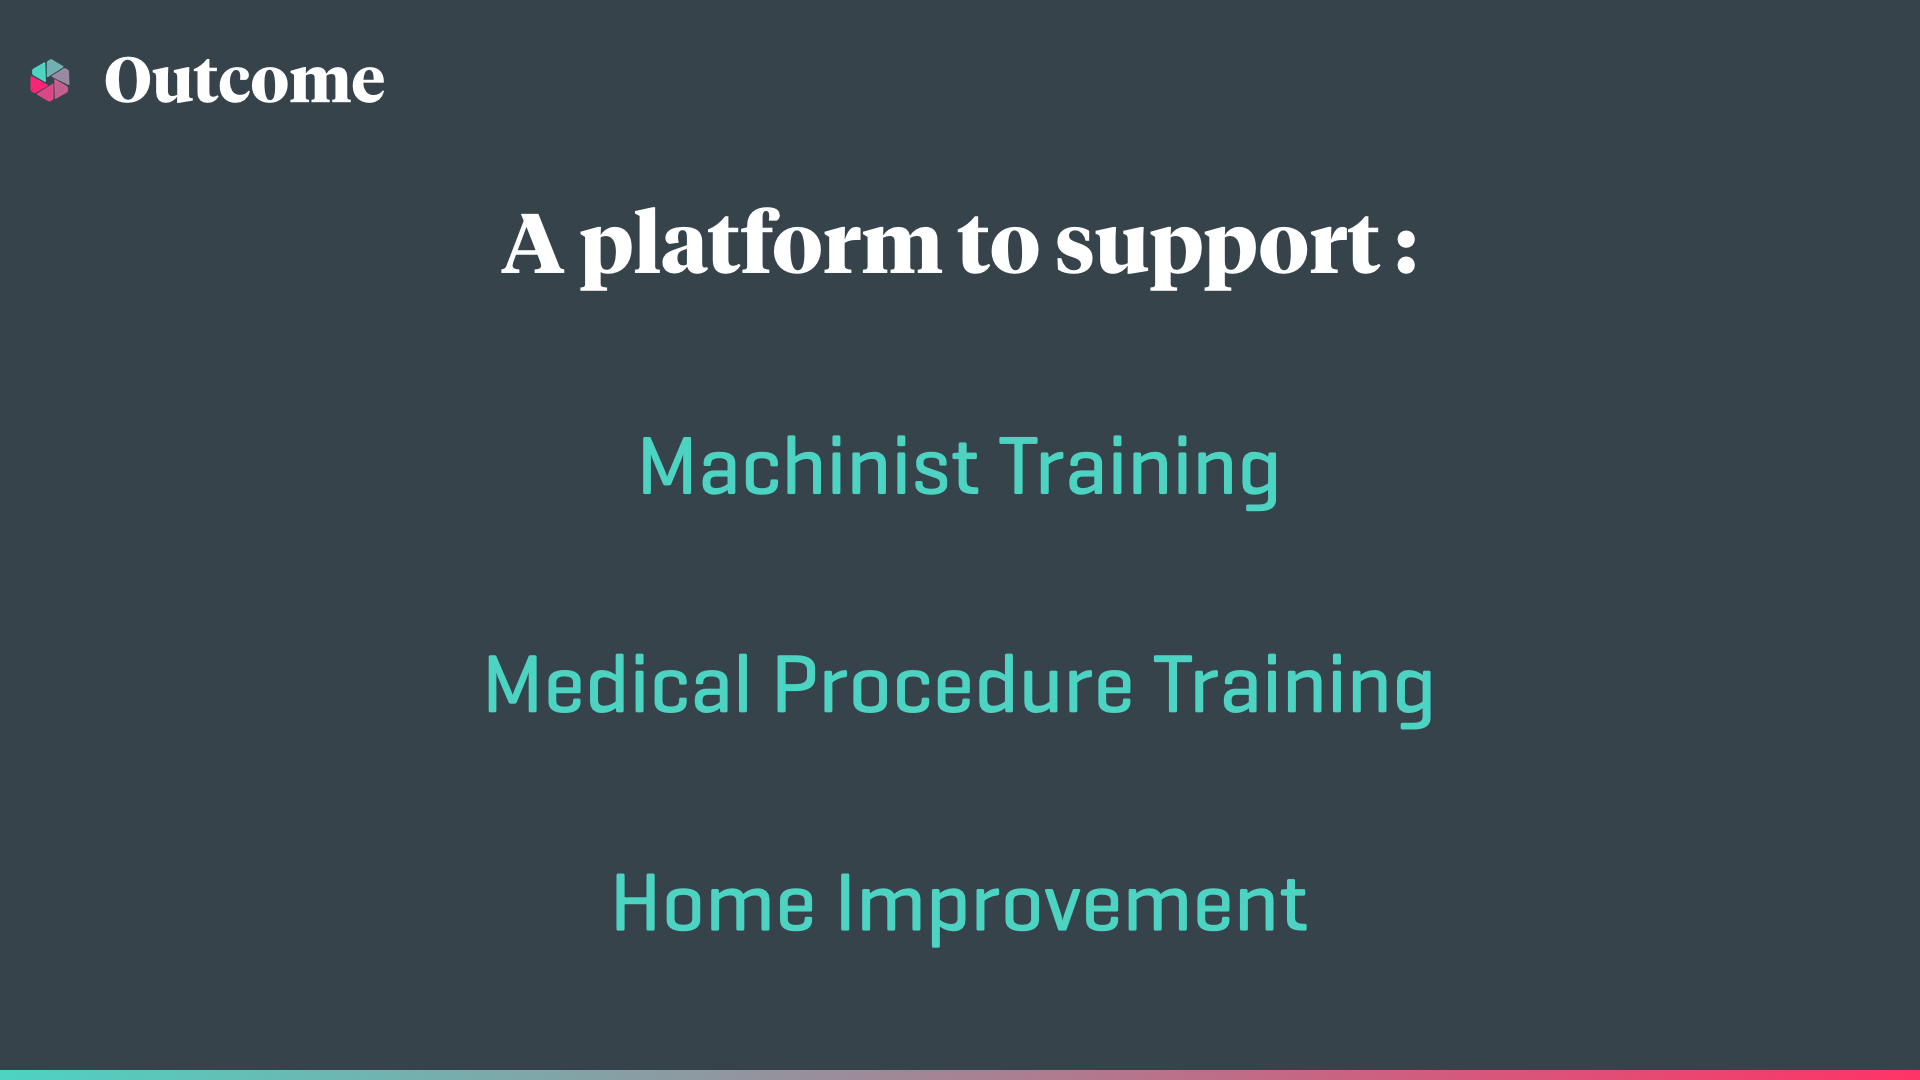
Ultimately, we decided on knitting as our use case.
Our thinking was that, as long as the skill we chose met the above criteria, our solution would be largely generalizable across many domains.

OBSERVATION
We tasked eight participants—with no previous knitting experience—with the following: cast on and knit two rows.
Armed with yarn, two needles, and a Craftsy tutorial, we observed a great deal of frustration as participants struggled to see the intricacies of knitting on video, and failed to keep up with it's moderate pace. We watched as participants tried holding on to their work in progress while navigating the video tutorial, only to drop everything, or forget where they had left off, or how their hands had been placed, and need to start over.
"The video was good for the cast on part, but not stitching. I wish there was a different view!"
Three participants gave up completely, two were able to cast on, but failed to knit a single stitch, two were successful at knitting a few stitches, and one completed the full task—with the help of a diagram she found online.
Research takeaways
pain points
- Getting started is hard
- It's difficult to learn 3-dimensional skills with 2-dimensional tutorials
- Troubleshooting has not been solved
what works best
- Immediate feedback
- Pace control
- Two-way interaction
- In-person instruction

IDEATION
As the Ideation Lead, I orchestrated and facilitated workshops for ideation and concept generation.
In order to get everyone thinking creatively about the user, we kicked-off with an anthropomorphic activity—each team member was given an inanimate object, and asked to personify that object with a name, a quick sketch, and a short personality description.
Then, after re-aligning on our problem statement and research insights, we began to work through activities like random object inspiration, point-of-view madlib, and storyboarding, to create and communicate our ideas.

PROTOTYPING + Usability testing
We created several prototypes throughout the design process to test our hypotheses and ideas.
Prototype #1
MULTI-VIEW TUTORIAL
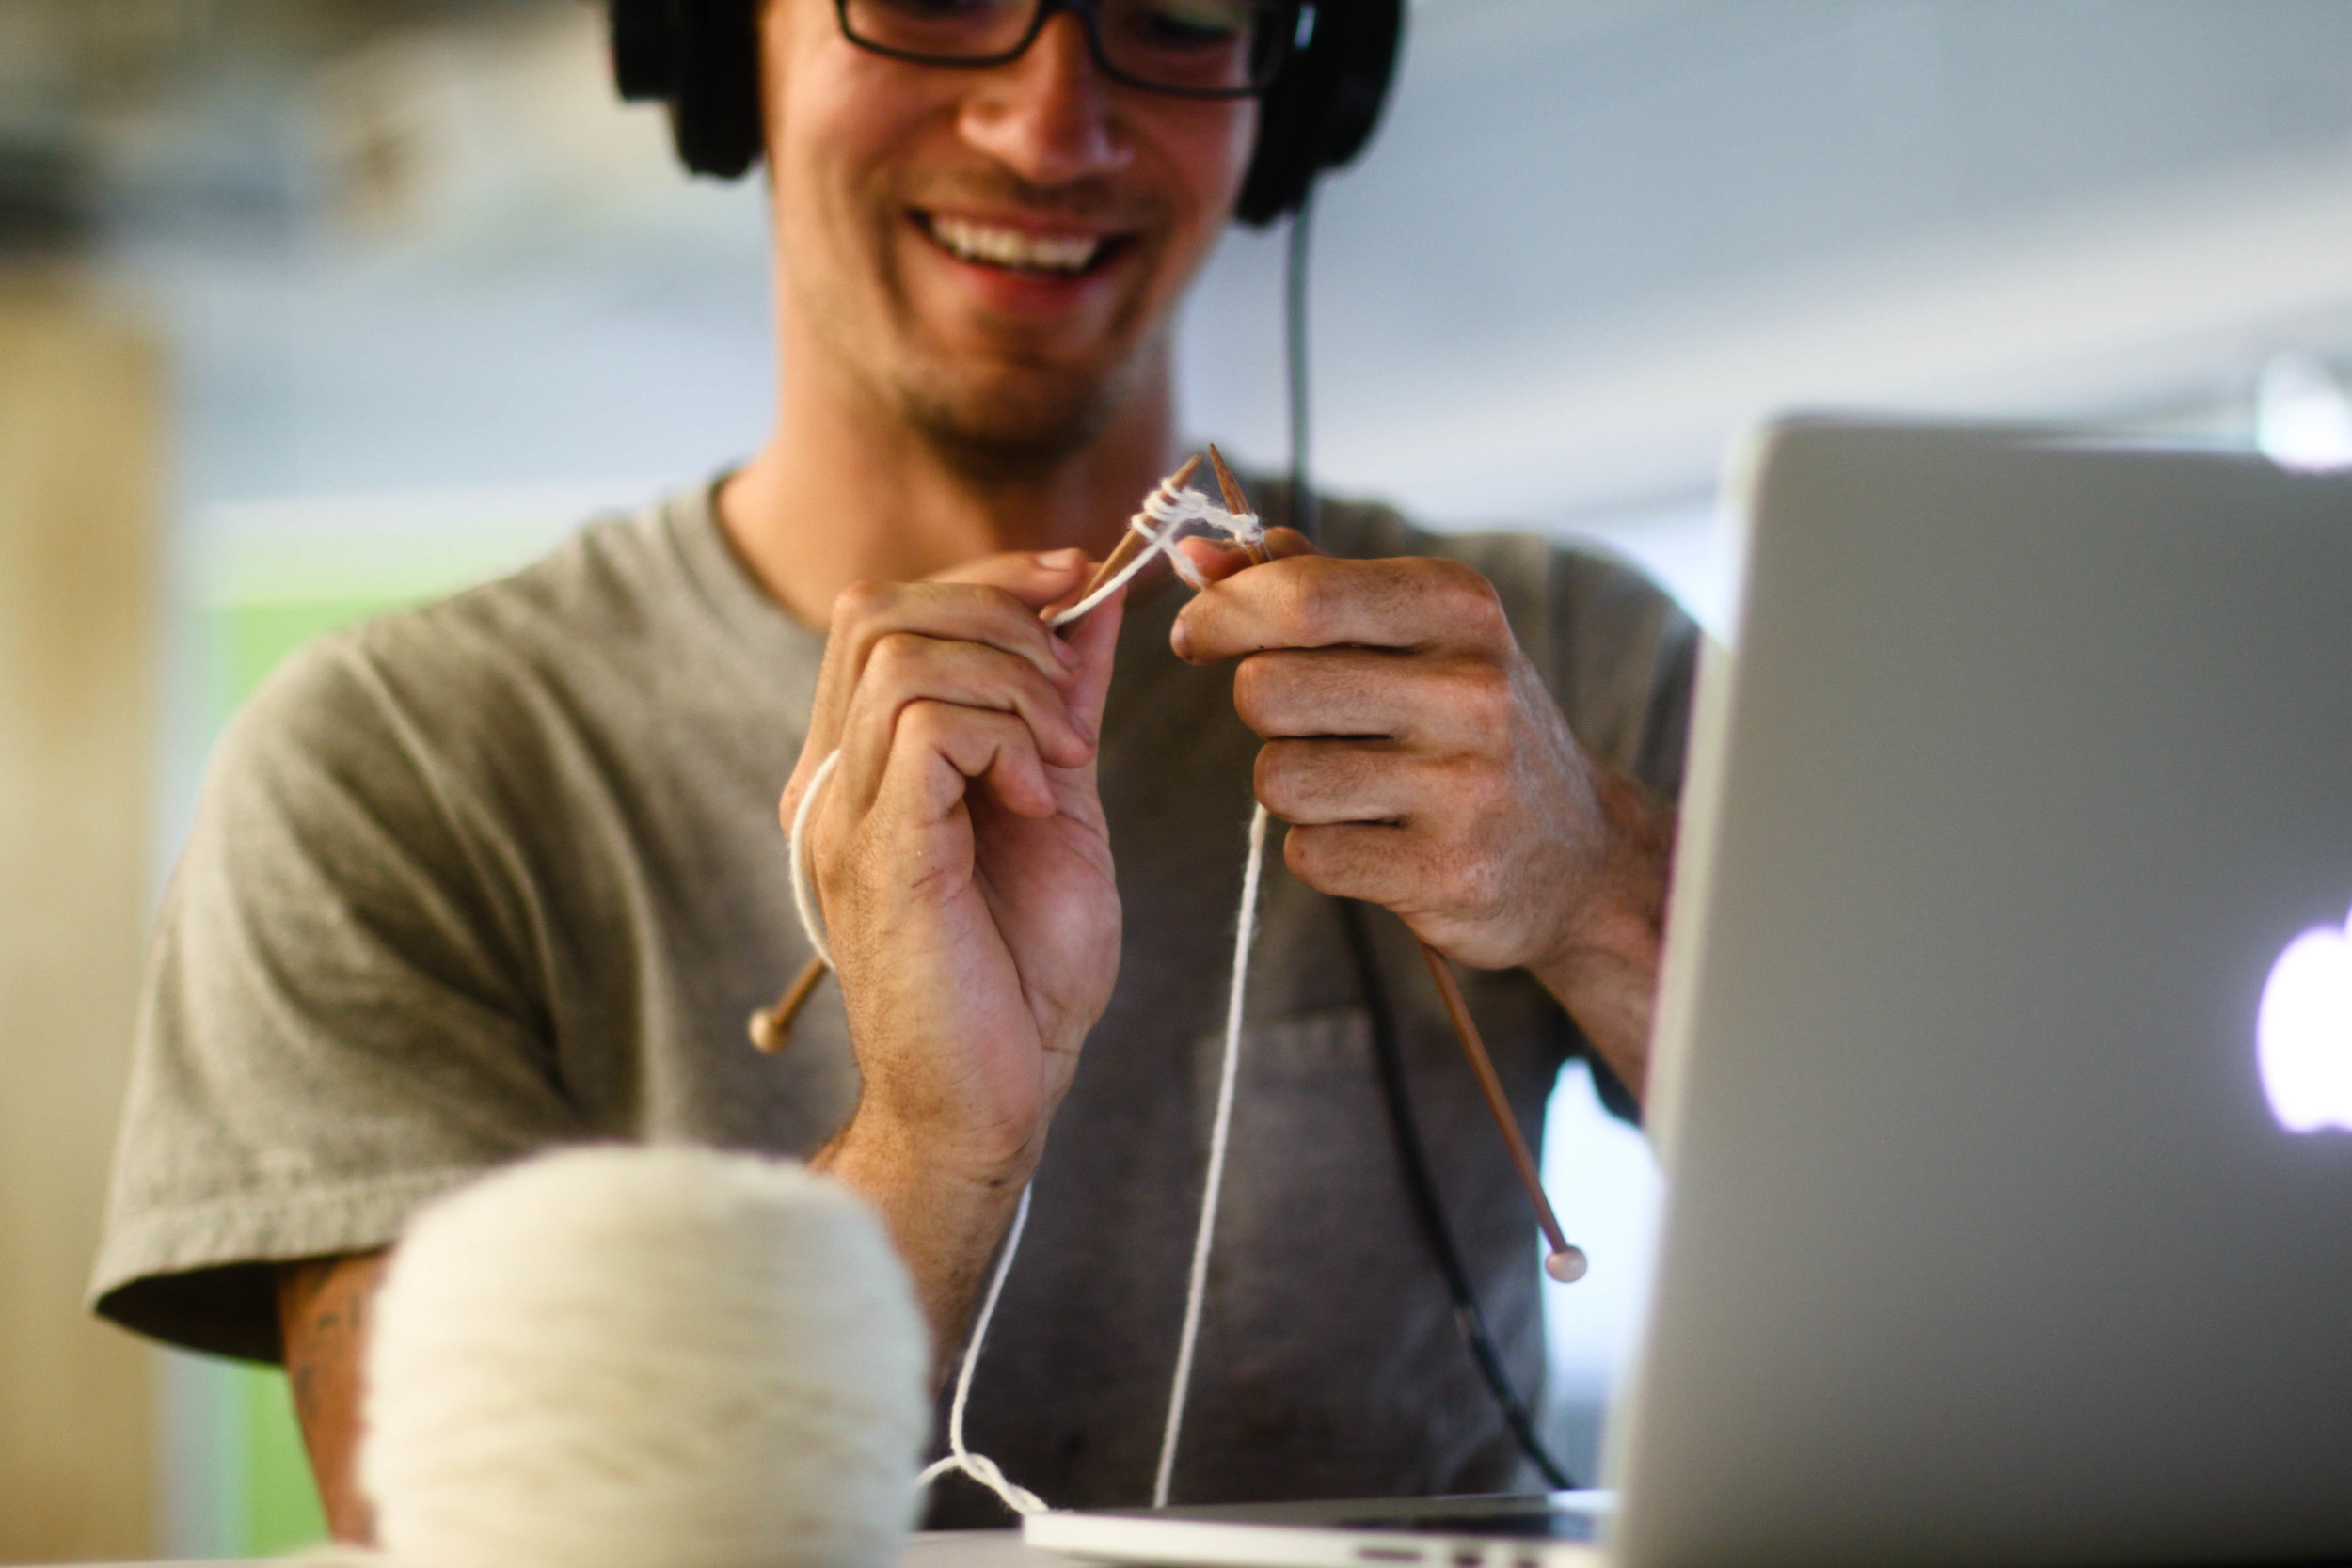
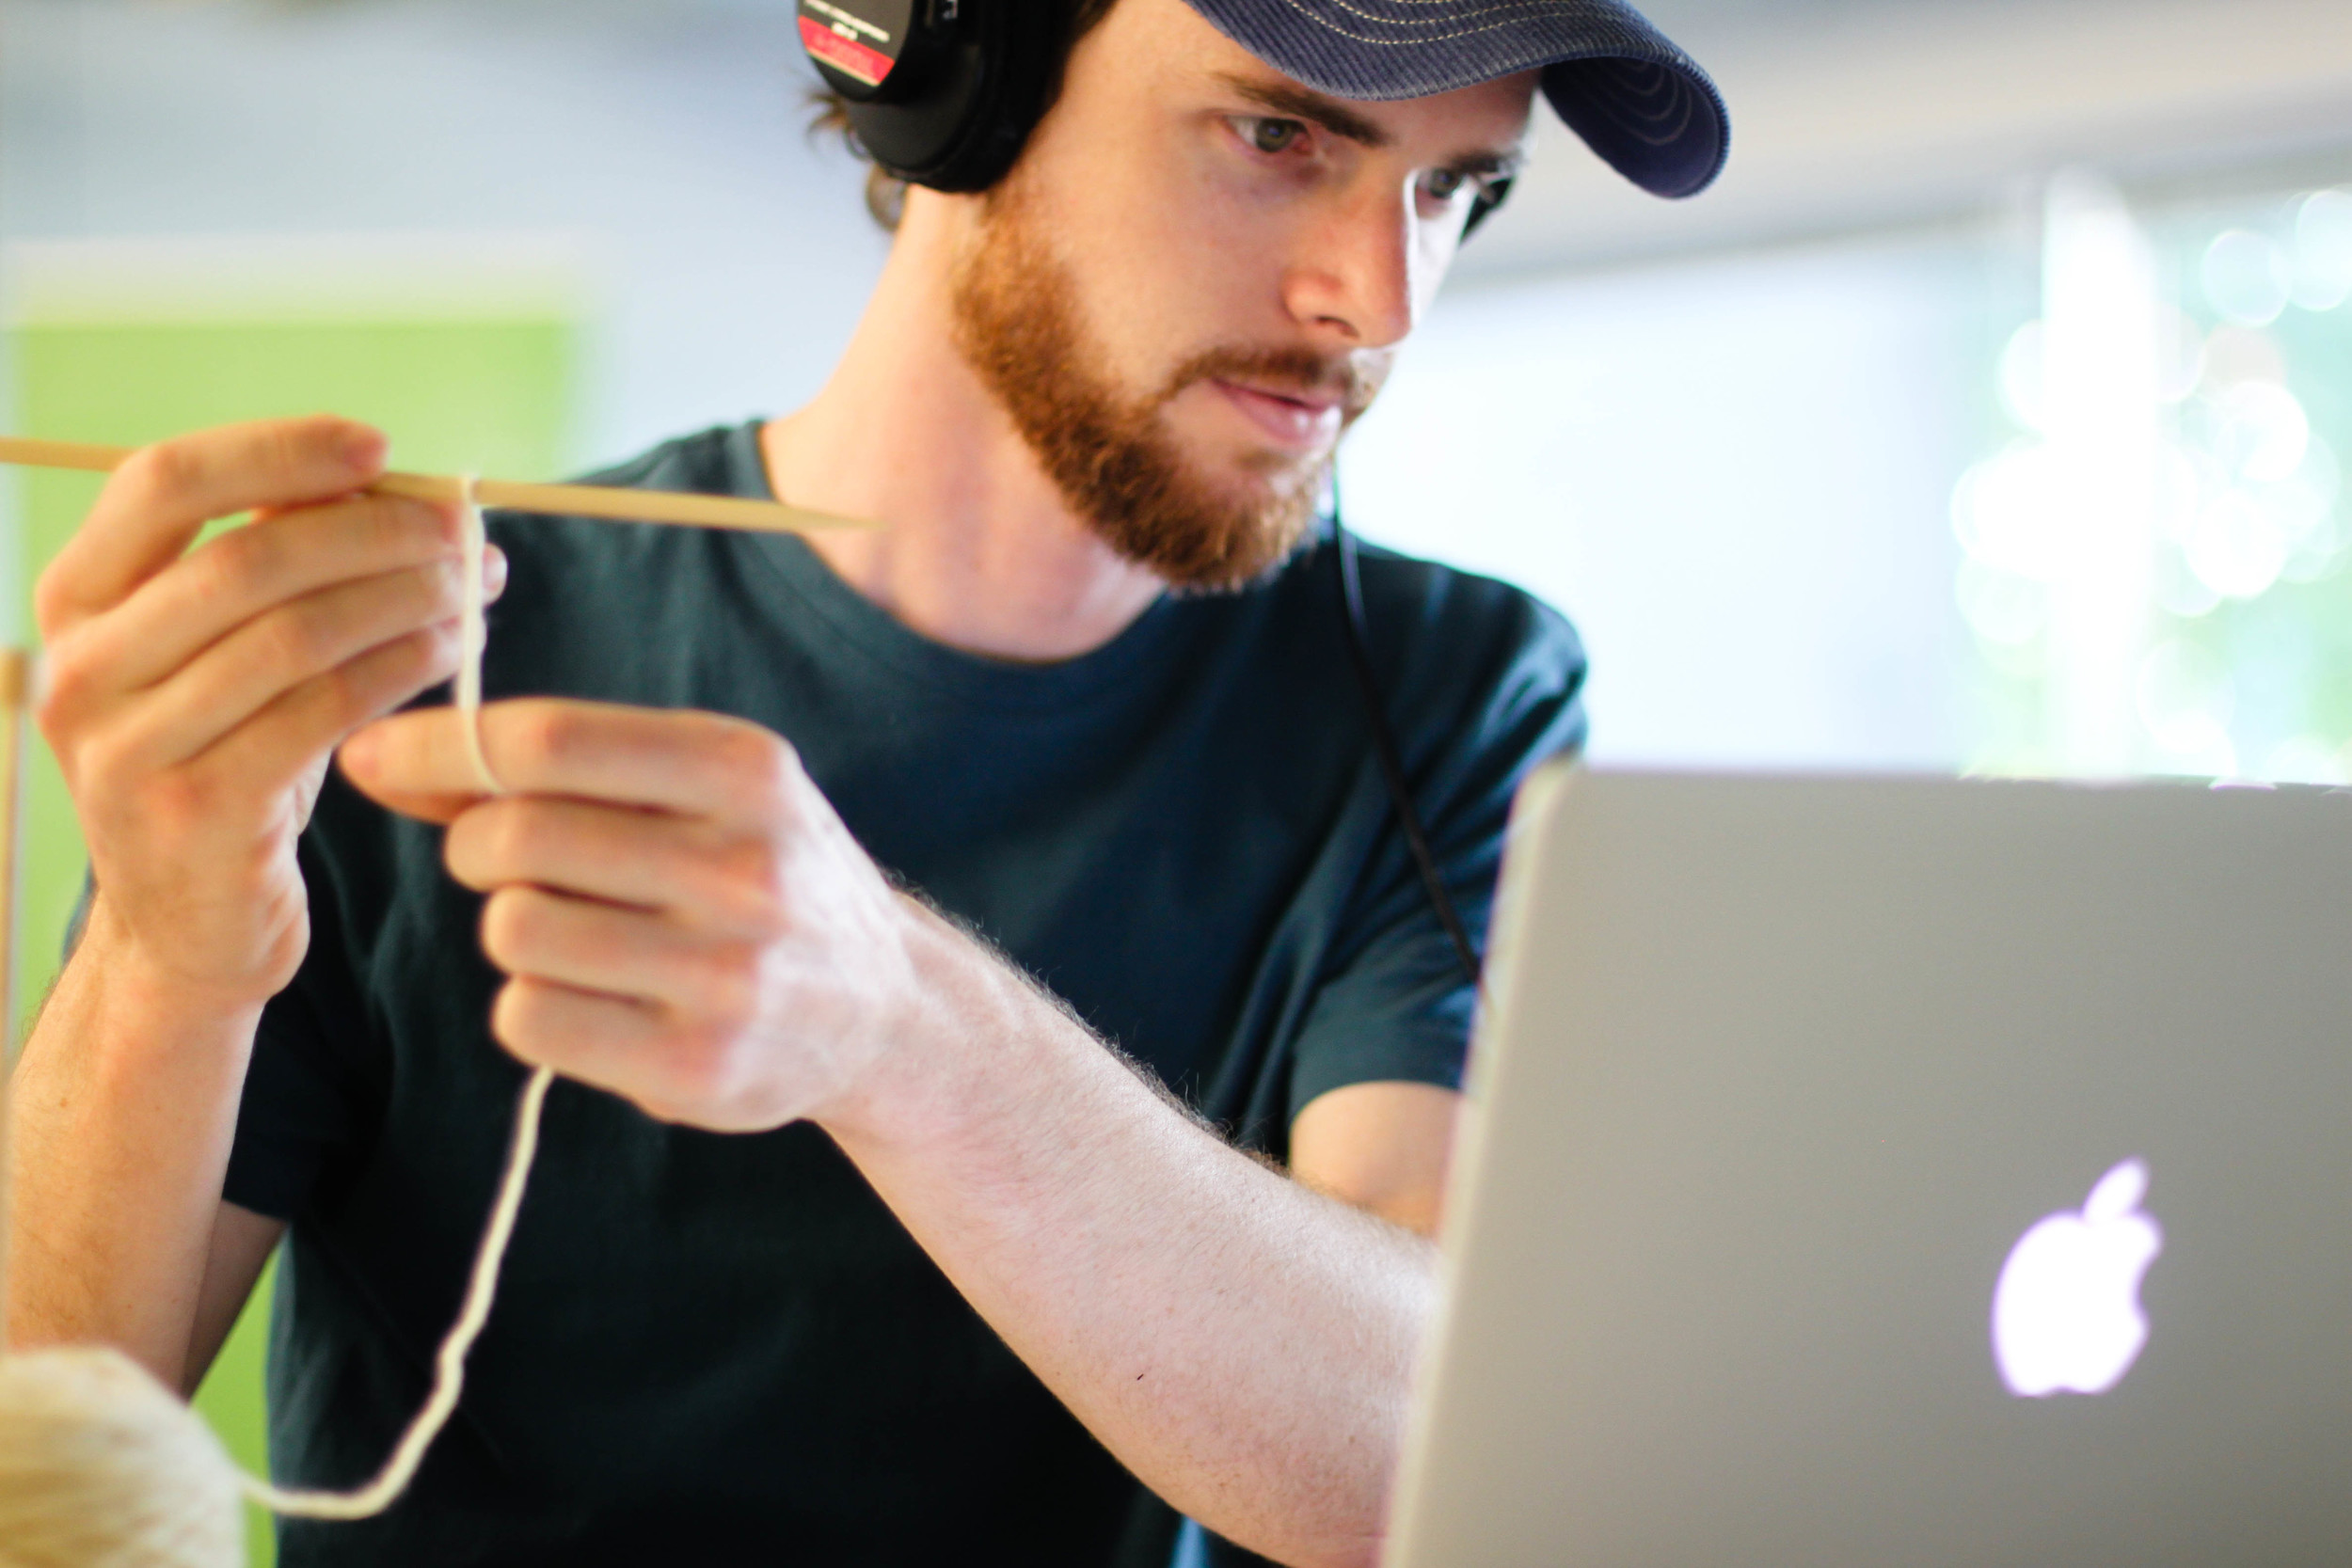
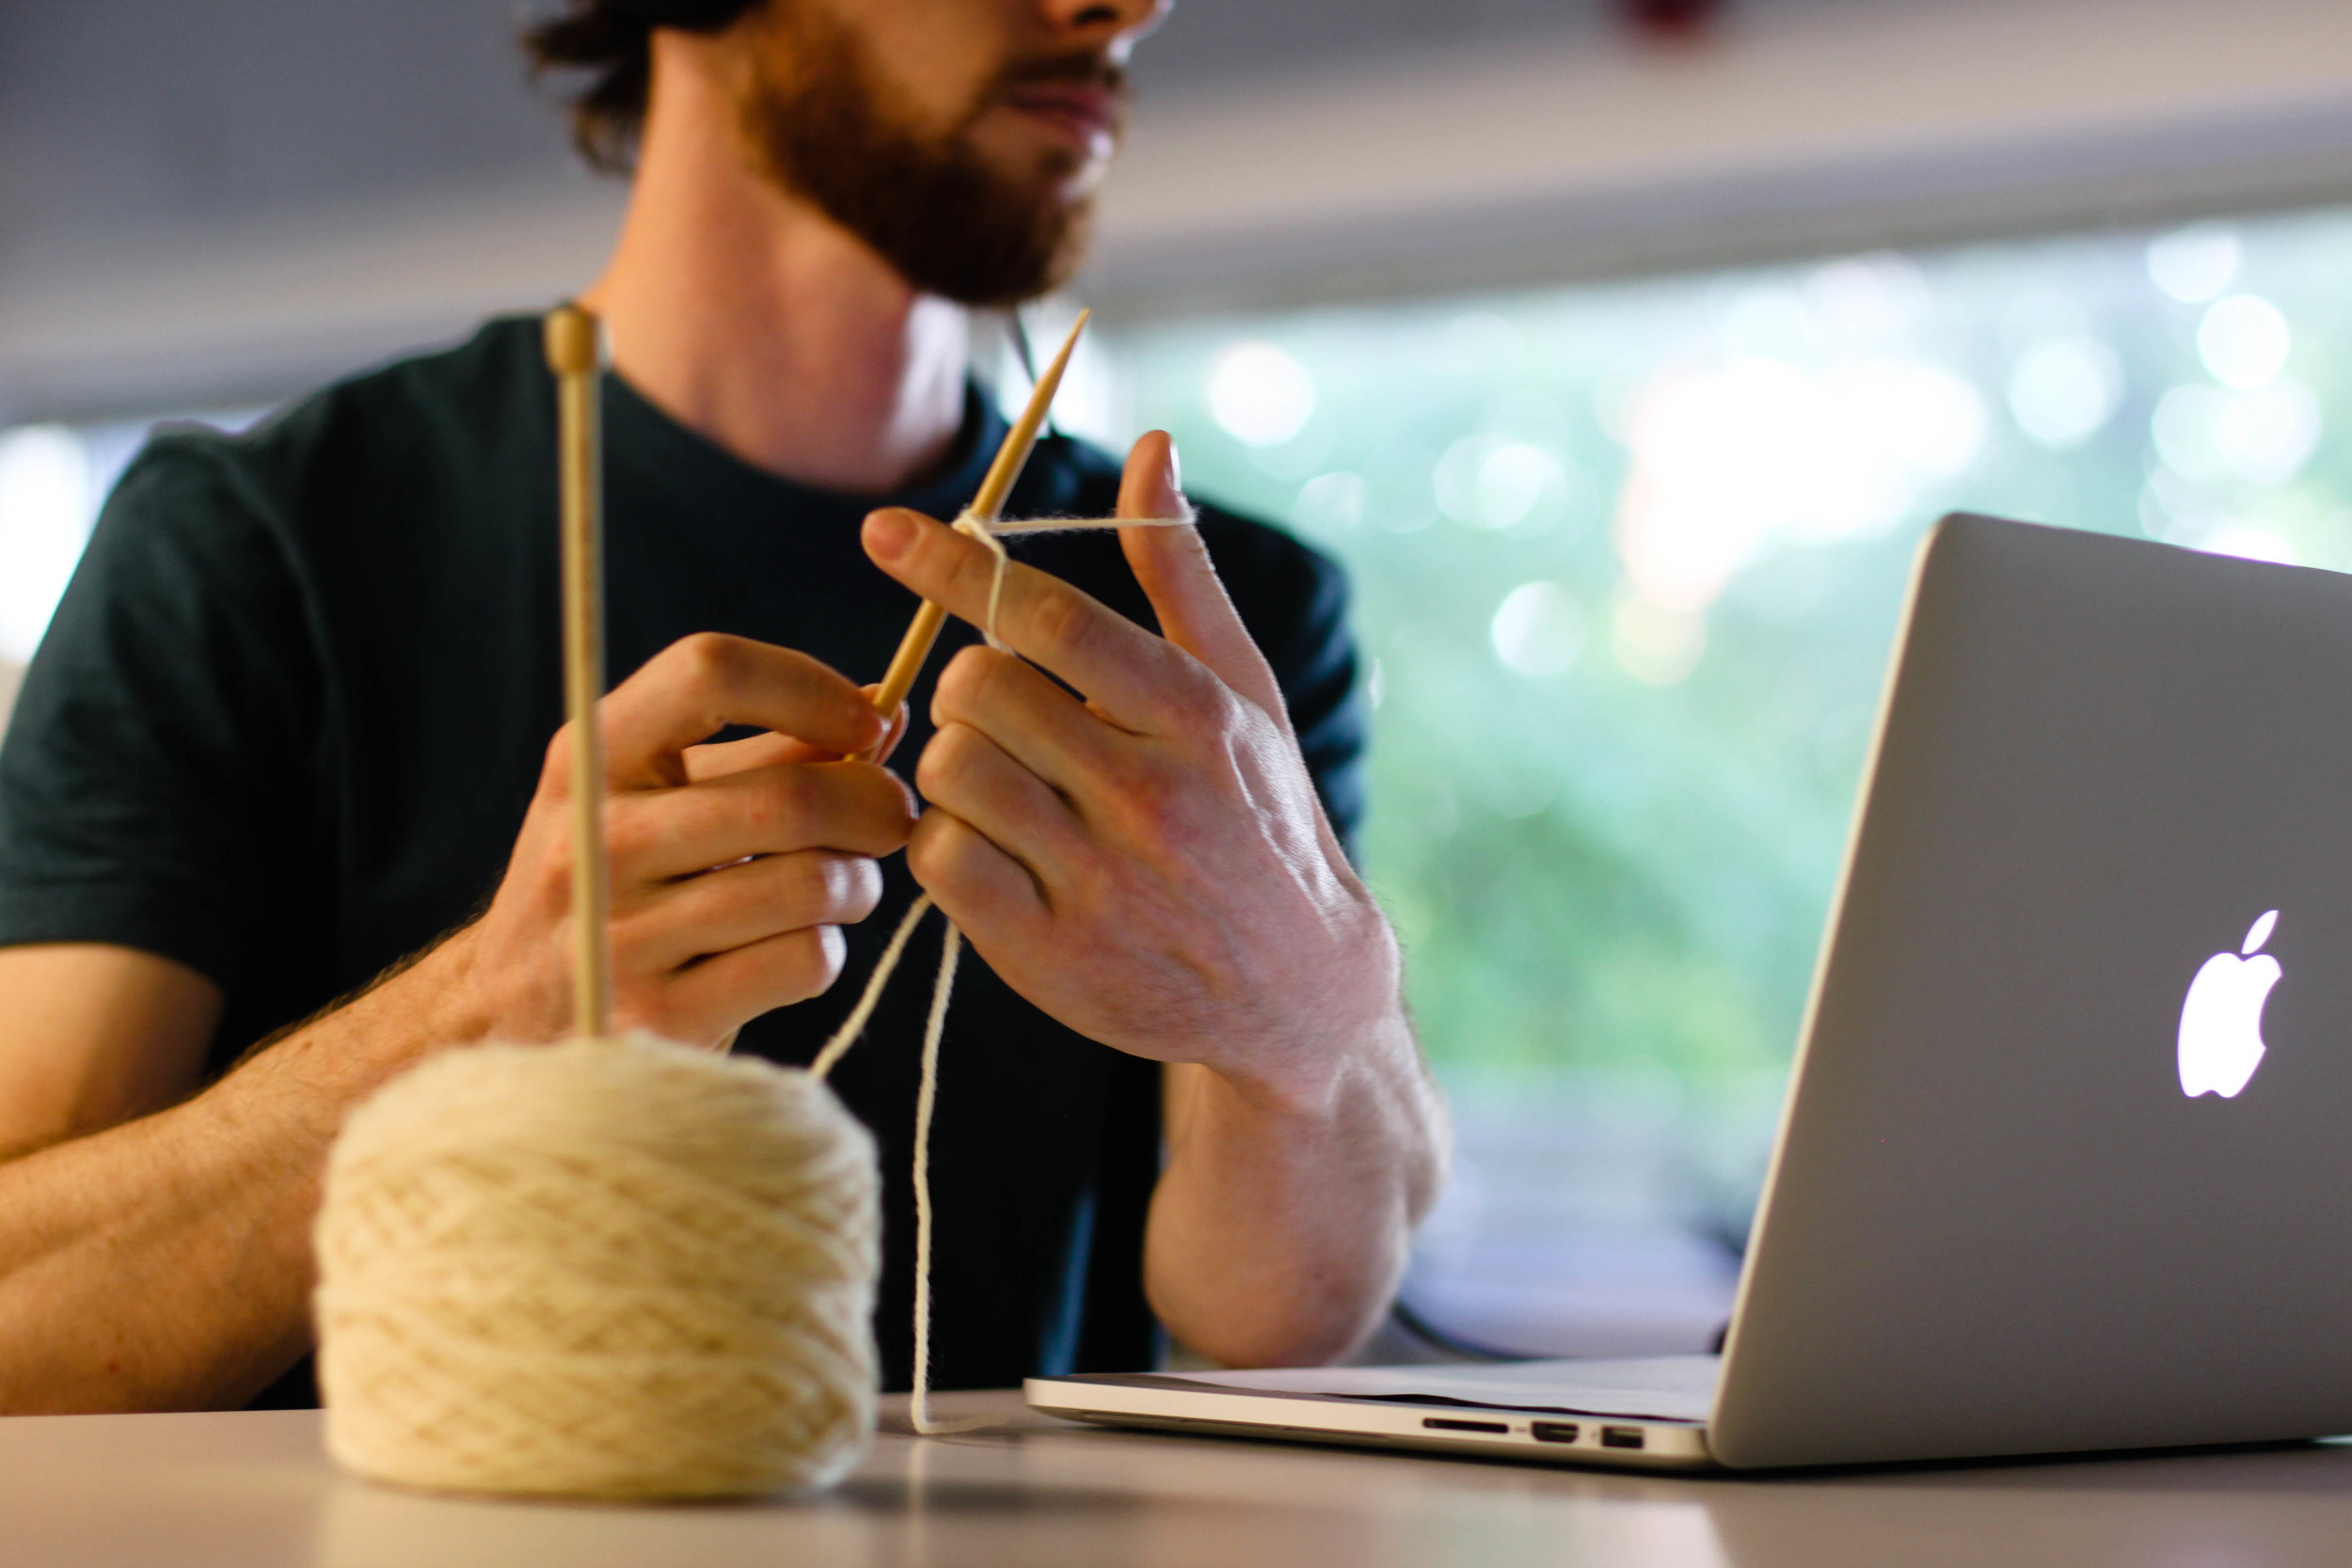
We created a multi-view tutorial by filming Stuart, our resident knitter, with five different cameras, from five different angles.
We tested the prototype with four participants—two completed the task.
Participants switched frequently among views, and while they found the multiple perspectives helpful, they struggled to troubleshoot problems successfully with the asynchronous experience, were unsure of their work without validation, and had trouble controlling the tutorial while their hands were occupied with knitting needles and yarn.
Good
Multiple Perspectives
Bad
Asynchronous Experience
Hand Controlled
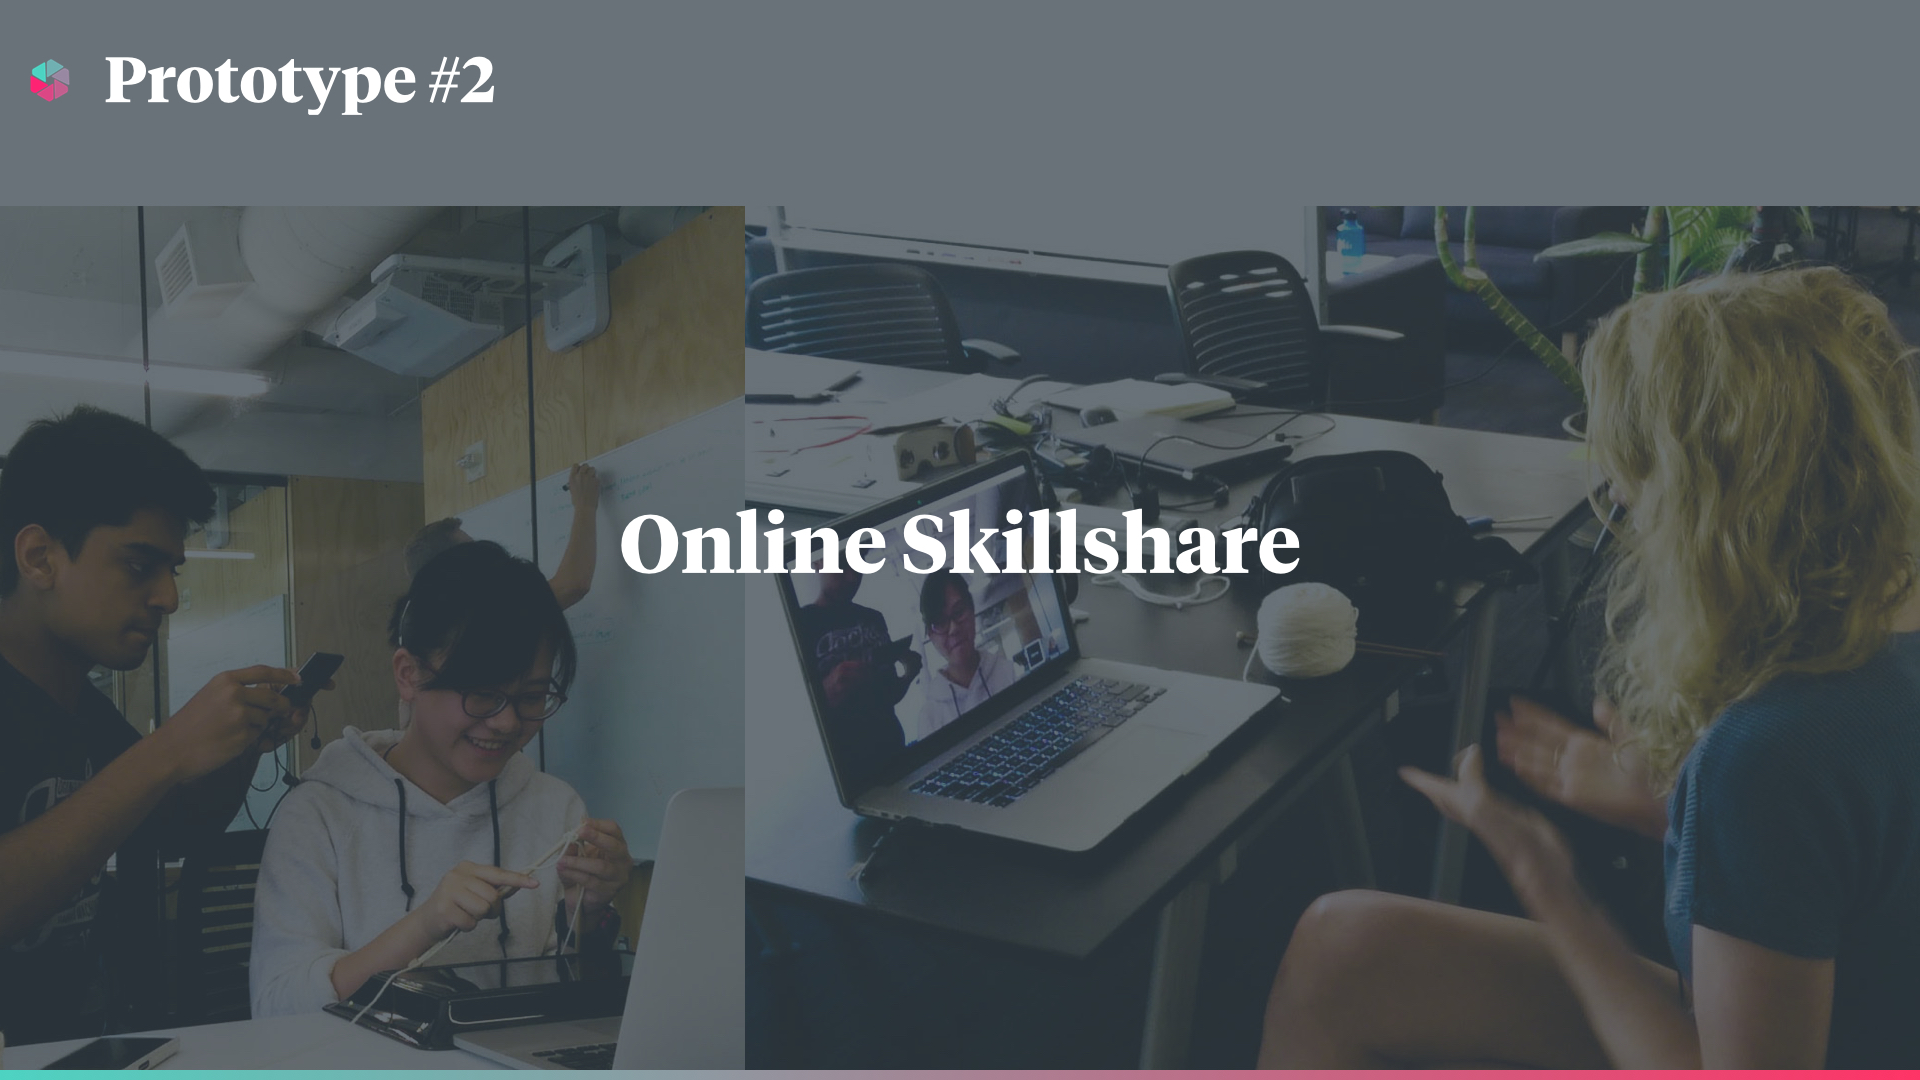
PROTOTYPE #2
remote tutorial
Applying the learnings from our first prototype, our second should provide a synchronous experience for users, while still offering multiple perspectives.
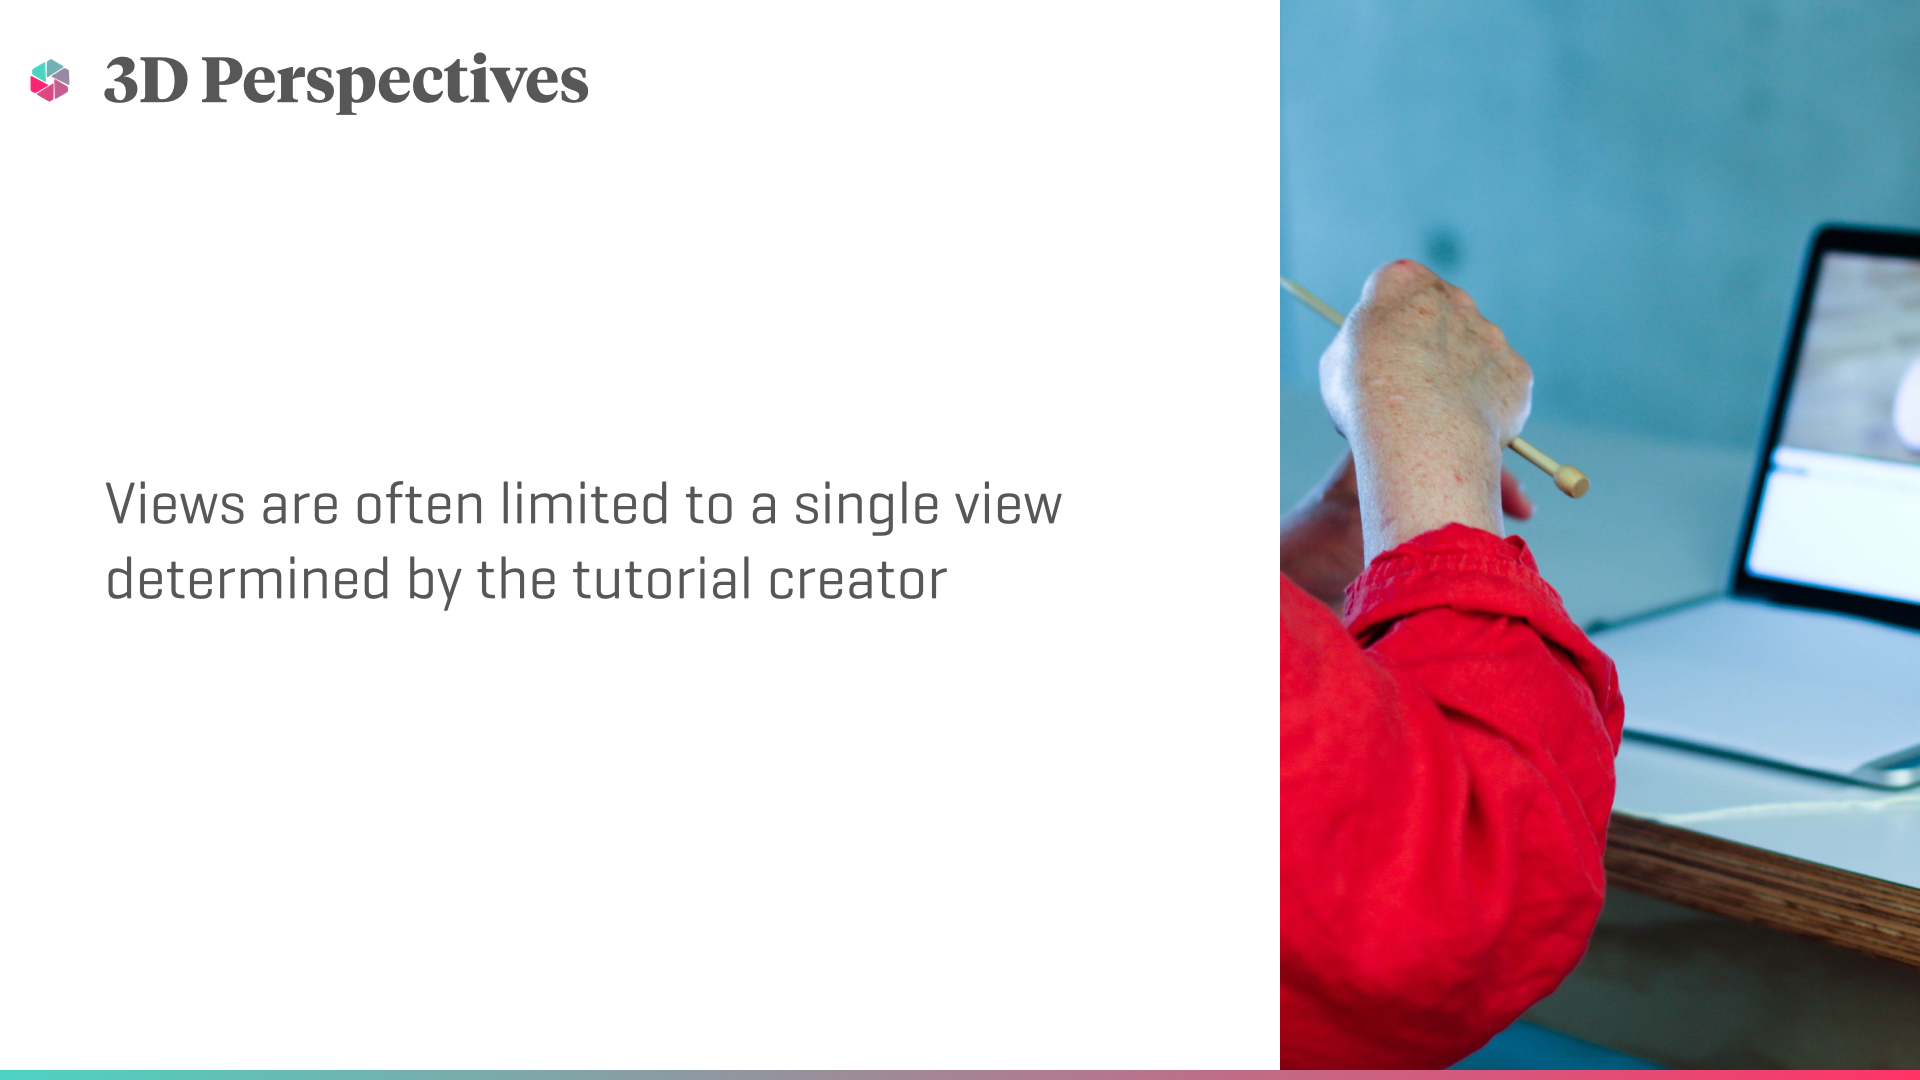
Our prototype featured a traditional, front-facing view, as well as a first-person perspective, accomplished by attaching a webcam to my shirt. Additionally, while users were still limited to a 2-dimensional experience, I was able to provide infinite perspectives to users by simply moving my hands on camera if ever they asked or I deemed appropriate.
I taught five participants to knit over Google Hangouts with this prototype—four completed the task.
Although participants were allowed to alternate between views at any time, they chose to remain exclusively on the first-person view after initial introductions. Participants reported feeling at ease from the human-to-human interaction, confident from my validation, and appreciative of the specialized instruction tailored to their specific needs at any given time.
While it was still a bit of a struggle to clearly see the layering of the yarn and exactly where the needle was going, overall, the prototype was a success.
Bad
2-Dimensional View
Good
Multiple Perspectives
Synchronous Experience
Adaptive Learning
Voice Controlled
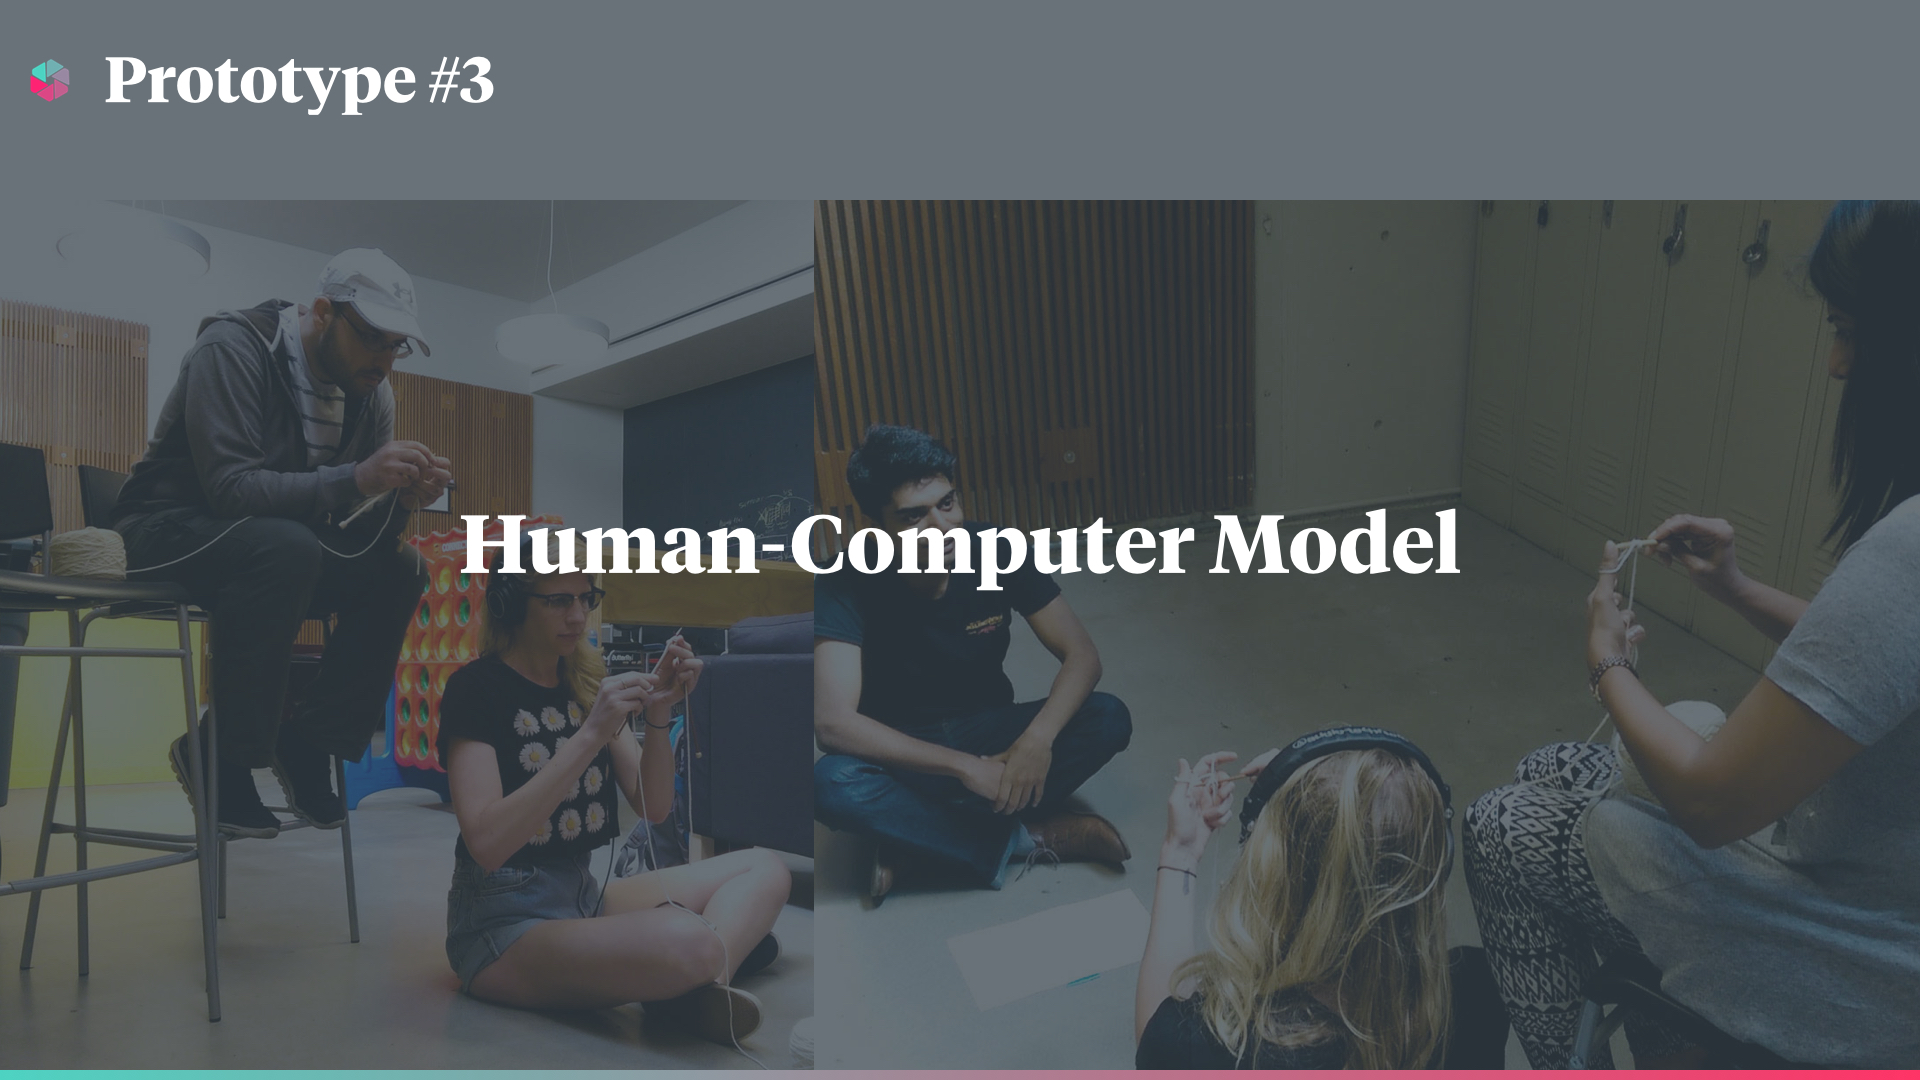
PROTOTYPE #3
Human-Computer Model
While our prototypes were improving, we had not yet achieved a 100% success rate, and were dissatisfied that participants were still struggling to learn—we knew we could do better.
We thought about what makes in-person, one-on-one teaching so successful, and what was missing from our designs—a 3D experience.
Figuring out how to prototype a 3D tutorial in order to test the validity of our hypothesis was challenging given time and budget constraints. Ultimately, we realized that the only way we could provide participants with a 3D experience, was by using a 3D human.
Aaron sat in front of me with play, pause, and back written on colored flashcards—this made the "controls" easy to differentiate without needing to foveate on them directly when Aaron pointed to a participant command.
Participants sat above and behind me to achieve that over-the-shoulder, first-person view we found ideal through testing Prototype #2. They were told the tutorial was voice-controlled, and instructed to speak aloud commands as needed. They were also given permission to move around the tutorial, getting closer or finding a different, more helpful angle.
Although I tried to eliminate human-bias from the tutorial by wearing headphones with loud music so that I would not be able to hear participant complaints, successes, or frustrations, I still received feedback on their progress from their use of controls. While some participants frequently paused the tutorial and repeated steps, others breezed through with little delay.
I instinctively knew what each pattern indicated, and—despite my best efforts not to—naturally adjusted the tutorial to help out struggling participants with slow movements and additional instruction, while streamlining the tutorial for participants who caught on quickly.
Five participants tested the prototype—five participants completed the task.
They loved that the tutorial was voice-controlled, freeing up their hands to hold and manipulate their tools. They also loved the ability to move around the tutorial, viewing the tutorial from any angle at any time.
Good
Multiple Perspectives
Synchronous Experience
Adaptive Learning
Voice Controlled
3-Dimensional View
While not a technological solution, this prototype validated our hypothesis, taught us how to easily incorporate adaptive learning into our final design, and helped solidify our design principles moving forward.

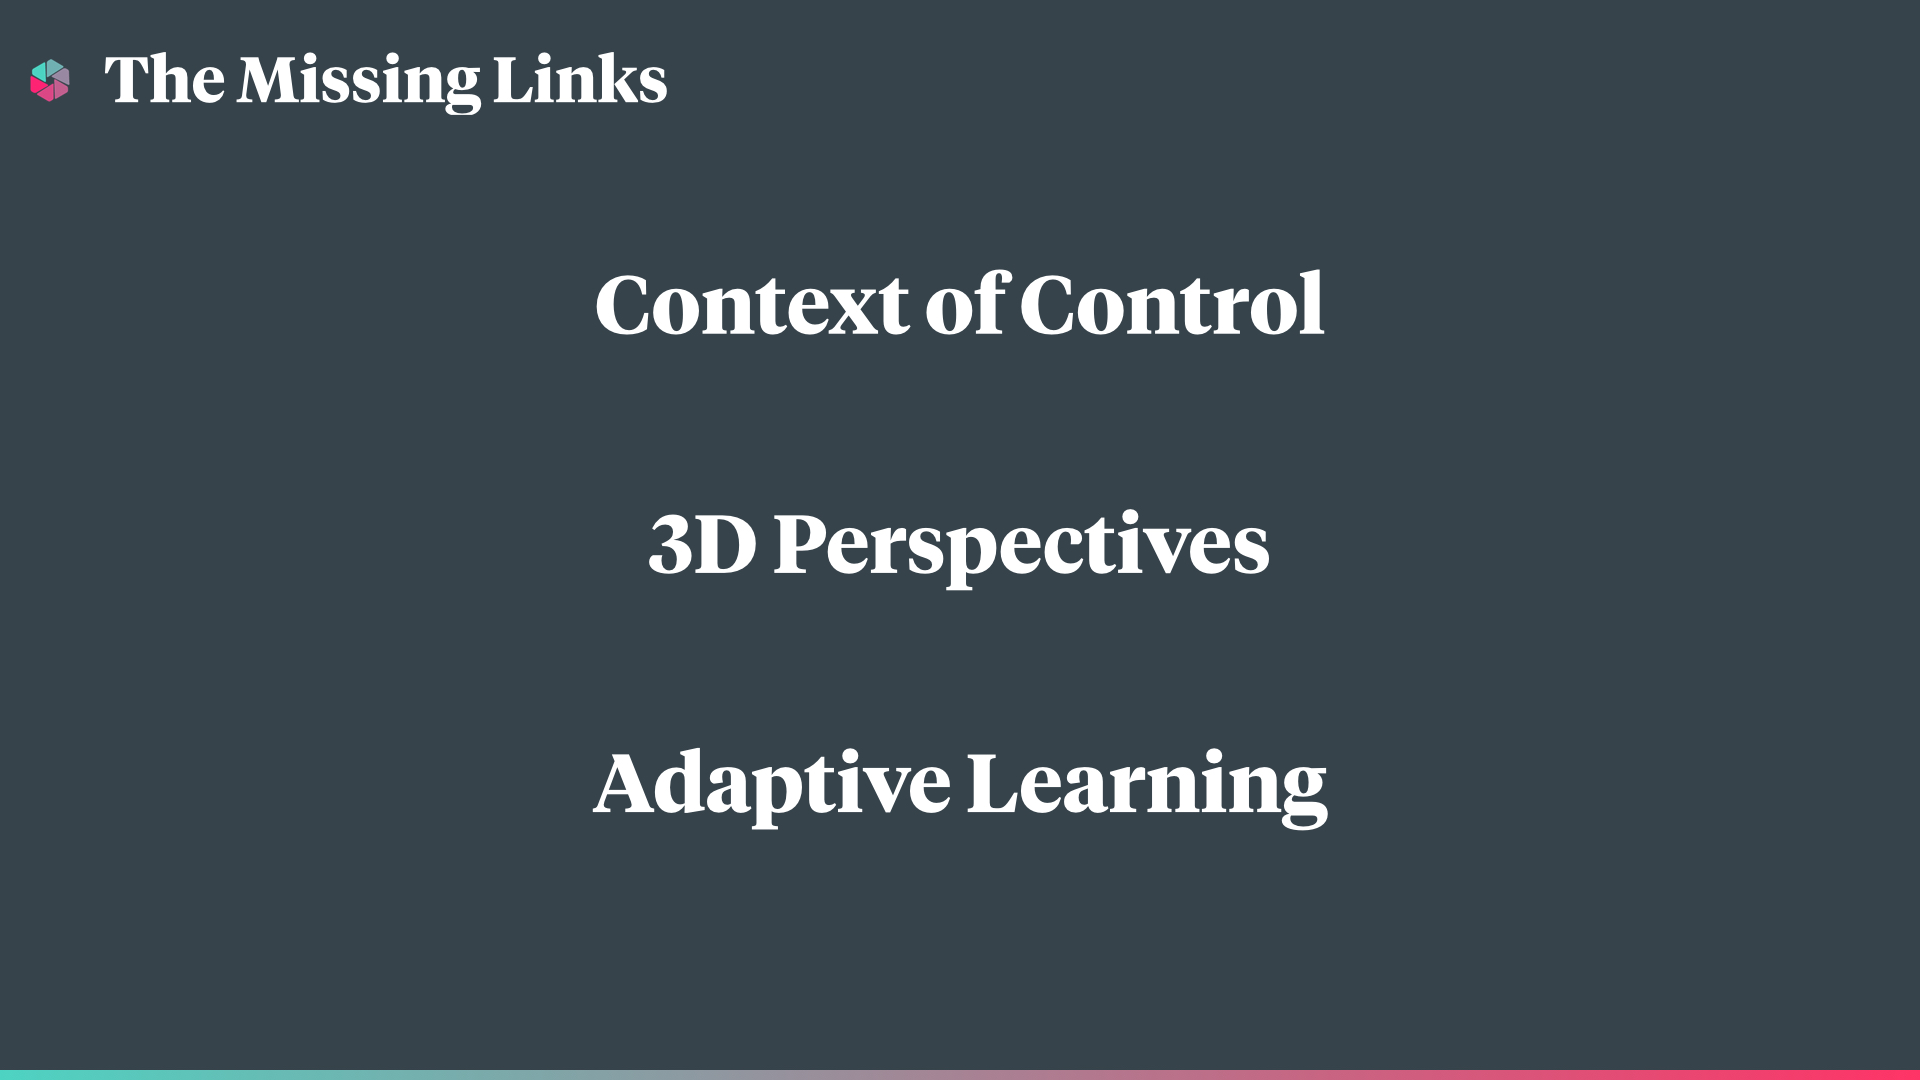
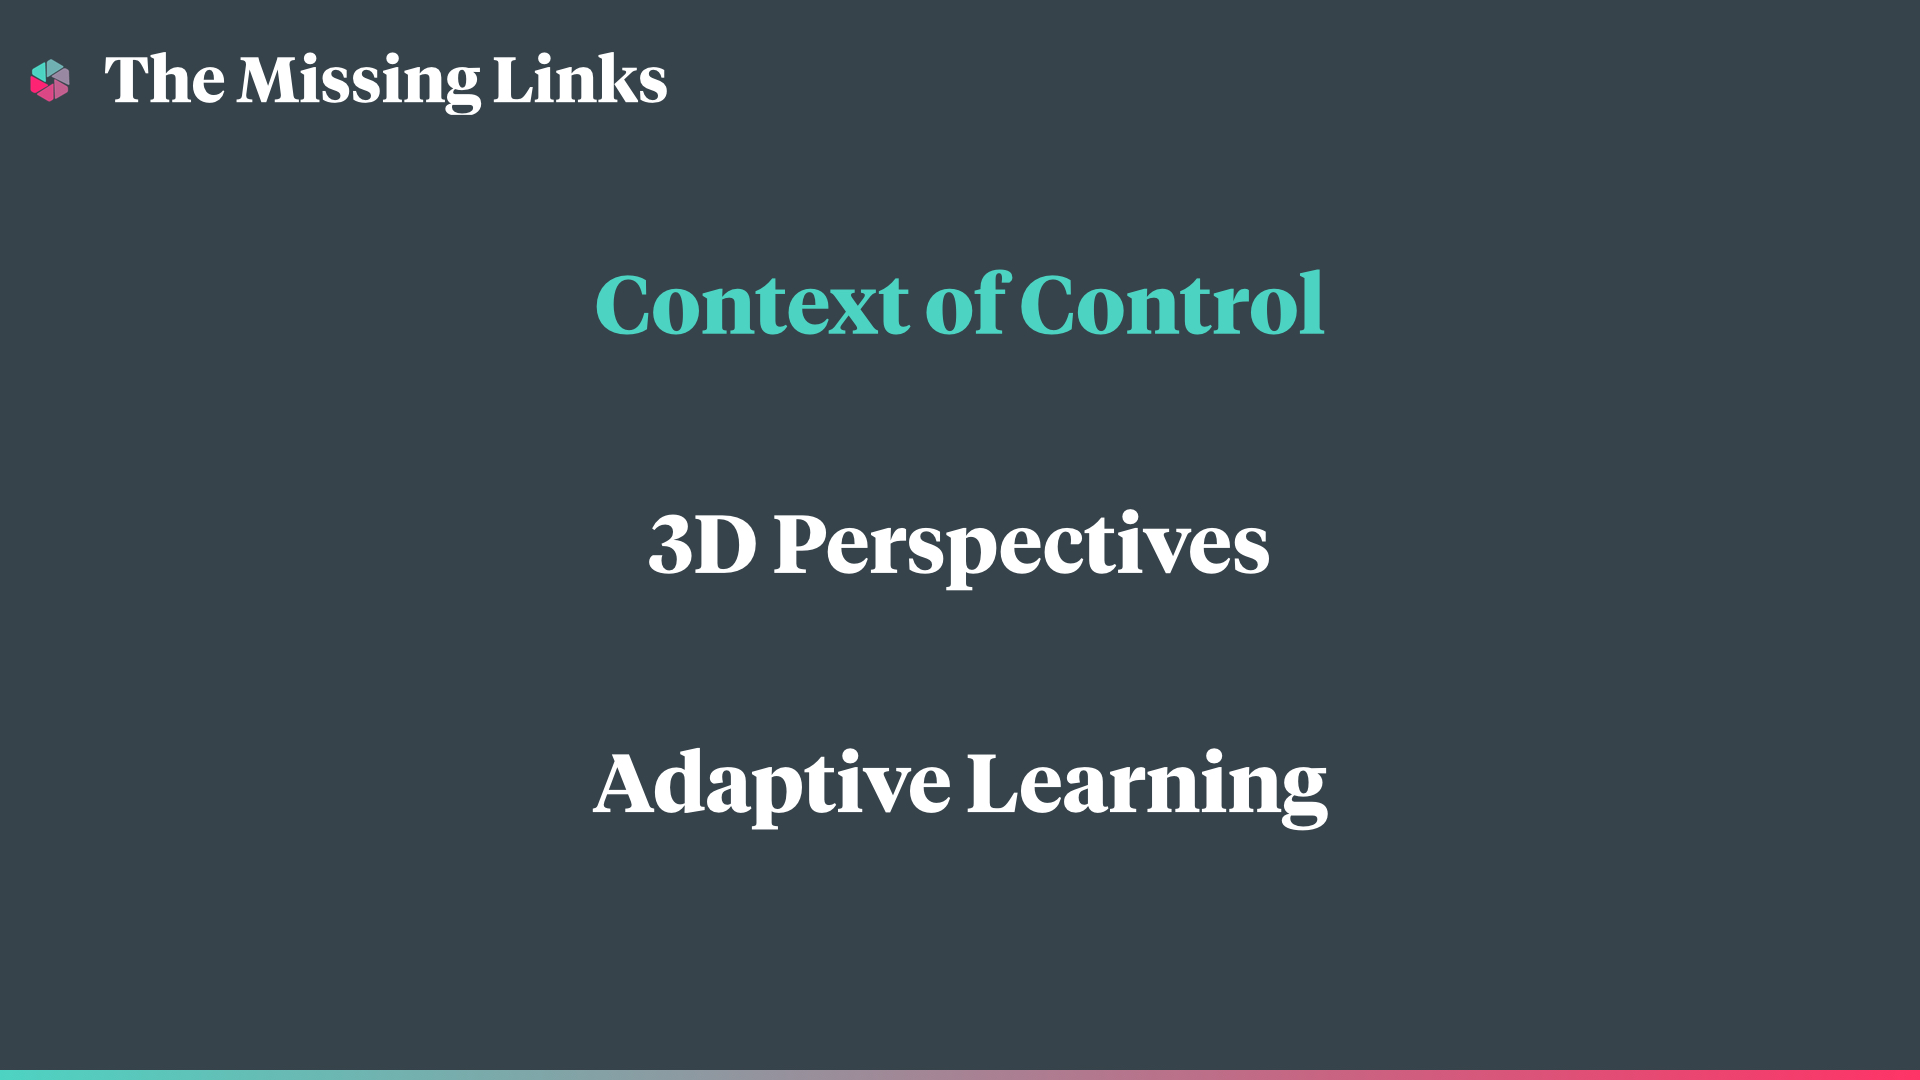
Design Principles
By constantly making, evaluating, and iterating, we were able to validate and polish our core design principles for the final design:
1. The tool must provide a hands-free experience
2. Tutorial perspective should be adaptable + 3D
3. Pace + instruction should adapt to user needs

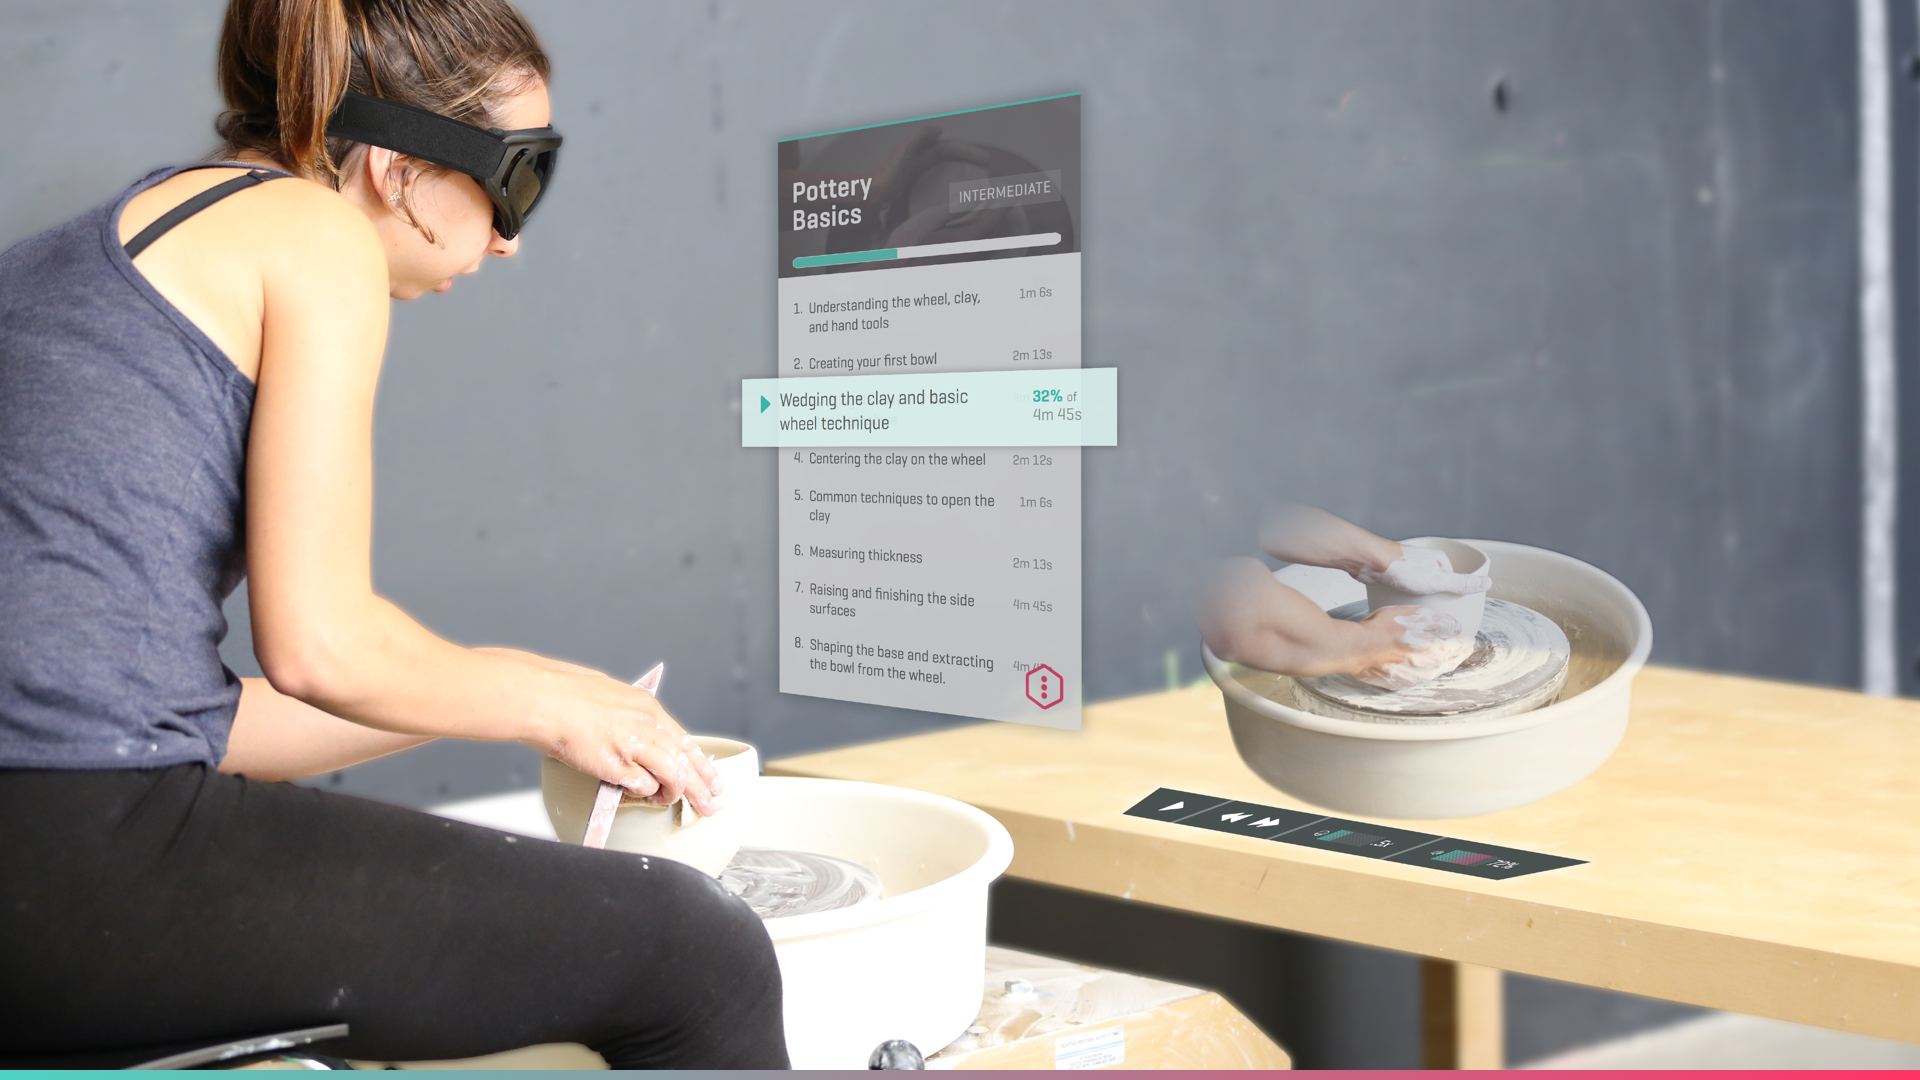
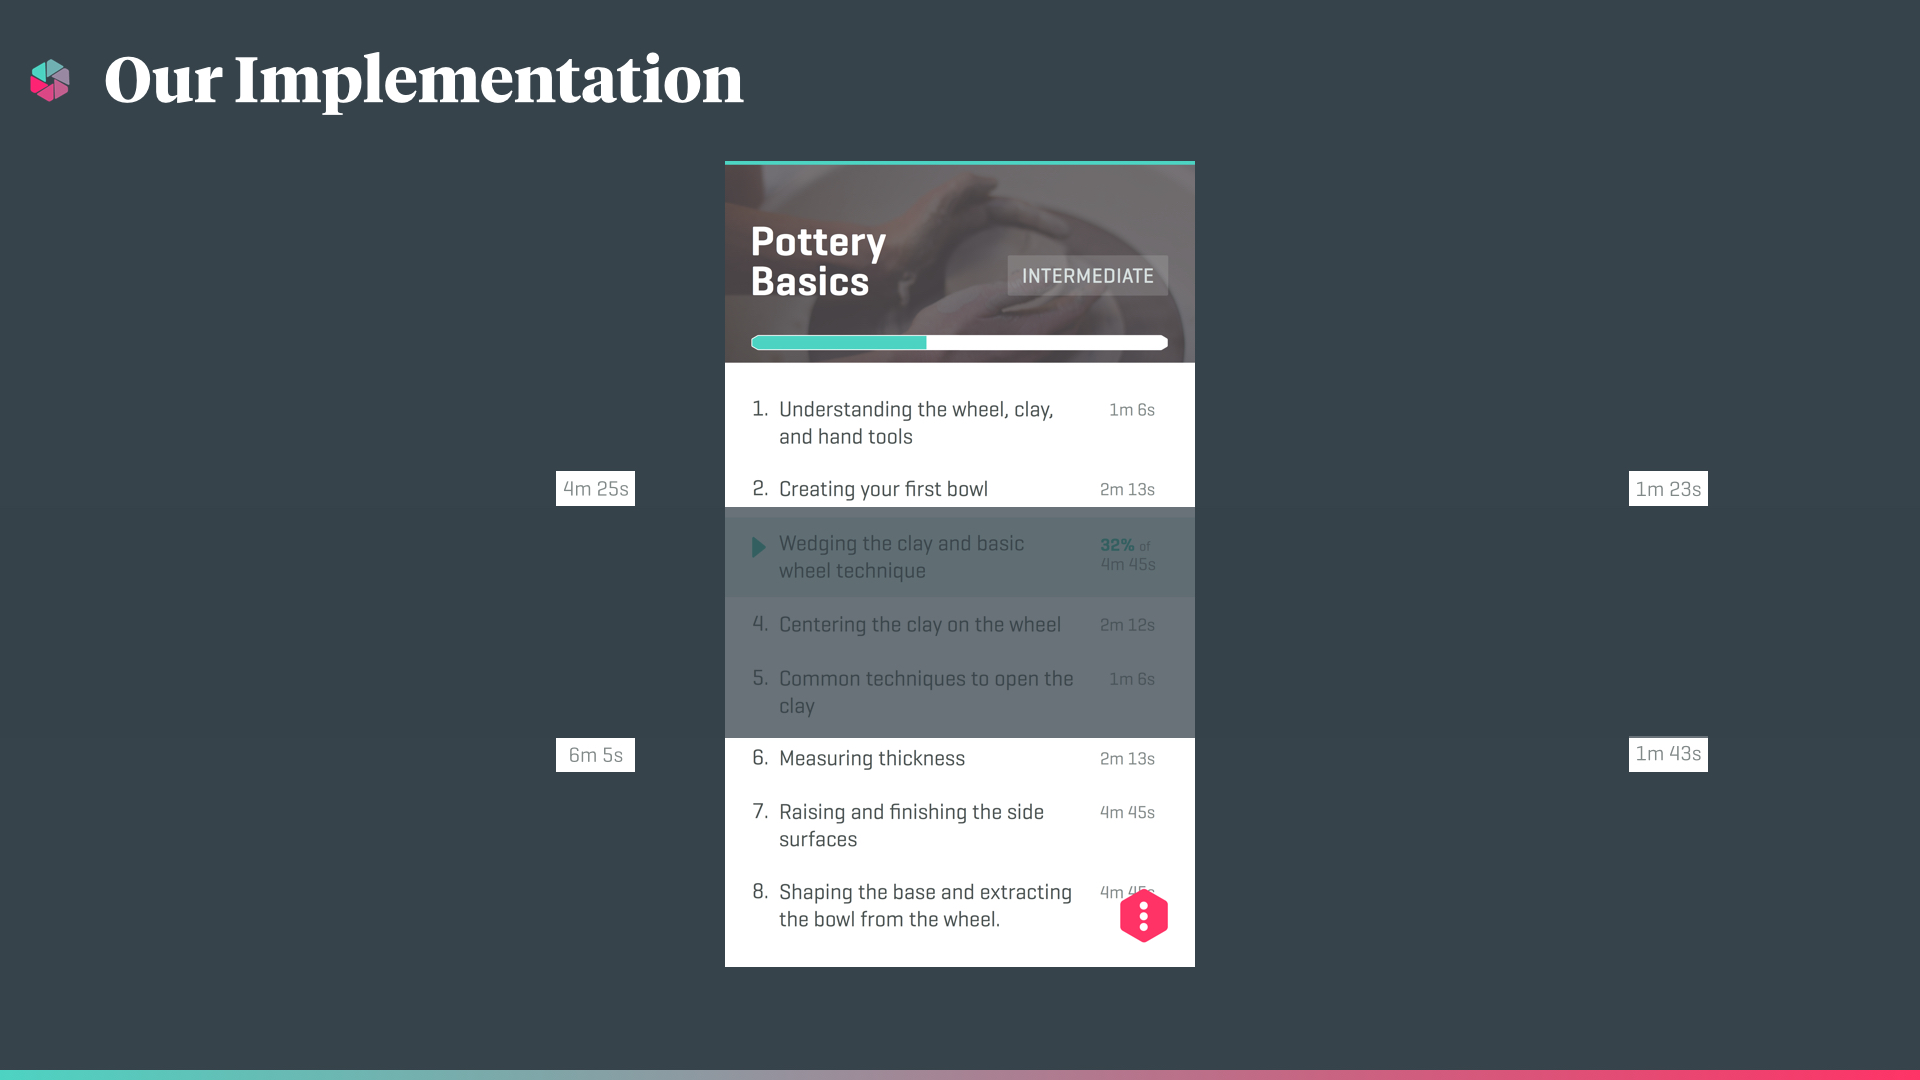
Final Prototype
Although not a 3-dimensional experience—because, again, time and money constraints—our final prototype achieved all of our design principles.
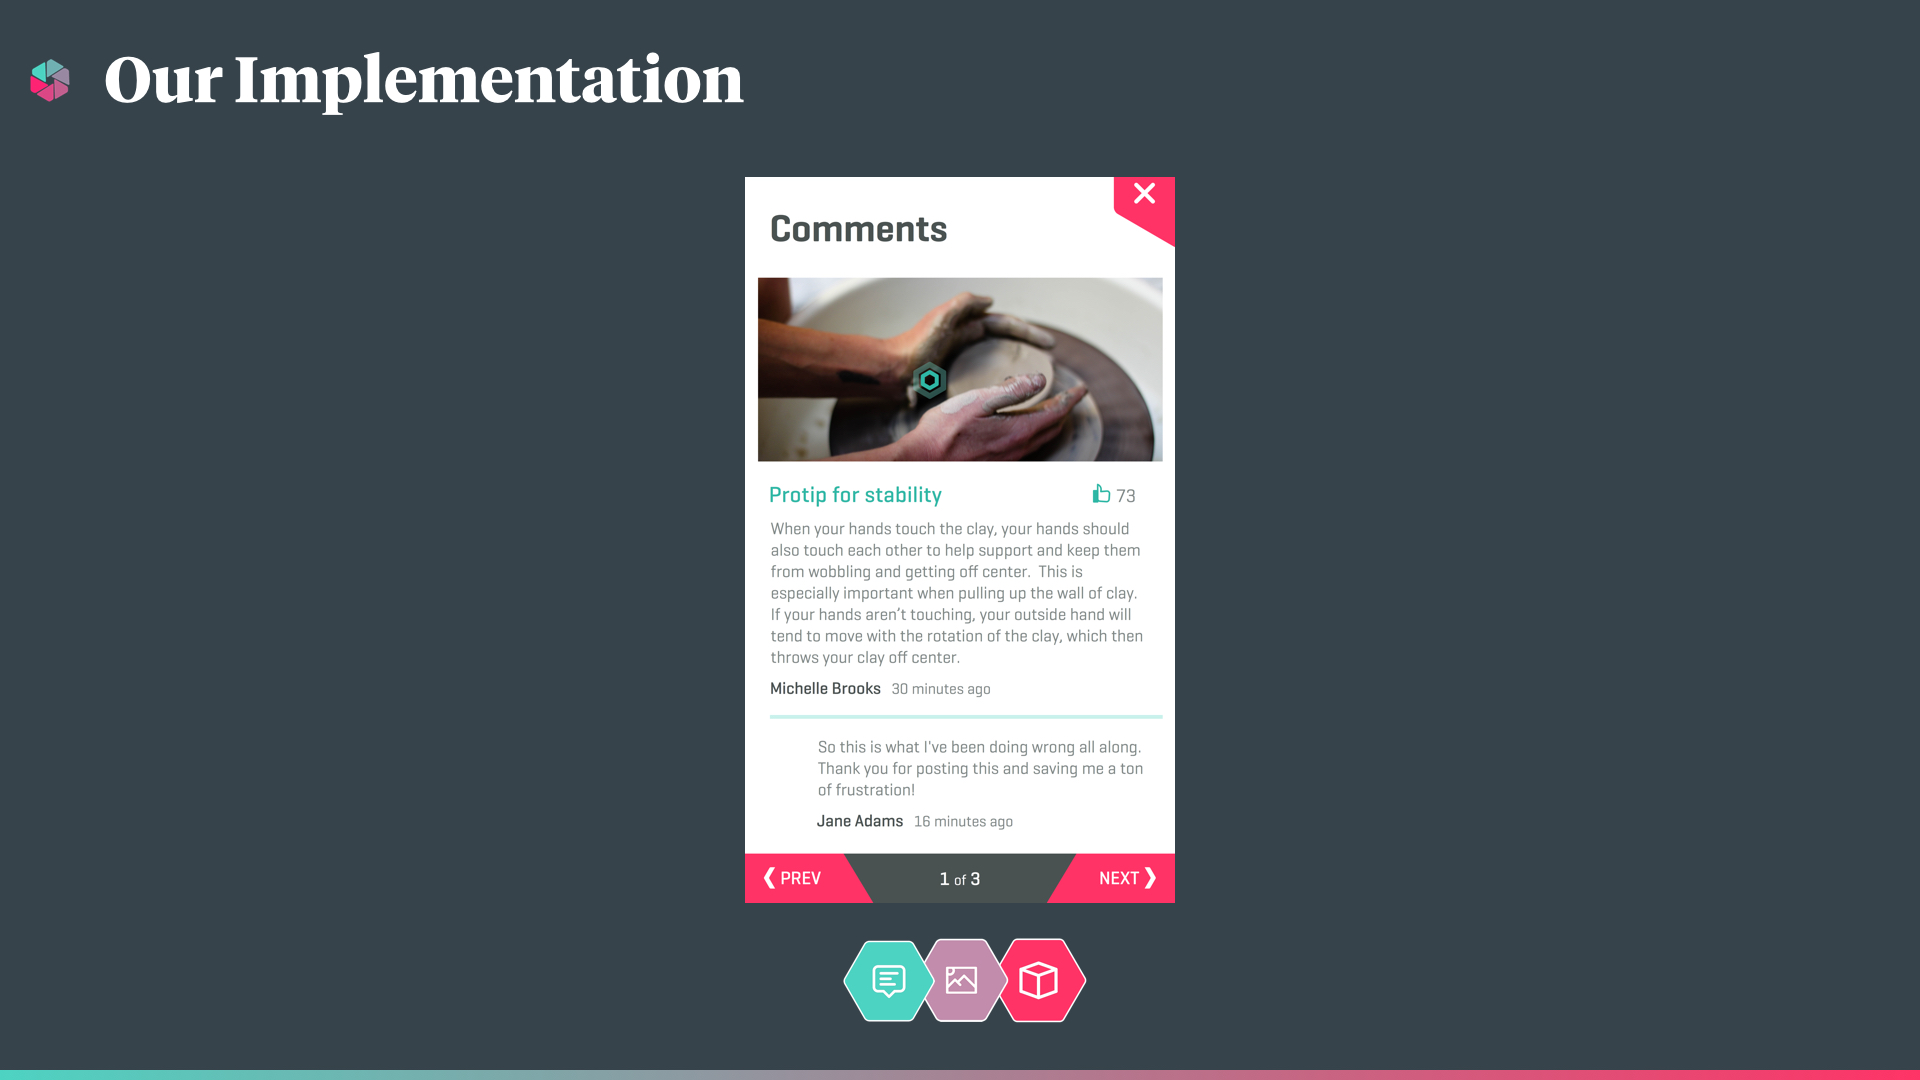
We recorded different tracks of my now well-practiced knitting tutorial,
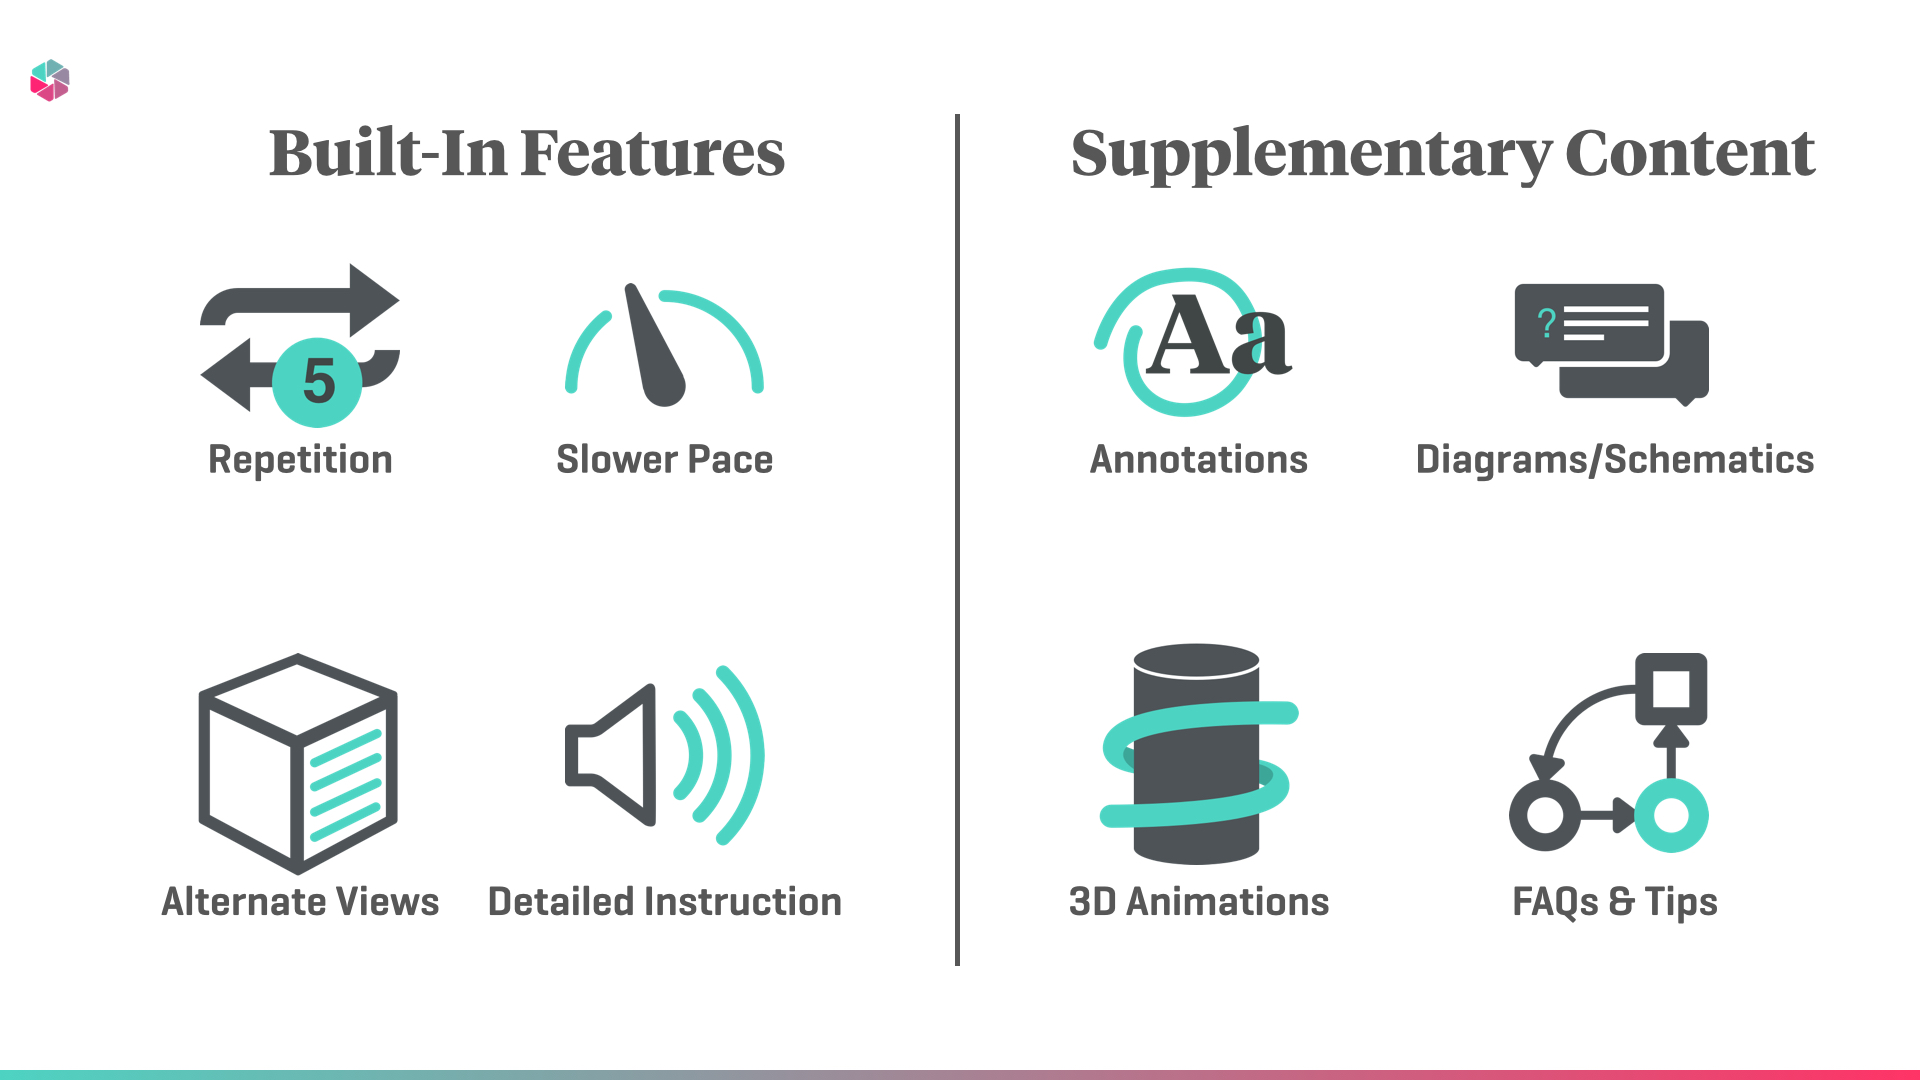
and Aaron built an online behavioral system featuring adaptive learning and supplementary content (see below).
Using the Wizard of Oz method, we faked voice control by hiding Aaron in plain sight so that he could hear unsuspecting participant commands and secretly control the tutorial from afar.
The prototype validated our work thus far—it was a huge success.


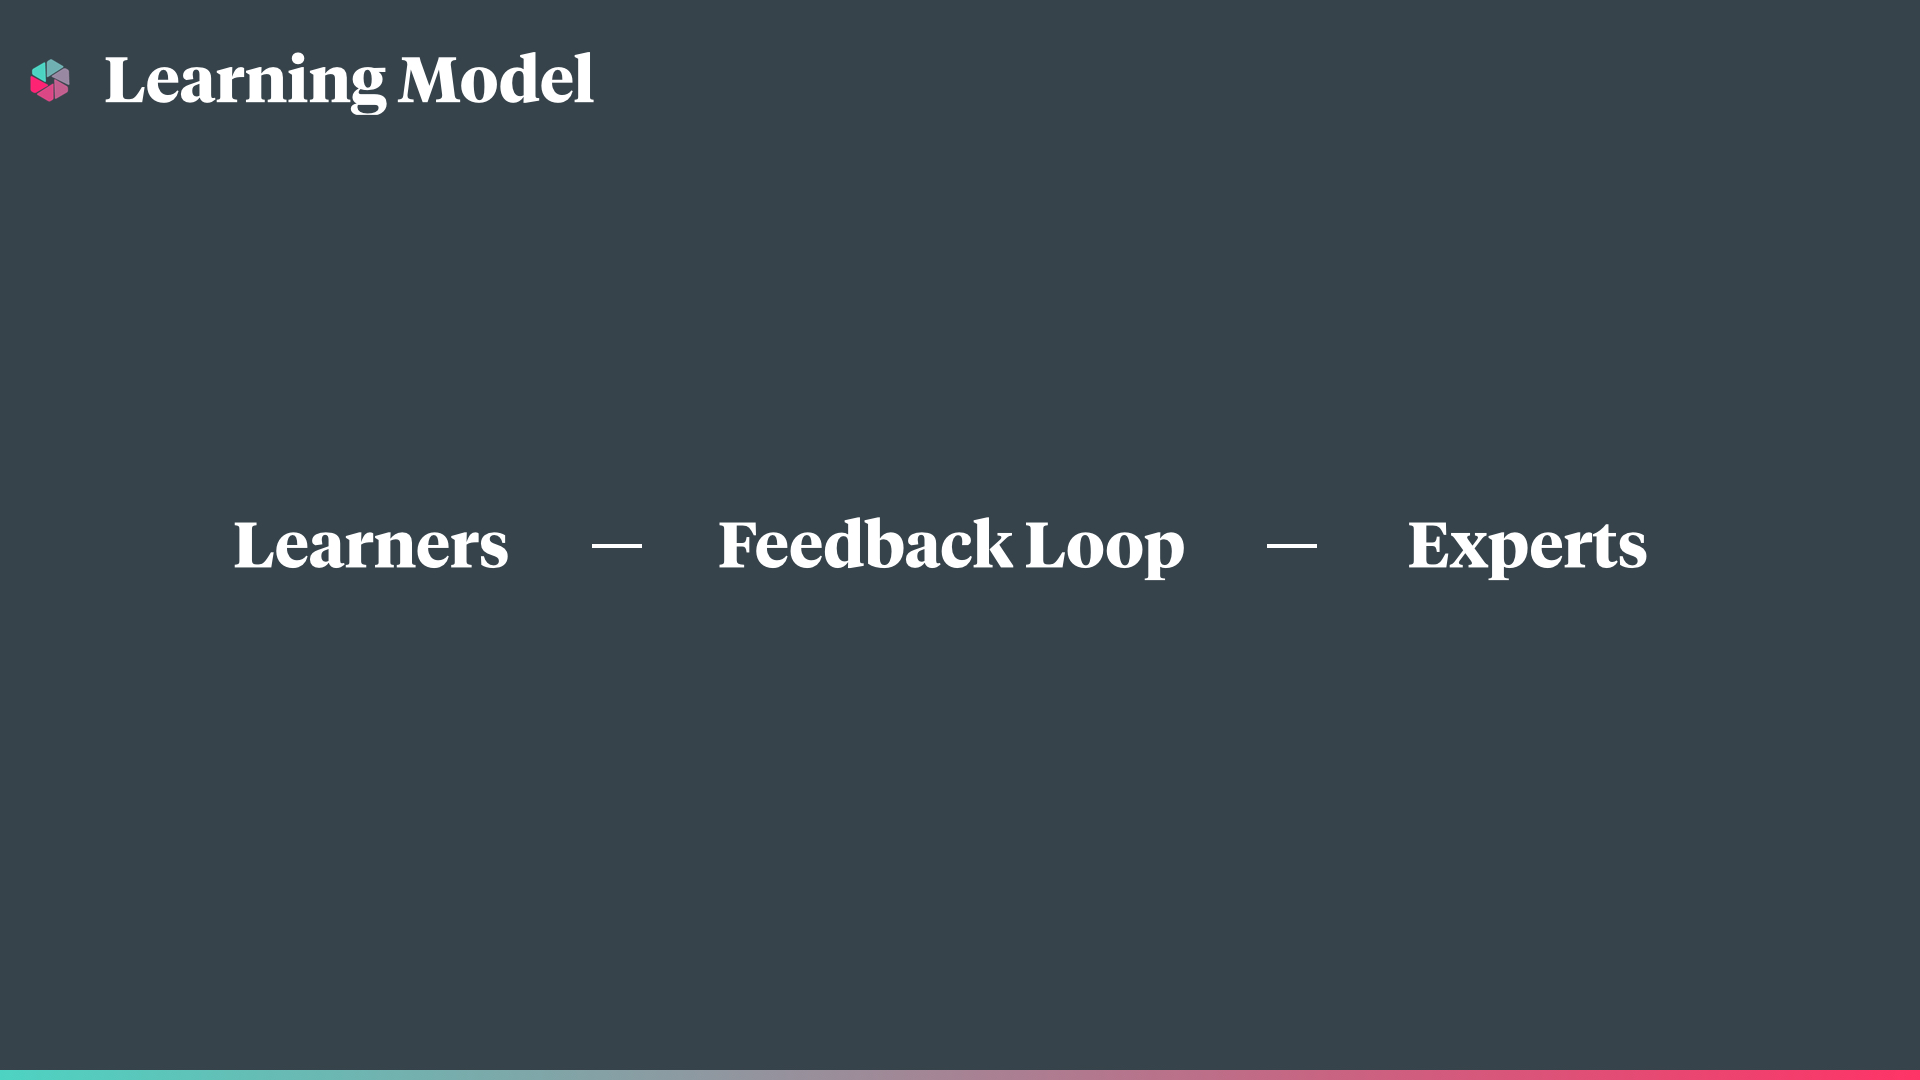
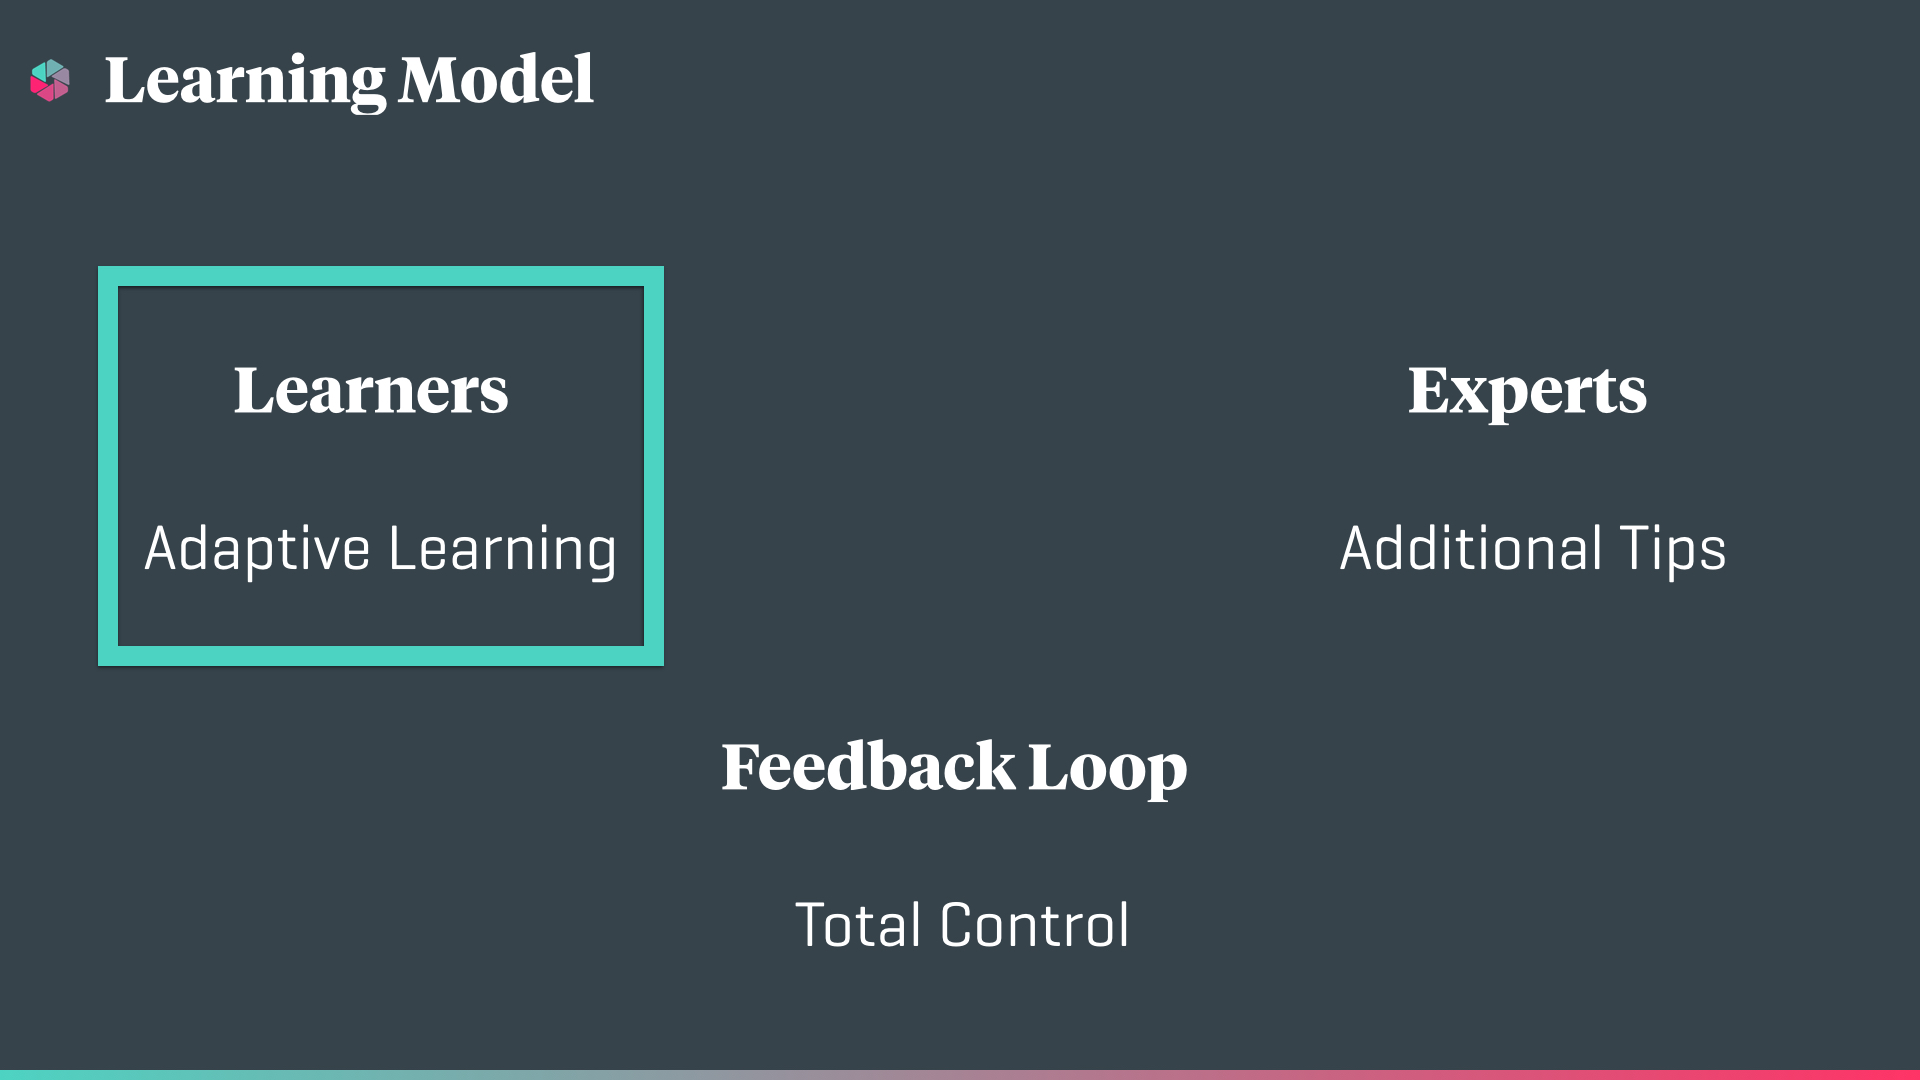
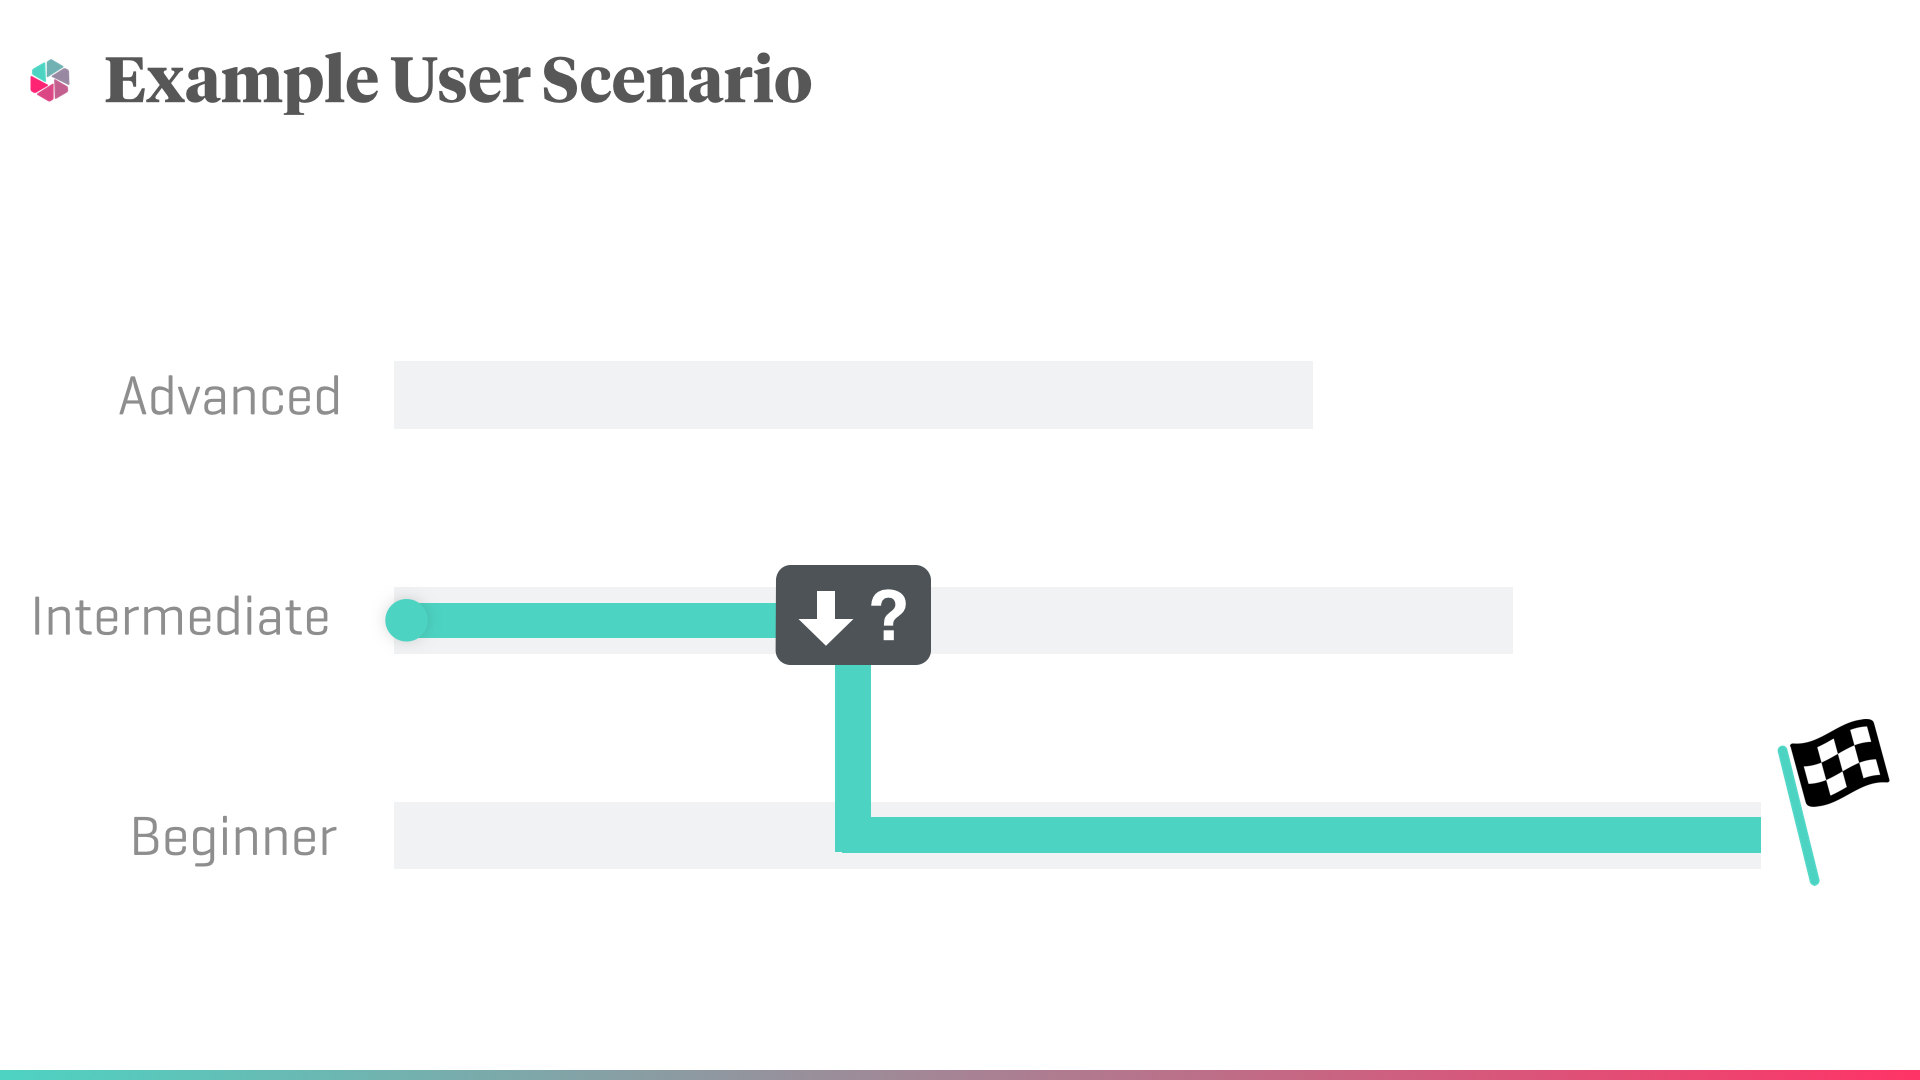
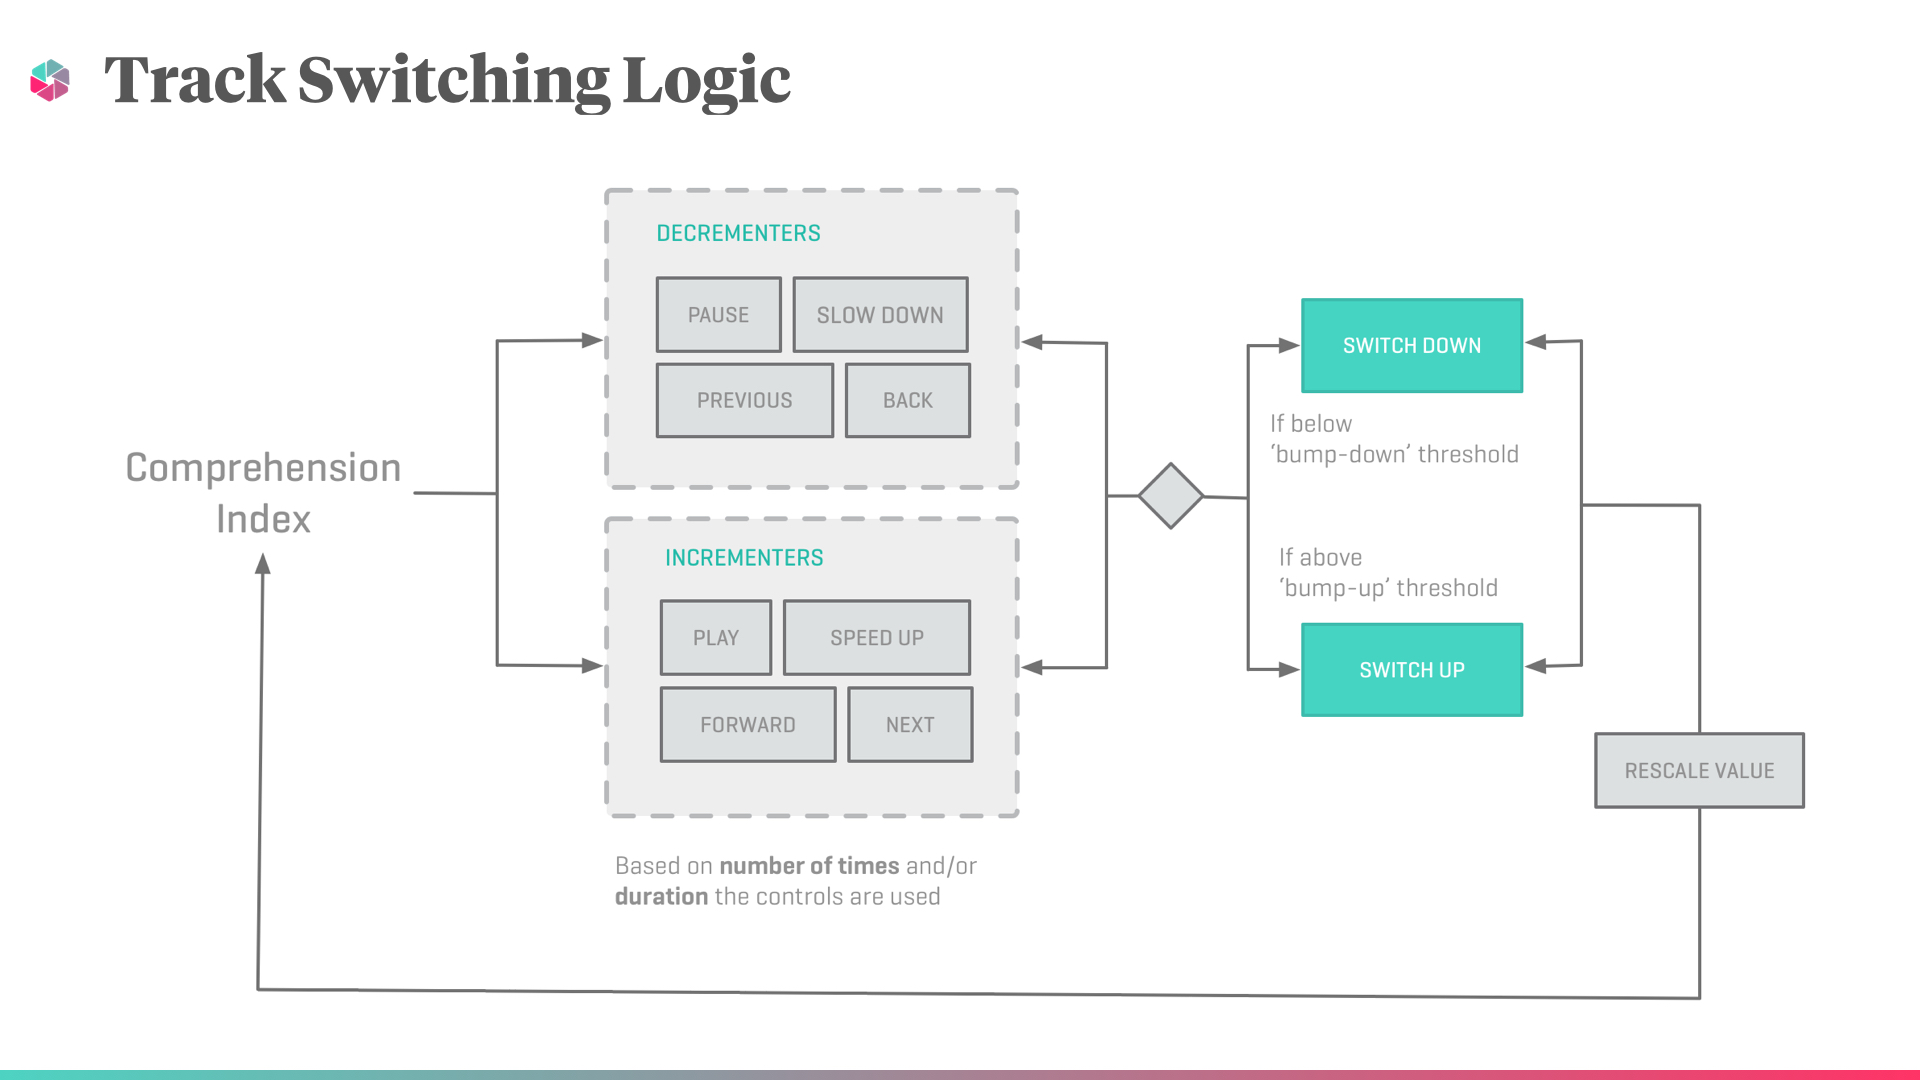
ADAPTIVE LEARNING
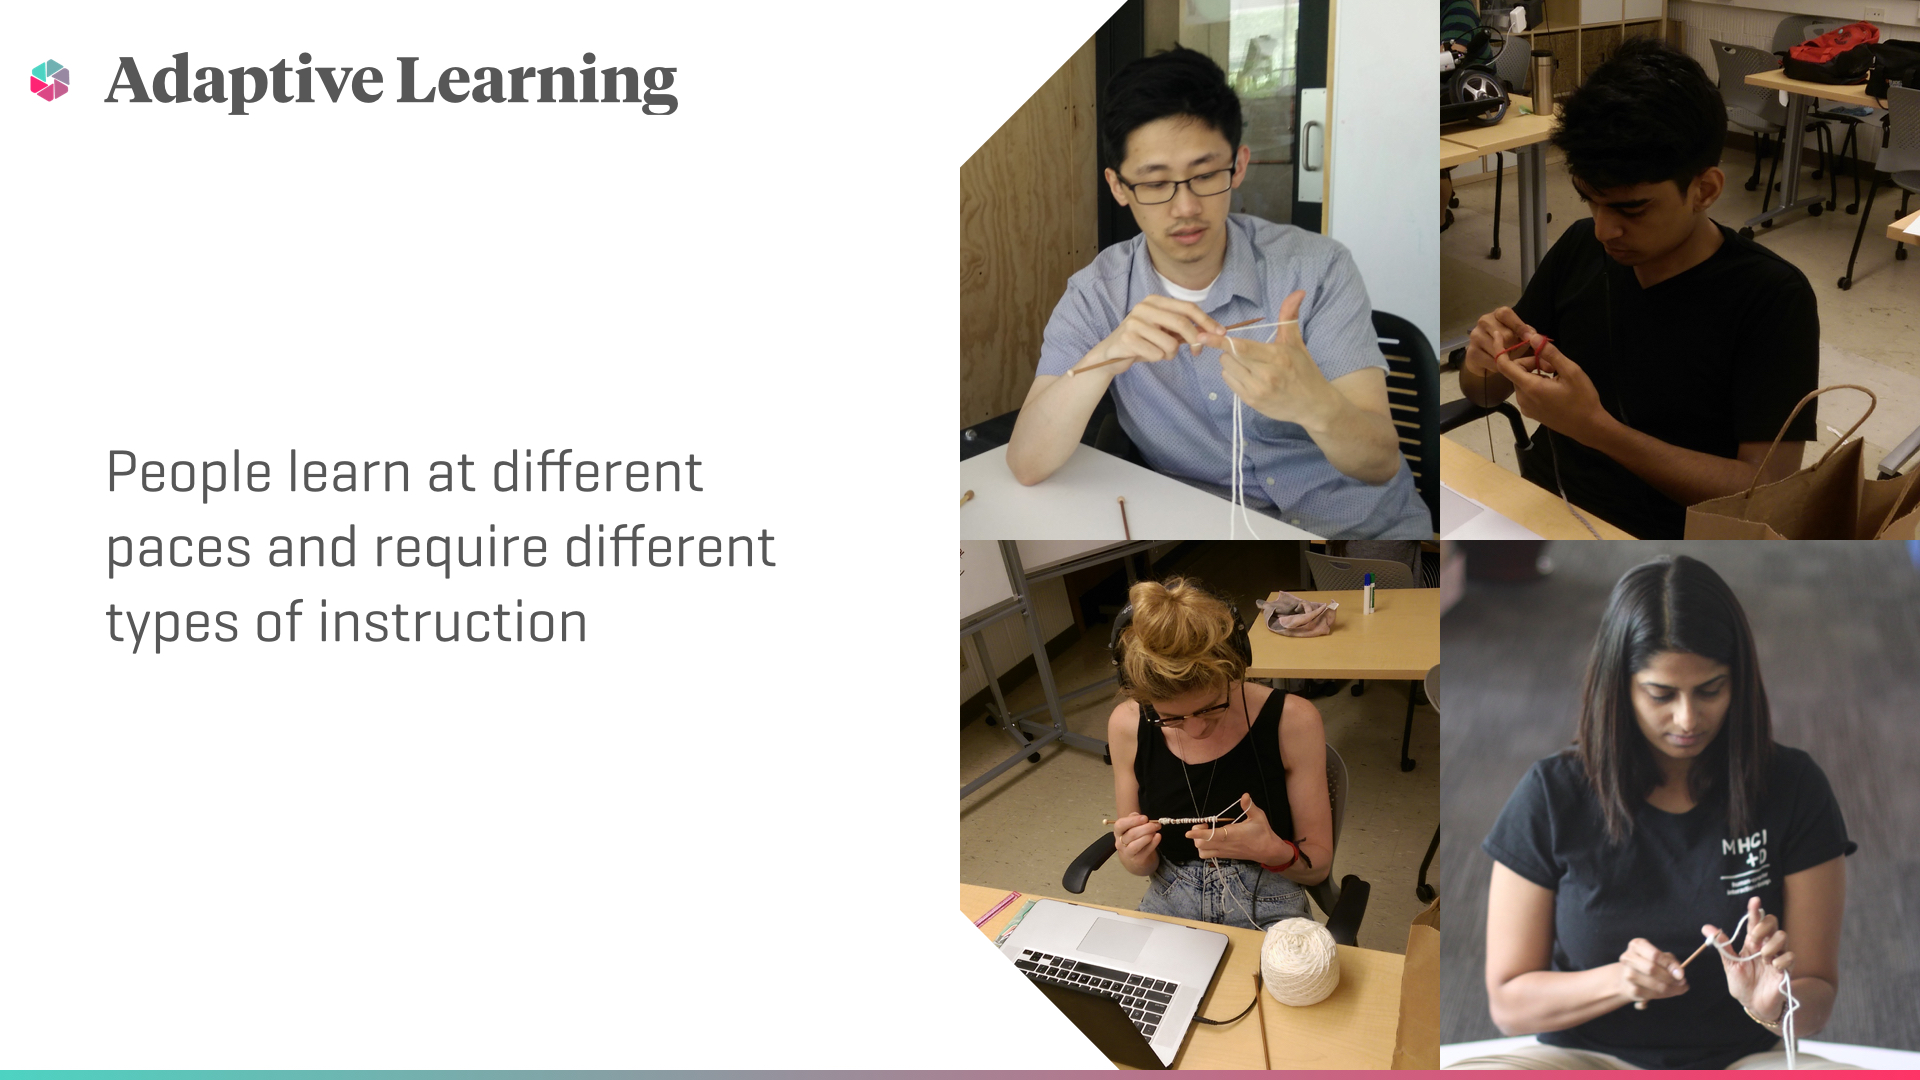
Our system features adaptive learning, adjusting to the unique needs of a user. For instance, a user indicating struggle or need for additional assistance—by frequently repeating steps or slowing down the tutorial—will be seamlessly switched to a track featuring additional explanation, more detailed instruction, and other helpful features, while a user indicating finesse—by skipping steps or speeding up the tutorial—will be routed to a shorter, faster, more streamlined tutorial track. The above diagram illustrates our designed track switching logic.

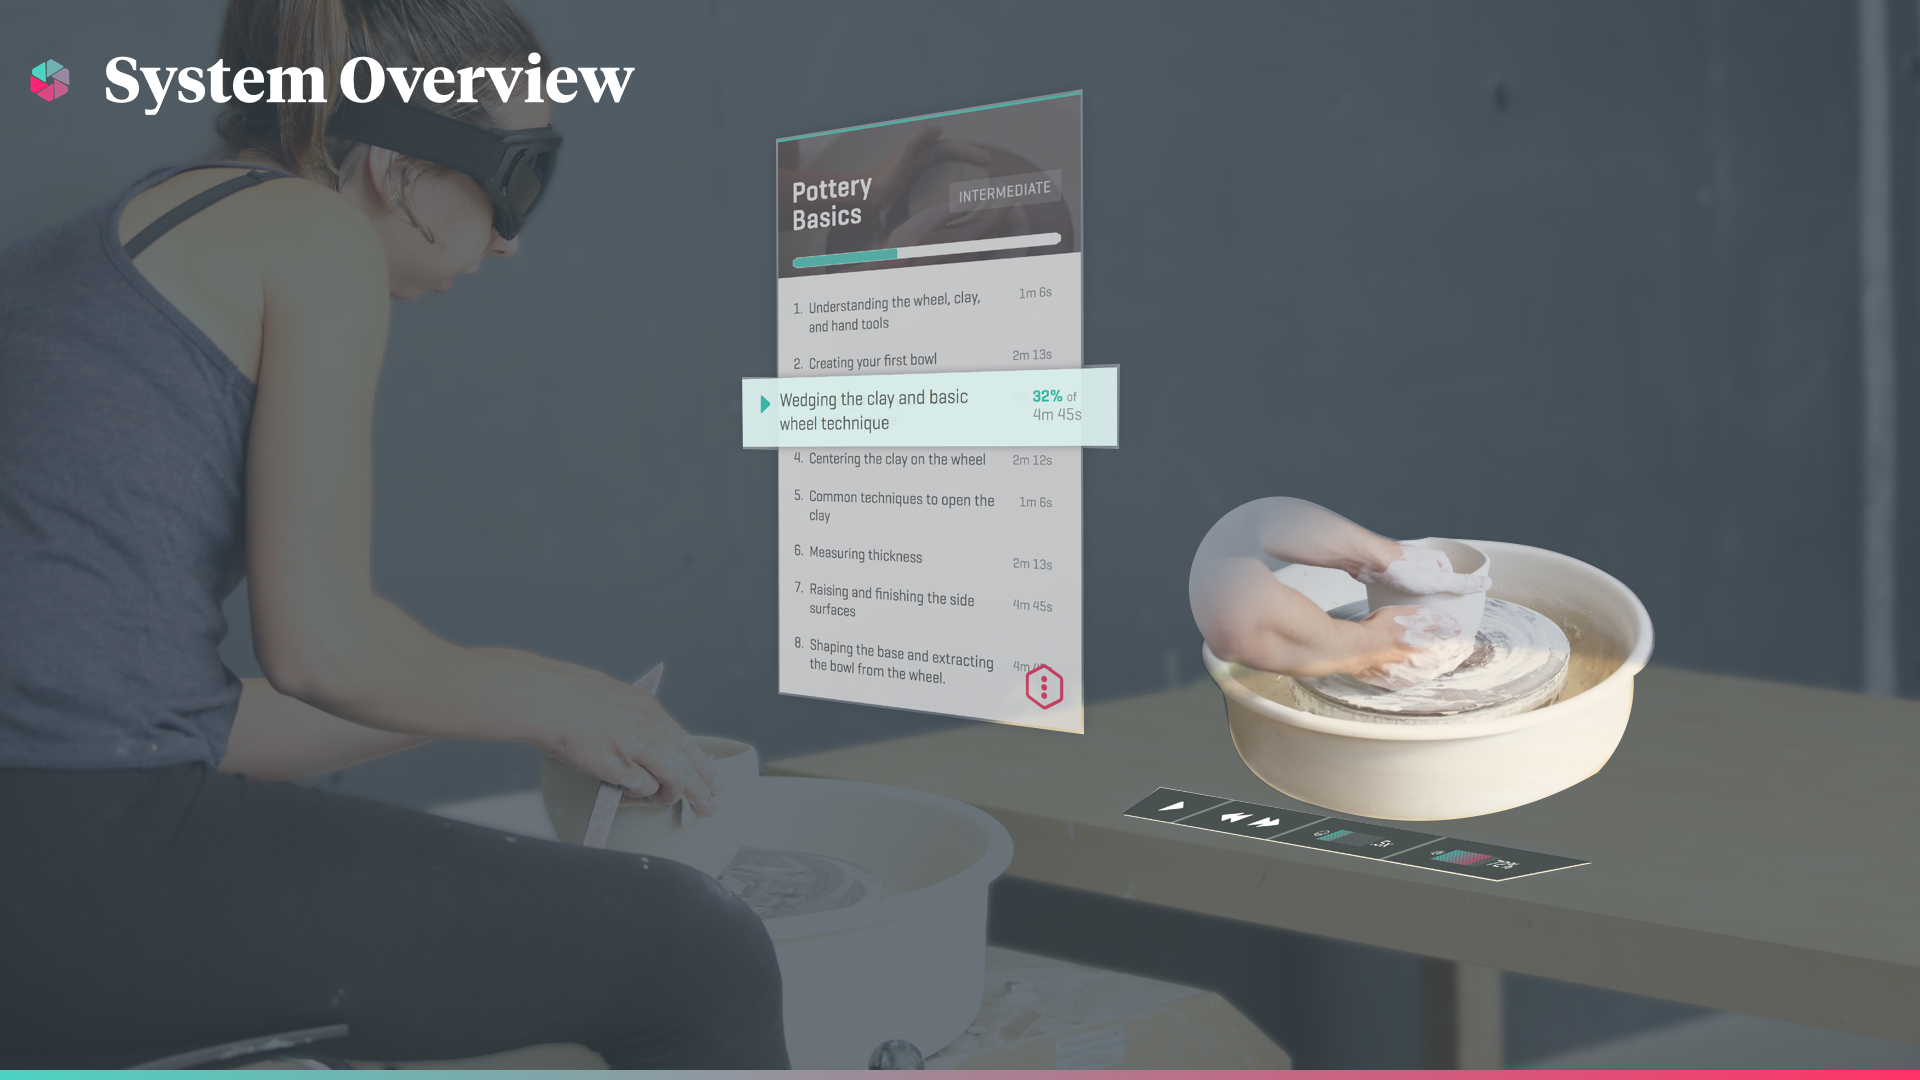
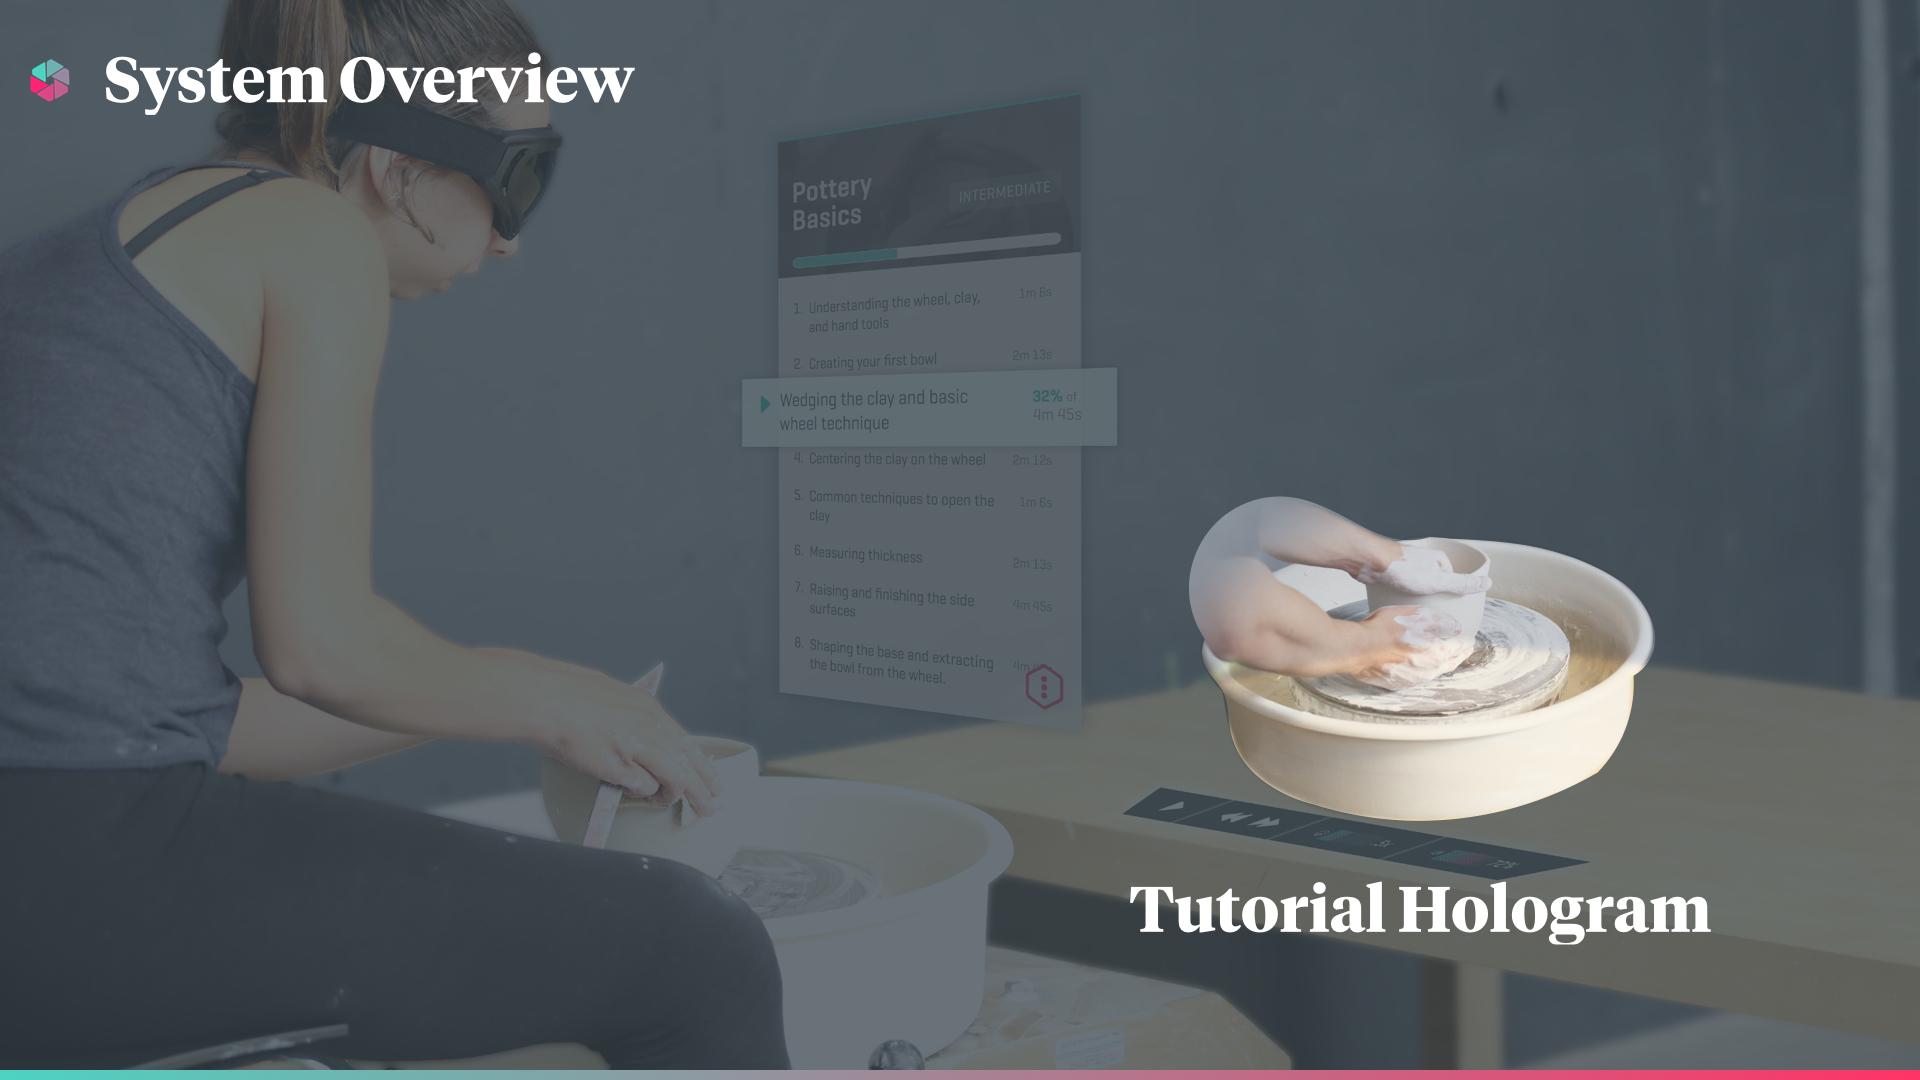
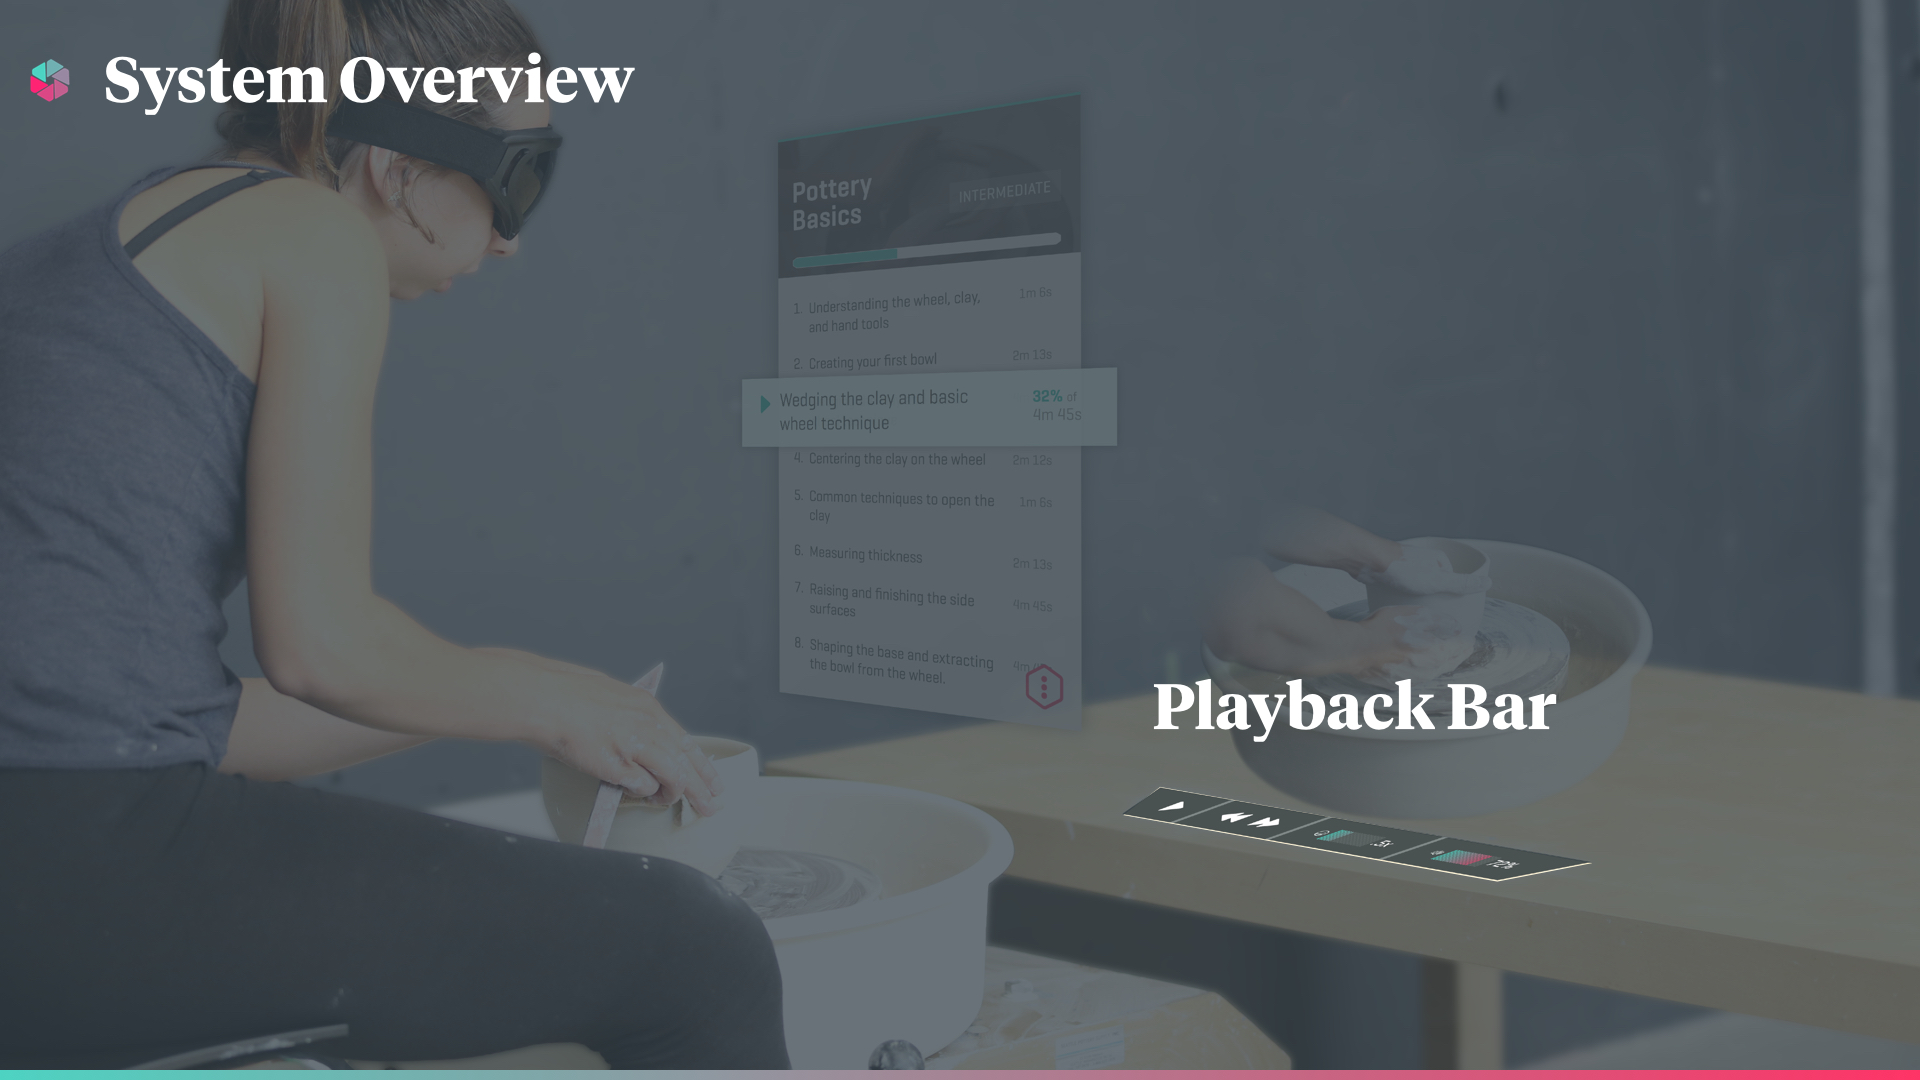
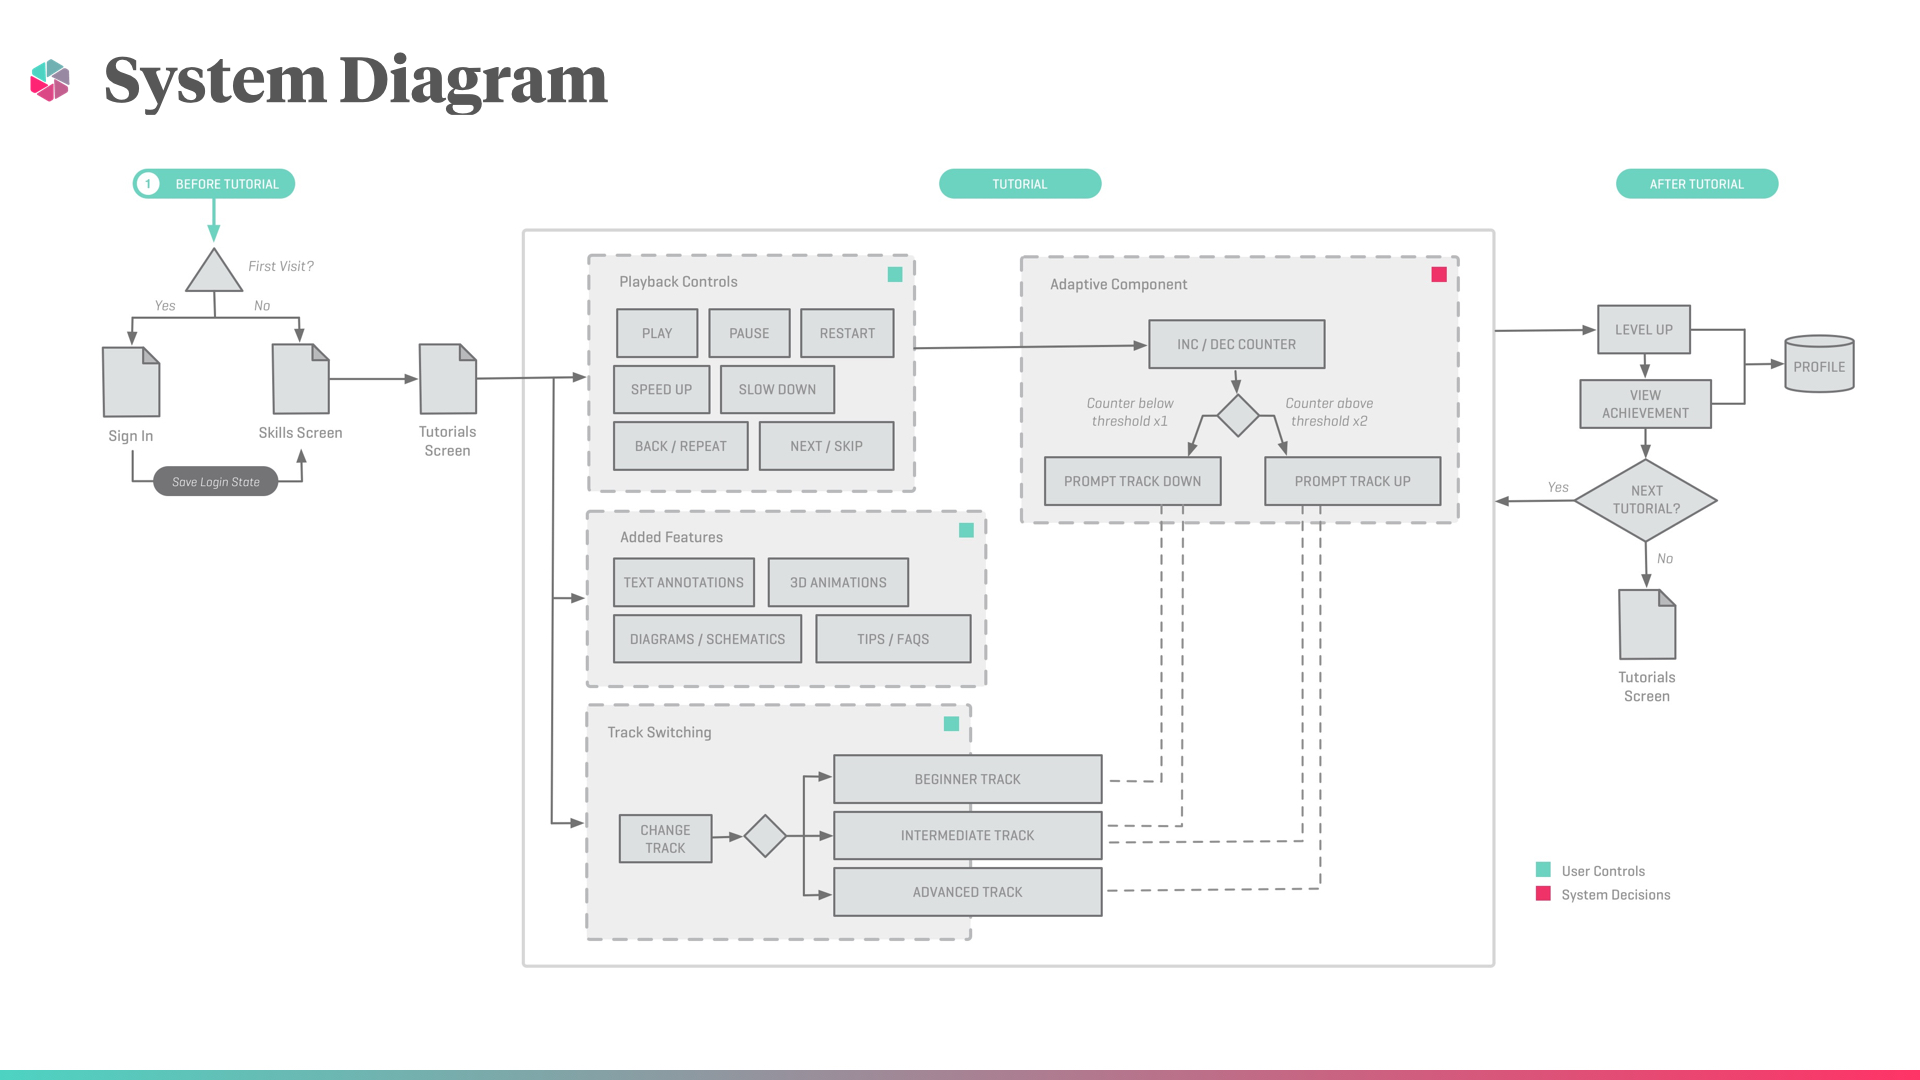
SYSTEM DIAGRAM

UI DESIGN

We used green screens to create a hologram tutorial.
FINAL DELIVERABLES
Product Experience VIDEO
We made a two-minute video demonstrating the problem space, current pain points, and our proposed solution.
Our work flow for content creation was efficient: I designed, orchestrated, and shot the footage, while Aaron finalized our UI. I then edited each scene in Final Cut Pro, handing those requiring UI over to Aaron for motion design. He passed the completed scenes back to me for a final, holistic edit before handing it over to Garrick for the finishing touch: sound design.

Poster Design

FINAL PRESENTATION


CREDITS
Sponsor
Intentional Futures
Collaborators
Aaron Brako
Garrick Li
Ranj Krishnan
Roles
Design Research
Design Strategy
User Experience Design
Product Video Lead
Principle Photographer
Knitting Expert & Teacher
Special Thanks
John Martin
Heath Green
Clare Lunceford
Linda Wagner
Justin Hamacher
Jared Bauer